Frigidaire FDT55 Dryer Fan Motor Stops After 30 Minutes
Understanding the Problem
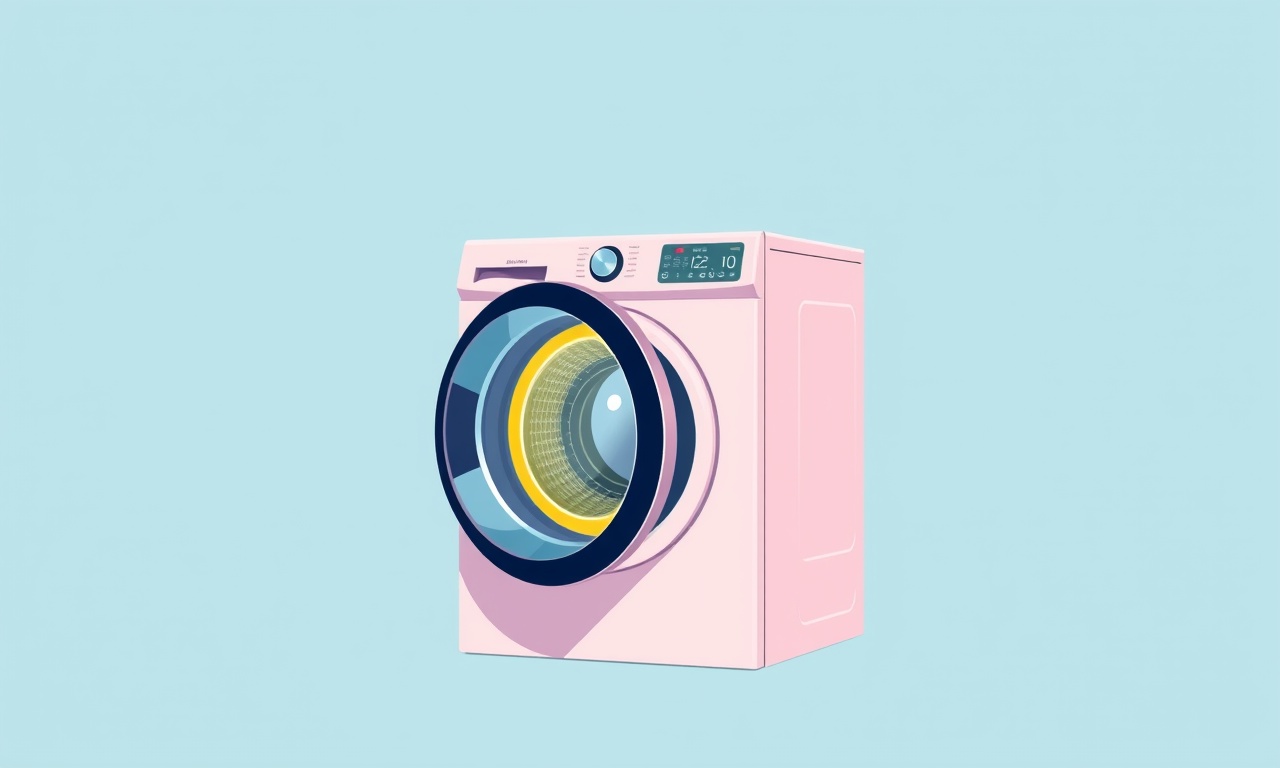
The Frigidaire FDT55 dryer is a popular front‑load model used in many households. A frequent complaint is that the dryer’s fan motor stops working after about thirty minutes of operation. When the fan ceases to spin, the dryer can overheat, and clothes may remain damp or burn the drum. The symptom is almost always accompanied by a lack of airflow and a noticeable increase in the dryer’s temperature gauge.
The underlying cause is typically electrical or mechanical, but it can also involve a defective door switch, a blown thermal fuse, or even a worn motor bracket that interferes with the fan. Knowing exactly where to look saves time and prevents unnecessary part replacement.
Below is a comprehensive guide that covers every possible culprit, the tools needed, and the exact steps you can take to diagnose and fix the problem yourself. By following this article you will reduce the risk of fire and extend the life of your dryer.
Symptom Checklist
Before you open the unit, confirm the following:
- The dryer runs normally for about 30 minutes and then stops.
- The drum still turns; only the fan blade stops spinning.
- The airflow gauge on the back of the dryer drops to zero.
- The temperature sensor reads higher than usual (often 120°F or above).
- You do not hear any clicking or whirring from the fan motor after the 30‑minute mark.
If all these conditions are true, proceed to the troubleshooting steps below. If the dryer stops earlier or later, other faults such as a door‑switch issue or a defective blower wheel may be involved.
Safety Precautions
- Unplug the dryer from the outlet before opening any panels.
- Let the dryer cool for at least 30 minutes to avoid burns.
- Keep a fire extinguisher nearby in case of overheating.
- Wear insulated gloves if you are unsure about handling electrical components.
- Use a non‑conductive screwdriver for all metal parts.
Tools and Parts Needed
| Item | Purpose |
|---|---|
| Phillips head screwdriver | For screws on the rear panel and fan assembly |
| Flat‑head screwdriver | For door latch and other small screws |
| Multimeter | To test continuity and voltage |
| Replacement capacitor (if needed) | 25‑µF, 300‑V rated is typical |
| Replacement fan motor | 1‑/2‑horsepower DC motor, same model |
| New thermal fuse | 8‑A, 250‑V rated |
| Wire connectors | For rewiring any broken wires |
| Cleaning brush | To clear lint from the blower and ducts |
| Service manual (optional) | For exact part numbers and diagrams |
If you have a Frigidaire FDT55 model number handy, the parts list can be trimmed to match exactly.
Step 1 – Inspect the Lint Filter and Vent Path
The first line of defense against fan failure is a clean lint filter and vent. Accumulated lint can restrict airflow, causing the dryer to overheat and the fan to stall.
- Pull out the lint filter and remove all lint. Wash it with warm soapy water and let it dry.
- Inspect the exterior vent hood on the back wall or crawl space. Remove any visible lint buildup.
- Use a vacuum with a long hose to clear lint from the vent line inside the wall.
- Check the lint trap inside the dryer cabinet for clogs.
If the vent or filter is severely clogged, clean it thoroughly and run a short test cycle. If the fan still stops after 30 minutes, move to the next step.
Step 2 – Test the Fan Motor’s Electrical Supply
A loss of power to the motor is the most common cause of a stall. The motor normally receives a low voltage (around 12‑V) from the capacitor and a higher voltage (120‑V) from the main supply.
- Locate the fan motor: It sits behind the dryer’s rear panel, connected to the blower wheel.
- Disconnect the motor’s power wires (remember the polarity).
- Using a multimeter set to DC volts, touch the probes to the motor’s positive and negative leads. You should read approximately 12‑15 V.
- If the reading is zero, the capacitor is likely dead.
- If you see 12‑15 V, check the 120‑V supply by placing the meter on the mains wires leading to the motor. You should read around 120 V.
If either voltage is absent, the issue is electrical. Replace the capacitor or repair the wiring. If both voltages are present, the motor itself may be failing.
Step 3 – Check the Motor Capacitor
The capacitor supplies the start torque for the motor. A defective capacitor fails after a few cycles, which can cause the motor to stop after about 30 minutes.
- Look for a small, cylindrical component mounted near the motor.
- Measure the capacitance with a capacitance meter or look for the rating printed on the casing.
- A good capacitor will read between 25‑30 µF.
- If the reading is zero or significantly lower, replace it.
When installing a new capacitor:
- Keep the polarity in mind: the longer lead is positive.
- Tighten the screws gently; avoid overtightening which can damage the capacitor.
- Reconnect the power and run a quick cycle to confirm the motor runs continuously.
Step 4 – Examine the Motor and Blower Assembly
Even with correct voltage, a motor can stall if its internal bearings are worn or the blower wheel is jammed.
- Visually inspect the motor shaft for wobble or roughness.
- Look at the blower wheel for bent blades or lint buildup.
- Remove the motor from the housing using the flat‑head screwdriver to free the bracket.
- Spin the motor shaft by hand. It should rotate smoothly; if you feel resistance or grinding, the motor is dead.
- Clean the blower wheel with a brush; remove any lint or debris.
If the motor is defective, replace it with a model that matches the Frigidaire FDT55 specifications. When installing the new motor:
- Align the shaft precisely with the motor bracket.
- Tighten the mounting screws firmly but avoid overtightening.
- Reattach the blower wheel and confirm it turns freely.
Step 5 – Test the Door Switch and Thermal Fuse
Two safety devices can cause the motor to stop mid‑cycle:
-
Door Switch: If the switch thinks the door is open, the dryer shuts down.
- Use a multimeter set to continuity. Place one probe on the two terminals of the door switch. Close the door, then test. You should hear a beep or see a green light indicating continuity. If no continuity, replace the switch.
-
Thermal Fuse: This one‑time fuse blows if the dryer overheats.
- Locate the thermal fuse on the blower housing. It usually has two wires and looks like a small rectangle with a black stripe.
- Test for continuity. If the meter reads infinite resistance, the fuse is blown. Replace it with a 8‑A, 250‑V fuse.
- Resetting a thermal fuse will not help; you must install a new one.
Step 6 – Inspect the Wiring and Connections
Loose or frayed wires can cause intermittent power loss.
- Trace each wire from the motor to the capacitor, and from the capacitor to the main supply.
- Look for any corrosion, melting, or physical damage.
- Tighten all terminal screws.
- Replace any damaged wires with the appropriate gauge and insulation.
Step 7 – Verify the Blower Motor Bracket and Mounting
Sometimes the motor bracket itself can fail to hold the fan assembly correctly. This can cause the fan blade to hit the housing or the motor shaft to bind.
- Remove the motor from the cabinet again.
- Inspect the bracket for cracks or broken studs.
- If the bracket is damaged, replace it with a new one designed for the FDT55.
- Reinstall the motor, ensuring it sits flush against the bracket and that the blower wheel is properly seated.
Step 8 – Reassemble and Test
Once all components have been inspected, replaced, or cleaned:
- Reinstall the rear panel.
- Plug the dryer back into the outlet.
- Run a test cycle with a small load of light fabric.
- Monitor the dryer for the first 30 minutes.
- Check the airflow gauge and temperature sensor regularly.
- Confirm that the fan motor continues to spin throughout the cycle.
If the dryer still stops after 30 minutes, you might be dealing with an obscure issue such as a faulty start relay or an internal control board failure. At that point, professional diagnosis is advisable.
Preventive Maintenance Tips
- Clean the lint filter after every use.
- Vacuum the vent hose monthly.
- Inspect the dryer’s door seal for wear.
- Run a brief test cycle every few months to keep the motor and blower clean.
- Keep the dryer in a dry, well‑ventilated area to avoid overheating.
Regular maintenance catches problems before they become safety hazards.
When to Call a Professional
- You find a broken internal circuit board.
- The motor is damaged beyond simple replacement.
- The dryer still stops after thorough self‑repair.
- You are uncomfortable working with electrical components.
- The dryer’s warranty is still valid and the unit is under cover.
A certified appliance technician can safely dismantle the dryer, test complex components, and ensure the unit is compliant with current safety standards.
Frequently Asked Questions
Q: My fan motor runs for 10 minutes and then stops. Is this the same issue?
A: Yes, any premature stall suggests an electrical or mechanical fault that should be inspected as outlined.
Q: Can I use a generic capacitor instead of a Frigidaire part?
A: Only if it matches the voltage, capacitance, and size specifications. Using the wrong capacitor can cause damage.
Q: Why does the temperature gauge go up after the fan stops?
A: The fan provides airflow to dissipate heat; when it stops, the interior temperature rises rapidly.
Q: Is there a way to avoid having to replace the motor?
A: If the motor bearings are worn but the shaft still turns, a bearing replacement kit might restore function; however, motor replacement is usually cheaper and more reliable.
Summary
The Frigidaire FDT55 dryer fan motor stopping after 30 minutes is usually caused by one of a handful of issues:
- Clogged lint filter or vent
- Failed capacitor
- Worn motor bearings or a jammed blower wheel
- Blown thermal fuse or faulty door switch
- Damaged wiring or connections
- A defective motor bracket
By following the step‑by‑step troubleshooting guide above, you can identify the root cause, replace or repair the faulty component, and restore your dryer to reliable operation. Consistent maintenance and early detection prevent many of these problems, keeping your laundry routine safe and efficient.
Discussion (10)
Join the Discussion
Your comment has been submitted for moderation.
Random Posts

Rebooting Google Nest Hub (3rd Gen) to Resolve App Sync Glitches
Stuck with delayed notifications, unresponsive tiles, or stale smart, home data? A simple reboot of your Nest Hub 3rd Gen clears cache, resets processes, and restores smooth app sync.
3 months ago

Fixing Bluetooth Signal Drops on Apple AirPods Pro
Tired of AirPods Pro disconnecting during walks or workouts? Learn why Bluetooth drops happen, how to spot them, and quick fixes - no coding required - to keep audio flowing.
11 months ago

Fixing the Duplexer Failure on a Brother MFC‑J805DW
Learn how to diagnose and replace a faulty duplexer on your Brother MFC, J805DW, restoring double, sided printing with step, by, step instructions for tech, savvy users.
10 months ago

Solving Apple iPhone 13 Pro Camera Rolling Shutter With External Lens
Stop the slanted look from rolling shutter when adding external lenses to your iPhone 13 Pro by tweaking camera settings, choosing the right lens, and using proper stabilization.
9 months ago

Restoring Bandwidth on Amazon Eero Mesh 6 Pro After a Firmware Update
After an Eero Mesh 6 Pro firmware update, bandwidth often drops. This guide explains why the change occurs and walks you through quick steps to restore full speed and a stable connection for work and play.
8 months ago
Latest Posts

Fixing the Eufy RoboVac 15C Battery Drain Post Firmware Update
Fix the Eufy RoboVac 15C battery drain after firmware update with our quick guide: understand the changes, identify the cause, and follow step by step fixes to restore full runtime.
5 days ago

Solve Reolink Argus 3 Battery Drain When Using PIR Motion Sensor
Learn why the Argus 3 battery drains fast with the PIR sensor on and follow simple steps to fix it, extend runtime, and keep your camera ready without sacrificing motion detection.
5 days ago

Resolving Sound Distortion on Beats Studio3 Wireless Headphones
Learn how to pinpoint and fix common distortion in Beats Studio3 headphones from source issues to Bluetooth glitches so you can enjoy clear audio again.
6 days ago