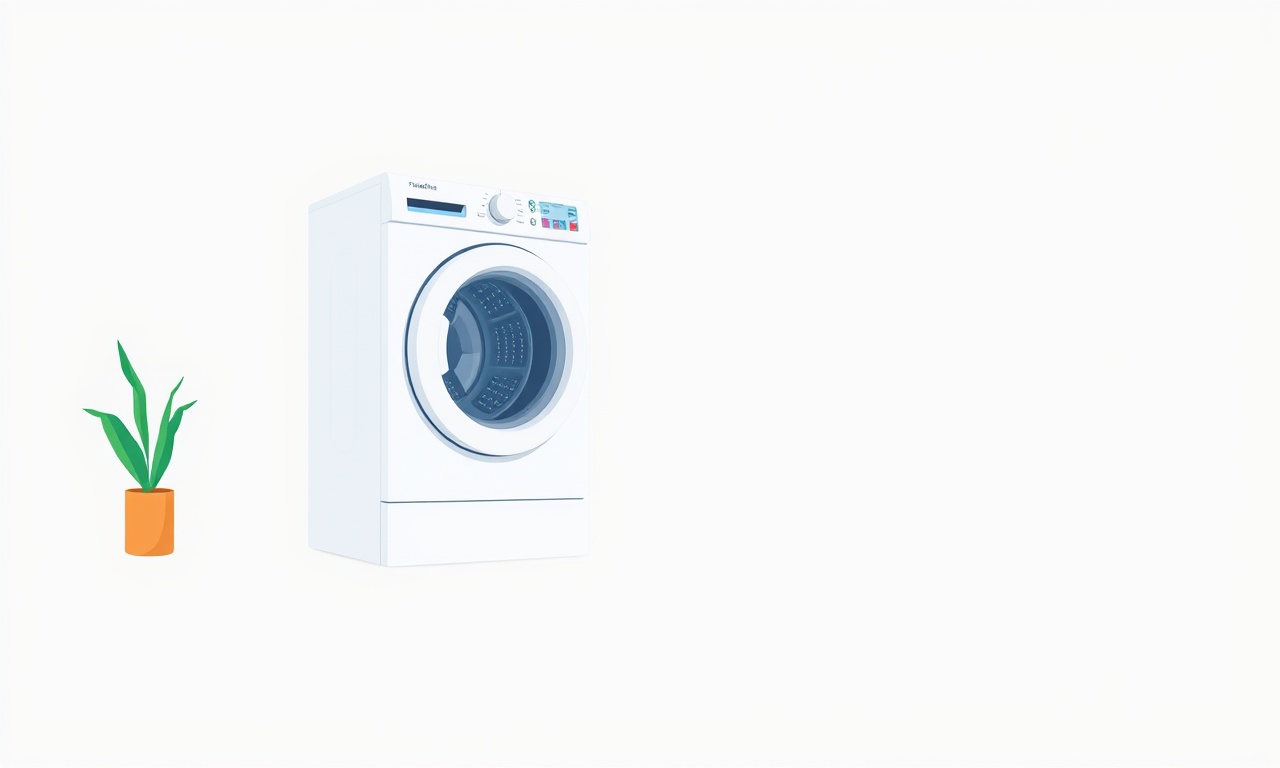
Frigidaire FDT70 Dryer Vent Motor Stops Mid Cycle
The Frigidaire FDT70 dryer is a popular choice for many households due to its reliability and efficient drying performance. When it suddenly stops mid‑cycle, the inconvenience can feel like a big setback. Knowing why this happens and how to fix it quickly can save you time, money, and frustration. This guide offers a detailed walk‑through of the most common reasons for a motor that stops mid‑cycle, step‑by‑step diagnostics, and practical solutions that will get your dryer back up and running.
Why the Motor Might Stop Mid‑Cycle
Electrical Supply Issues
- Loose or damaged wiring: The dryer’s power cord or internal wiring can develop cracks, fraying, or loose connections that cut power to the motor.
- Circuit breaker trips: If the dryer is on a circuit that trips when the motor draws too much current, the breaker will cut power abruptly.
- Faulty power supply: An unstable electrical outlet or voltage drop can cause the motor to stall.
Mechanical and Physical Obstructions
- Blocked vent: When lint or debris blocks the vent hose or exhaust duct, the motor can overheat and shut down as a safety measure.
- Faulty blower wheel: If the blower wheel is bent, broken, or has accumulated lint, it can jam and stop the motor.
- Stuck drum: A jammed drum due to a misaligned pulley or worn bearing can cause the motor to stop while trying to rotate.
Motor‑Specific Problems
- Overheating: Motors have built‑in thermal protection. Excessive heat can trigger a shutdown to prevent damage.
- Internal motor failure: Wear on brushes, a damaged armature, or a failed capacitor can cause the motor to stop functioning.
- Broken fan blade or motor shaft: A broken component can halt the motor’s rotation.
Control Board and Sensor Issues
- Faulty cycle timer: If the electronic timer that controls the motor stops responding, the motor will cease running.
- Malfunctioning temperature sensor: A sensor that incorrectly reads high temperature can trigger an early shutdown.
- Inadequate motor control: A damaged relay or controller can fail to energize the motor at the proper times.
Step‑by‑Step Diagnosis
1. Safety First
- Unplug the dryer: Before inspecting any part, ensure the dryer is disconnected from the electrical outlet.
- Check the circuit breaker: Make sure the breaker hasn't tripped. Reset it if necessary.
- Inspect the power cord: Look for visible signs of wear, kinks, or cuts. Replace if needed.
2. Verify the Vent Path
- Remove the vent hose: Take the vent hose off the back of the dryer and inspect it for lint buildup.
- Check the duct: Inspect the entire length of the vent duct for clogs, bends, or cracks.
- Confirm proper vent termination: The vent should open outdoors or to a vent hood, not into a closed space.
If you find any blockage, clean it thoroughly. A clean vent reduces motor strain and improves drying efficiency.
3. Inspect the Motor
- Access the motor compartment: Remove the rear panel of the dryer or the side panel if the motor is side‑mounted.
- Look for signs of damage: A scorched or melted area indicates overheating. Bent or broken components are visible.
- Feel for vibration: While gently turning the motor by hand, note any resistance or unusual noise.
4. Test the Motor’s Electrical Function
- Use a multimeter: Measure voltage across the motor terminals while the dryer is powered. If voltage is present but the motor doesn’t turn, the motor itself is likely dead.
- Check the motor’s internal resistance: High resistance readings can confirm motor failure.
5. Examine the Control Board and Sensors
- Look for scorch marks: Any burned areas on the control board or timer can indicate a short.
- Check the temperature sensor: A cracked or corroded sensor can cause incorrect readings.
- Test the relay: A simple continuity test can verify if the relay is functioning.
6. Re‑assemble and Run a Test Cycle
- Reassemble the dryer: Once inspection is complete, put all panels back on.
- Plug in and start a short cycle: Use the “quick dry” setting to check if the motor runs through the cycle.
Practical Solutions
Replacing the Power Cord or Internal Wiring
- Purchase a compatible power cord: Look for the correct gauge and amperage rating for the FDT70.
- Disconnect the old cord: Carefully remove the connectors from the dryer’s back panel.
- Attach the new cord: Securely connect both ends, ensuring tight screws and no loose strands.
- Test the dryer: Plug in and run a cycle.
Clearing the Vent System
- Use a vent cleaning brush: Insert the brush into the vent hose and push it through, removing all lint.
- Employ a vent cleaning kit: These kits often include a vacuum attachment that pulls lint out of the duct.
- Check the exterior vent: Remove any debris or obstruction from the vent cap.
Replacing the Blower Wheel
- Remove the motor housing: Take the motor away from the dryer’s body.
- Detach the blower wheel: Unscrew or unbolt the wheel from the motor shaft.
- Install a new wheel: Align it properly and secure it with screws or a locking mechanism.
- Reassemble and test.
Fixing a Stuck Drum
- Lubricate the bearings: Apply a few drops of oil to the drum rollers and pivot points.
- Inspect the pulleys: Tighten any loose bolts or replace warped pulleys.
- Check the drum support rollers: Replace any damaged rollers that could impede rotation.
Replacing a Failed Motor
- Order a replacement motor: Confirm the model number matches the FDT70.
- Disconnect all motor wiring: Unplug the motor from the control board and the power supply.
- Remove the motor: Unscrew the motor from its mounting bracket.
- Install the new motor: Secure it and re‑connect all wires.
- Test the dryer: Run a cycle to verify operation.
Upgrading or Replacing the Control Board
- Check for compatibility: Make sure the new board supports the FDT70’s features.
- Follow manufacturer instructions: Disconnect power, remove the old board, install the new one, and program it as needed.
Replacing a Temperature Sensor
- Locate the sensor: It is usually near the blower or on the thermostat housing.
- Disconnect the wiring harness: Gently detach the sensor from its mounting.
- Remove the old sensor: Unscrew or unclip it from the mount.
- Install the new sensor: Secure it and reconnect the harness.
- Verify function: Run a test cycle to ensure the dryer stops at the correct temperature.
Preventive Maintenance Tips
- Regularly clean the lint filter: A clogged filter forces the motor to work harder, increasing heat.
- Check vent hose annually: Even if it looks clear, small clogs can develop.
- Inspect the drum and rollers: Lubricate bearings every 6–12 months.
- Test the motor periodically: Run a quick cycle with an empty load to ensure the motor spins correctly.
- Keep the dryer in a well‑ventilated area: Avoid placing it in a cramped space that restricts airflow.
When to Call a Professional
- Repeated failures after DIY attempts: If the motor stops again after replacements or repairs.
- Electrical issues beyond simple fixes: Wiring faults or circuit board problems that require specialized tools.
- Safety concerns: If you’re uncomfortable working with high‑voltage components or the dryer shows signs of significant overheating or electrical arcing.
A certified appliance technician will have the right diagnostic equipment and replacement parts on hand, ensuring the problem is resolved efficiently and safely.
Summary
A Frigidaire FDT70 dryer that stops its motor mid‑cycle can stem from a variety of causes: electrical supply problems, vent blockages, mechanical obstructions, motor wear, or control board malfunctions. By systematically checking each potential issue—starting with safety and electrical integrity, then moving through vent inspection, motor testing, and control board evaluation—you can pinpoint the root cause. The solutions range from simple cleaning or lubricating tasks to component replacements such as the motor, blower wheel, or control board. Routine maintenance and vigilance are key to preventing future stoppages.
With this guide in hand, you’ll have the knowledge to diagnose and repair the motor stoppage issue, keeping your laundry routine smooth and reliable.
Discussion (5)
Join the Discussion
Your comment has been submitted for moderation.
Random Posts

Addressing Apple iPhone 14 Pro Max Battery Drain During Gaming Sessions
Learn why iPhone 14 Pro Max batteries drain during gaming, how to diagnose the issue, and practical tweaks to keep you playing longer with less power loss.
5 months ago

Curing iPhone 14 Plus Charging Port Wear After Daily Fast Charge Cycles
Fast charging can loosen your iPhone 14 Plus port. Learn to spot slow charging and loose cables, then fix it with simple home tricks or long, term prevention.
6 months ago
Xiaomi Mi SmartGlasses 3 Eye Tracking Error Fix
Fix the eye, tracking issue on Mi SmartGlasses 3 with this step, by, step guide to diagnose, clear errors, and restore functionality without repair.
1 year ago

Overcoming Sony X900H Color Saturation Drift During HDR Playback
Discover how to spot and fix color saturation drift on your Sony X900H during HDR playback, tune settings, correct HDR metadata, and keep your scenes vivid and natural.
4 months ago

Remediating Signal Dropout on Bowers & Wilkins PX8 Noise Cancelling Headphones
Discover why the Bowers & Wilkins PX8 may drop sound and how to fix it by tackling interference, low battery, outdated firmware, obstacles and Bluetooth settings for uninterrupted audio
1 week ago
Latest Posts

Fixing the Eufy RoboVac 15C Battery Drain Post Firmware Update
Fix the Eufy RoboVac 15C battery drain after firmware update with our quick guide: understand the changes, identify the cause, and follow step by step fixes to restore full runtime.
5 days ago

Solve Reolink Argus 3 Battery Drain When Using PIR Motion Sensor
Learn why the Argus 3 battery drains fast with the PIR sensor on and follow simple steps to fix it, extend runtime, and keep your camera ready without sacrificing motion detection.
5 days ago

Resolving Sound Distortion on Beats Studio3 Wireless Headphones
Learn how to pinpoint and fix common distortion in Beats Studio3 headphones from source issues to Bluetooth glitches so you can enjoy clear audio again.
6 days ago