Honeywell TP30 Temperature Reads Too Low Troubleshooting Tips
Honeywell TP30 thermostats are popular for their accuracy and ease of use.
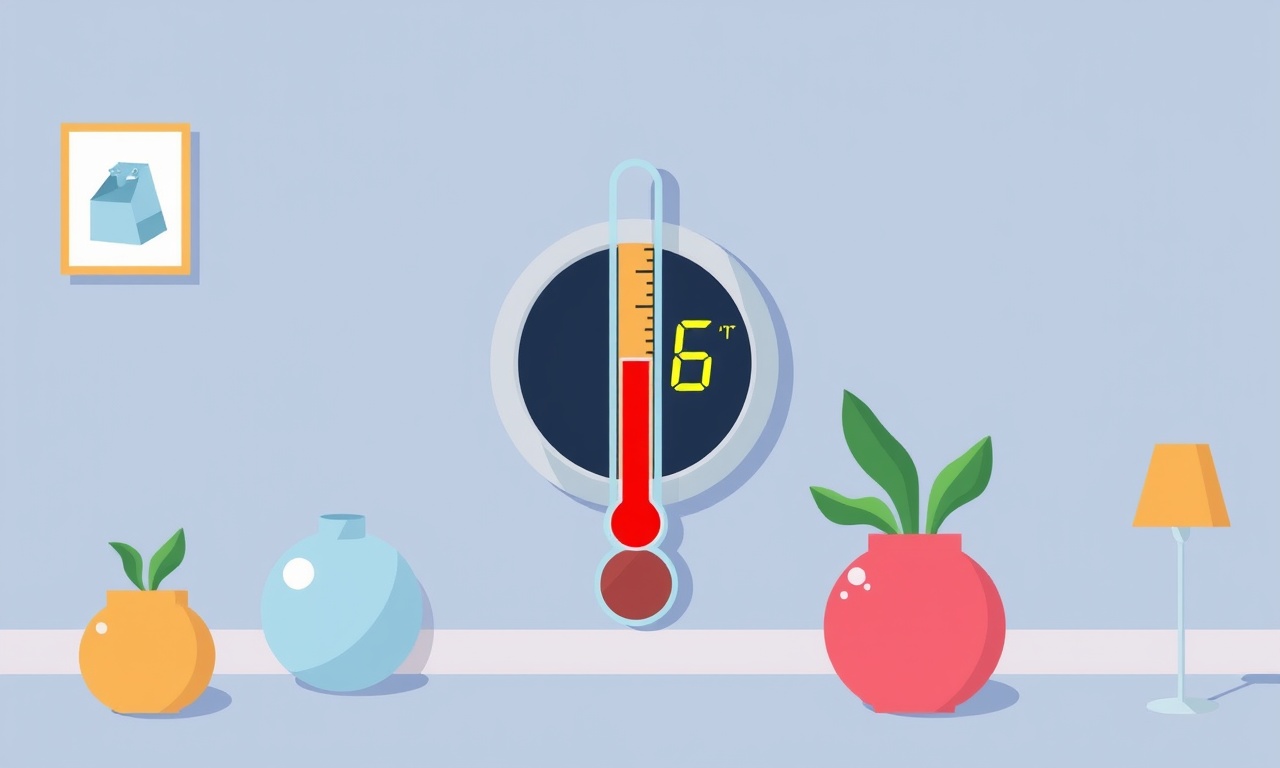
When the temperature display falls far below the room’s actual level, it can feel as though the air is colder than it really is.
A low reading can be caused by everything from a simple battery change to a deeper electrical fault.
Below is a comprehensive troubleshooting guide that walks you through every step, from quick checks to advanced diagnostics, so you can restore your TP30’s accuracy without frustration.
Introduction
A Honeywell TP30 that reads too low can lead to unnecessary energy usage, an uncomfortable indoor climate, and in some cases, the perception that the thermostat is malfunctioning.
Before you decide to replace the unit, you can often correct the problem with a few systematic checks.
This guide provides clear, practical steps and explains why each check is necessary, helping you pinpoint and resolve the issue quickly.
Understanding the Honeywell TP30
The TP30 is a programmable thermostat with a digital display, backlit keypad, and an internal temperature sensor that measures the air within a few inches of the thermostat housing.
Its accuracy depends on:
- Proper power supply (mains or batteries)
- Secure wiring connections
- Correct placement in the room
- Calibration of the internal sensor
- Firmware integrity
When the reading is off, one or more of these components may be at fault.
Common Causes of Low Temperature Readings
| Cause | Why it Happens | Typical Symptoms |
|---|---|---|
| Battery Issues | Low voltage causes the display to err | Erratic or low readings, display dimming |
| Wiring Fault | Loose or reversed wires confuse the sensor | Consistently low or high readings, error codes |
| Sensor Misplacement | Sensor located near a draft or heat source | Sudden drop in reading, reading lower than actual |
| Power Surge or Reset | Firmware reset after power interruption | Calibration lost, reading skewed |
| Faulty Display | Bad LCD or backlight | Inconsistent numbers, flickering |
| External Interference | Nearby electronics or metal objects | Erratic fluctuations |
| Humidity or Dust | Sensor contamination | Slow, steady decline in reading |
Understanding these common culprits helps you decide which checks to perform first.
Step‑by‑Step Troubleshooting
1. Confirm the Problem
- Use a separate thermometer or smartphone app to measure the room’s temperature.
- Compare it to the TP30 reading.
- If the external temperature is at least 2–3 °F higher than the thermostat shows, proceed to the next steps.
2. Power Check
- Mains Power – Verify the outlet is functioning with a multimeter or by plugging in another device.
- Battery Power – If the TP30 uses batteries, open the battery compartment, remove and reinsert fresh batteries.
- Reset – Some models have a reset button; press it for 10 s to clear firmware glitches.
Tip: A sudden power loss during a storm can cause the thermostat to revert to a low default setting.
3. Wiring Inspection
-
Turn off the HVAC circuit breaker to avoid any electrical hazards.
-
Remove the thermostat plate and note the existing wire connections.
-
Check each wire for:
- Secure attachment to terminals
- Signs of corrosion or fraying
- Correct terminal mapping (e.g., R, W, Y, G, O/B, C)
-
Reconnect any loose wires and tighten terminal screws.
4. Sensor Placement
- Location – The thermostat should be mounted at least 5 inches away from windows, vents, or direct air ducts.
- Height – Place it at breathing level (roughly 5–6 ft. from the floor).
- Drafts – Avoid corners or spots where cold air might accumulate.
If the TP30 is near a draft, move it to a more stable spot and observe whether the reading normalizes.
5. Test the Display
- With the thermostat still connected to power, press the “Set” or “Enter” button repeatedly.
- Watch for any flicker or missing digits.
- If the display is dim or unreadable, replace the backlight or consider a firmware update if the model supports it.
6. Calibration Check
Some Honeywell thermostats allow you to calibrate the sensor.
- Press the “Menu” or “Setup” button.
- Navigate to the “Temperature Calibration” option (refer to the user manual).
- If the calibration offset is set too high (e.g., –5 °F), adjust it to zero or the correct value.
- Save the setting and exit.
7. Firmware Update
Older TP30 units may benefit from a firmware refresh.
- Connect the thermostat to a compatible smartphone app or a PC via USB.
- Follow the manufacturer’s instructions to download and install the latest firmware.
Note: Firmware updates may reset all programming, so back up your settings beforehand.
8. Environmental Interference
- Move any large metal objects, such as refrigerators or file cabinets, away from the thermostat housing.
- Ensure no high‑frequency electronics (e.g., Wi‑Fi routers) are too close.
9. Replace the Thermostat
If all the above steps fail, the unit itself may be defective.
- Order a replacement TP30 from Honeywell or an authorized retailer.
- Install the new unit following the same mounting and wiring procedures.
Resetting the Thermostat
Resetting can clear many software glitches that cause low readings.
- Locate the reset button (often on the back).
- Press and hold for 10 seconds.
- Release and wait for the display to reboot.
- Re-enter your programming settings.
If the thermostat still shows a low reading after reset, continue with wiring and placement checks.
Checking the Wiring and Connections
A common source of low temperature errors is a wiring mistake.
- Reverse Polarity – A reversed R or C wire can produce a false low reading.
- Missing C Wire – If the thermostat lacks a common wire, it may default to a low temperature.
- Short Circuits – Inspect all wires for any signs of shorting or damaged insulation.
Use a multimeter to verify continuity between terminals and confirm that the voltage matches the expected supply (typically 24 VAC).
Inspecting the Sensor and Placement
The TP30’s internal sensor is highly sensitive.
- Dust Accumulation – Gently clean the sensor area with a soft brush or canned air.
- Temperature Gradient – Ensure the thermostat is not sitting on a cold surface such as a bare floor.
- Ventilation – Place it away from air conditioning vents to avoid cold drafts.
Evaluating Power Supply and Batteries
For battery‑powered models:
- Battery Life – Replace batteries every 6–12 months, even if the unit indicates sufficient voltage.
- Battery Type – Use the specified battery type (usually 9 V alkaline).
- Battery Contact – Inspect for corrosion; clean with a dry cloth if necessary.
For mains‑powered units, confirm that the circuit breaker has not tripped and that the transformer is providing stable voltage.
Testing the Display and Calibration
- Visual Inspection – Look for cracks or cracks in the display glass.
- Backlight Check – If the screen is dim, the backlight may be failing.
- Calibration Offset – Use the manual’s calibration procedure to set the sensor to the correct temperature.
If calibration changes do not affect the reading, the display may be faulty and replacement could be needed.
Advanced Diagnostics and When to Call Support
If the problem persists after exhaustive checks, consider the following advanced steps:
- Use a Thermistor Tester – Measure the resistance of the internal thermistor to confirm it falls within manufacturer specs.
- Firmware Debug Mode – Some units expose a hidden debug mode that logs temperature sensor data.
- Professional Inspection – A qualified HVAC technician can run a continuity test on the thermostat’s PCB.
When to contact Honeywell support:
- The thermostat shows error codes that cannot be cleared.
- Firmware update fails or the unit does not recognize the update.
- Physical damage to the thermostat housing or internal components.
Frequently Asked Questions
Q1: Why does my TP30 display a temperature that is 5 °F lower than the actual room temperature?
A: The most common reasons are a faulty battery, loose wiring, or improper placement. Follow the troubleshooting steps above to isolate the issue.
Q2: Can a dirty sensor cause low readings?
A: Yes. Dust or debris can impair the sensor’s ability to detect temperature accurately. Clean the sensor area gently.
Q3: Is it safe to reset the thermostat?
A: Yes. Resetting is a standard procedure that clears temporary software glitches without damaging the unit.
Q4: How often should I replace the batteries?
A: Replace batteries every 6–12 months, depending on usage and battery brand.
Q5: My TP30 is on mains power, but still reads low. What next?
A: Check the wiring, sensor placement, and consider a firmware update. If the problem remains, contact support.
Conclusion
A Honeywell TP30 that reads too low can be frustrating, but most issues stem from simple fixes—battery replacement, wiring checks, sensor placement, or calibration.
By methodically following the steps outlined above, you can often restore accurate readings without needing a new thermostat.
If all else fails, professional diagnostics or a replacement unit will resolve the problem.
Remember, maintaining proper placement, regular battery changes, and routine firmware updates will keep your TP30 performing reliably for years.
Discussion (3)
Join the Discussion
Your comment has been submitted for moderation.
Random Posts

Solving a Persistent Stain Release Issue on Whirlpool WFW5620HW
Tired of spots on your clothes? Discover how to diagnose and fix the stubborn stain release problem on your Whirlpool WFW5620HW with our step-by-step guide.
9 months ago

De'Longhi DL150 Steam Iron Water Recirculation Failure Solution
Trouble with your DeLonghi DL150 steam iron? Learn why water recirculation fails, diagnose the issue, and follow our simple step by step solution to restore steady steam and wrinkle free clothes.
3 months ago

Resolving Lenovo Mirage Solo Bluetooth Pairing Issues
Fix Lenovo Mirage Solo Bluetooth glitches fast with this step by step guide. From simple checks to firmware hacks, reconnect your headset, controllers, and peripherals in minutes.
2 months ago
Lenovo SmartEyewear X Eye Tracking Error Troubleshoot
Get your Lenovo SmartEyewear X eye tracking back with our step-by-step guide. Diagnose glitches, reset settings, and restore smooth gaze navigation quickly.
3 months ago

Calibrating Noise‑Cancellation on Beats Studio Buds
Master Beats Studio Buds ANC: learn the science, step, by, step calibration, and troubleshooting to silence distractions and boost your listening experience.
10 months ago
Latest Posts

Fixing the Eufy RoboVac 15C Battery Drain Post Firmware Update
Fix the Eufy RoboVac 15C battery drain after firmware update with our quick guide: understand the changes, identify the cause, and follow step by step fixes to restore full runtime.
5 days ago

Solve Reolink Argus 3 Battery Drain When Using PIR Motion Sensor
Learn why the Argus 3 battery drains fast with the PIR sensor on and follow simple steps to fix it, extend runtime, and keep your camera ready without sacrificing motion detection.
5 days ago

Resolving Sound Distortion on Beats Studio3 Wireless Headphones
Learn how to pinpoint and fix common distortion in Beats Studio3 headphones from source issues to Bluetooth glitches so you can enjoy clear audio again.
6 days ago