How to Fix a Faulty Water Inlet Valve on Whirlpool WFW5620HW
Introduction
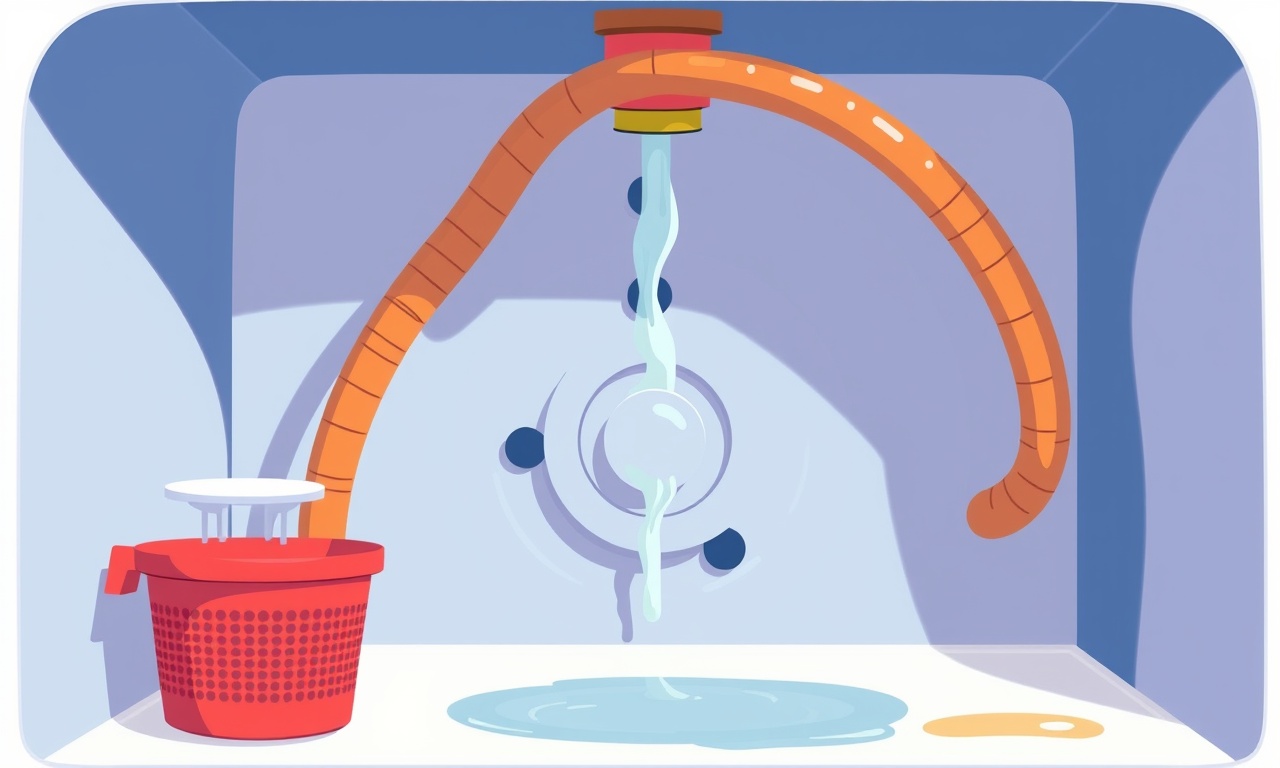
When the Whirlpool WFW5620HW refuses to fill with water, a faulty water inlet valve is often the culprit. This small but essential component controls the flow of hot and cold water into the drum. If it stops working, the machine will cycle through its rinse and spin stages without ever filling, causing frustration and wasted time. The good news is that many users can replace the valve themselves with a moderate amount of tools and a little patience.
In this guide we walk through every step—from diagnosing the problem to testing the repaired machine. The instructions are written for beginners and seasoned DIYers alike, with safety warnings, tips for working around the washer, and advice on how to keep the valve running smoothly in the future.
Why the Water Inlet Valve Fails
The water inlet valve is a solenoid that opens and closes when the washer receives a signal from the control board. Over time, it can develop issues due to:
- Mineral buildup – especially in areas with hard water, which can clog the tiny orifices.
- Electrical problems – a faulty relay or wiring harness can prevent the solenoid from energizing.
- Physical wear – the valve’s diaphragm and spring may weaken, causing leaks or no water flow.
- Temperature sensor failure – the washer may misread water temperature and skip the fill cycle.
Understanding the root cause helps you decide whether a simple cleaning will suffice or if a full replacement is necessary.
Safety First
Before you start, make sure you follow these precautions:
- Turn off the power – unplug the washer from the outlet or switch off the circuit breaker that powers the unit.
- Shut off water – close the hot and cold supply valves located behind the washer.
- Work on a stable surface – place a towel or a piece of plywood under the machine to keep it steady.
- Use insulated tools – avoid metal objects that can conduct electricity if the washer’s wiring is still live.
- Read the user manual – refer to the Whirlpool WFW5620HW service guide for any model‑specific details.
If you’re unsure about any step, consider hiring a professional appliance repair technician.
Tools and Parts You’ll Need
| Tool / Part | Description |
|---|---|
| Adjustable wrench | For loosening supply hoses and mounting bolts. |
| Phillips and flat‑head screwdrivers | For removing the back panel and access panel. |
| Socket set (10mm and 12mm) | Needed for the inlet valve mounting bolts. |
| Multimeter | To test voltage and continuity. |
| Replacement water inlet valve (model 10S-10101) | Make sure it matches the Whirlpool WFW5620HW. |
| Clean rag and water | For cleaning debris from the valve housing. |
| Small brush (old toothbrush) | For scrubbing mineral deposits. |
| Silicone sealant or washer gasket | To seal the new valve. |
Step 1 – Access the Water Inlet Valve
- Move the washer away from the wall and any cabinets so you can work around the back.
- Unplug the unit and shut off the water.
- Locate the rear access panel – it’s usually a rectangular panel secured by a few screws. Remove these screws with a Phillips screwdriver and set the panel aside.
- Identify the water inlet valve – it sits near the bottom of the back panel and is connected to the hot and cold supply hoses.
- Mark the hose connections – if you’re going to detach them, label each hose (hot or cold) so you know where to reconnect them later.
If your model has a separate “fill valve” located inside the cabinet, you may need to remove the cabinet door or open a panel inside the cabinet. Refer to your service manual for exact access points.
Step 2 – Remove the Old Valve
- Detach the hoses – using the adjustable wrench, loosen the hose clamps that attach the hot and cold hoses to the inlet valve. Slide the hoses off and set them aside in a shallow container.
- Disconnect electrical connectors – the valve has a small plug that feeds power from the control board. Press the release tab and pull the connector gently.
- Unscrew the valve – using the socket set, loosen the mounting bolts that secure the valve to the cabinet. Remove the valve from its housing.
- Inspect the valve – look for cracks, a broken diaphragm, or visible mineral buildup. If the valve appears damaged, it should be replaced.
Step 3 – Clean the Valve Housing (Optional)
Even if you’re replacing the valve, cleaning the housing helps prevent future clogs.
- Remove the valve seal – the rubber gasket inside the valve’s seat may be worn. Remove it and replace with a new one.
- Scrub the seat – use a small brush and a bit of vinegar or a commercial descaling solution to loosen mineral deposits.
- Dry the area – use a rag to remove any moisture.
- Reassemble the housing – place the new gasket in place and secure the valve again.
Step 4 – Install the New Valve
- Place the new valve into the housing – ensure the inlet side faces the hoses.
- Secure with mounting bolts – tighten the bolts to the manufacturer’s torque specification (usually around 8–10 Nm).
- Reconnect the electrical plug – press it firmly into the connector on the control board.
- Attach the hot and cold hoses – slide the hoses back onto the valve, tighten the clamps to snug fit, and double‑check for leaks.
- Reassemble any panels – replace the rear access panel and secure with screws.
Step 5 – Test the Washer
- Turn the water supply back on – open the hot and cold valves.
- Plug the washer back in – or switch the circuit breaker back on.
- Run a short cycle – select a rinse or spin cycle that requires water filling.
- Observe the water inlet – the hoses should fill, and the valve should open and close without delay.
- Check for leaks – look under the washer and around the hose connections for any water drips.
If the machine still does not fill, the problem might lie in the control board or the valve’s electrical wiring. Use a multimeter to test for voltage at the valve connector. A lack of voltage indicates a control board issue, whereas a voltage present but no flow suggests a mechanical failure in the valve itself.
Troubleshooting Common Issues
| Symptom | Likely Cause | Fix |
|---|---|---|
| No water fills at all | Faulty water inlet valve or control board | Replace valve; test voltage; if voltage present, replace the valve again or check wiring. |
| Water flows but not all the way | Mineral deposits clogging the valve | Clean the valve, replace it if cleaning fails. |
| Valve leaks after installation | Incorrect gasket or bad clamp | Replace gasket; ensure clamps are tightened evenly. |
| Cycle stops mid‑wash with “water error” | Valve not receiving power | Check electrical connector, test voltage, replace relay if needed. |
Preventive Maintenance Tips
- Use a water softener if you have hard water.
- Run a vinegar rinse every month to dissolve mineral buildup in the inlet valve.
- Inspect hoses and clamps annually for cracks or wear.
- Keep the cabinet area dry to prevent rust on the valve housing.
- Avoid overfilling the washer’s detergent dispenser; excess suds can clog the valve.
Final Thoughts
Replacing a faulty water inlet valve on the Whirlpool WFW5620HW is a manageable DIY task when you follow a systematic approach. By taking safety precautions, gathering the right tools, and carefully following each step, you can restore your washer’s performance and save on costly professional repairs. Remember to document your steps so that if a similar issue arises again, you’ll know exactly what was done and where to look.
A well‑maintained water inlet valve not only keeps your machine running smoothly but also prolongs its overall lifespan. Happy repairing, and may your laundry cycles be ever full and efficient.
Discussion (9)
Join the Discussion
Your comment has been submitted for moderation.
Random Posts

Analyzing iPhone 13 Pro Max Apple Pay Transaction Declines After Software Update
After the latest iOS update, iPhone 13 Pro Max users see more Apple Pay declines. This guide explains the technical cause, how to diagnose the issue, and steps to fix payment reliability.
2 months ago

Dyson AM15 Mist Not Spreading What Causes It And How To Repair
Find out why your Dyson AM15 Mist isn’t misting, learn the common causes, and follow our step, by, step guide to restore full misting performance quickly.
2 months ago

Adjusting the Neato Botvac D6 for Unexpected Cleaning Pause
Learn why your Neato Botvac D6 pauses, diagnose the issue, and tweak settings for smooth, uninterrupted cleaning.
11 months ago

Quelling LG OLED G1 Picture Loop at Startup
Stop the LG OLED G1 picture loop that stutters at startup, follow these clear steps to diagnose software glitches, adjust settings, and restore a smooth launch every time.
4 months ago

Resolving Room Acoustics Calibration on Samsung HW Q990T
Calibrate your Samsung HW, Q990T to your room's acoustics and unlock true cinema-quality sound, every dialogue and subtle score becomes crystal clear.
1 month ago
Latest Posts

Fixing the Eufy RoboVac 15C Battery Drain Post Firmware Update
Fix the Eufy RoboVac 15C battery drain after firmware update with our quick guide: understand the changes, identify the cause, and follow step by step fixes to restore full runtime.
5 days ago

Solve Reolink Argus 3 Battery Drain When Using PIR Motion Sensor
Learn why the Argus 3 battery drains fast with the PIR sensor on and follow simple steps to fix it, extend runtime, and keep your camera ready without sacrificing motion detection.
5 days ago

Resolving Sound Distortion on Beats Studio3 Wireless Headphones
Learn how to pinpoint and fix common distortion in Beats Studio3 headphones from source issues to Bluetooth glitches so you can enjoy clear audio again.
6 days ago