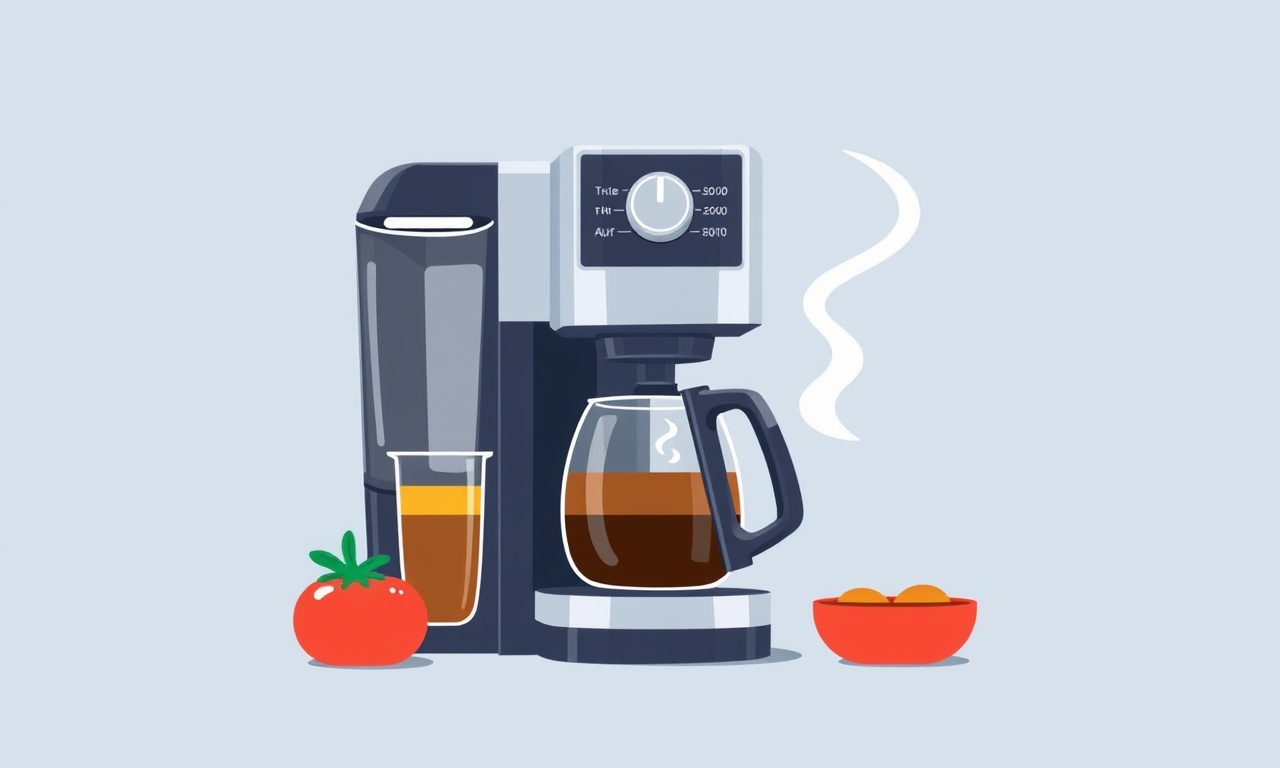
How to Handle a Slow Brew Cycle in a Cuisinart DCC-7500
Coffee makers are a staple in most kitchens, and the Cuisinart DCC‑7500 is known for its consistency and durability. When its brew cycle slows down unexpectedly, it can feel like a setback that throws off the whole day’s routine. Fortunately, most slow‑brew issues can be traced to simple causes such as a clogged filter, a partially closed valve, or a buildup of mineral deposits. This guide will walk you through every step you need to take to diagnose and fix a sluggish brew cycle, ensuring that your machine returns to its optimal performance quickly and safely.
Understanding the DCC‑7500 Brew Cycle
The DCC‑7500 uses a single‑serve pod system combined with a 40‑oz water reservoir. The machine’s internal plumbing directs water from the reservoir, through a heating element, and into the brew basket where the pod is placed. The cycle is controlled by a micro‑processor that monitors temperature, flow, and time. If any of these parameters deviate, the machine may pause, extend the cycle, or even shut off temporarily.
A slow brew can mean that water is moving too slowly through the pod, that the pod is not fully saturated, or that the machine is compensating for a perceived malfunction. Recognizing the symptoms early allows you to address the underlying issue before it affects taste or leads to longer‑term damage.
Common Reasons for a Slow Brew
- Clogged or Dirty Filter – Residue from coffee grounds or mineral deposits can restrict flow.
- Pod Misalignment – A pod that is not seated properly can block the water path.
- Mineral Buildup on Heating Element – Hard water can leave deposits that reduce heat transfer.
- Faulty Water Valve – The valve may not fully open, limiting the volume that reaches the basket.
- Incorrect Brew Strength Setting – Choosing a very strong setting forces the machine to use less water per unit time.
- Power Supply Variability – Fluctuations in the outlet voltage can reduce pump pressure.
Each of these issues can be identified and rectified by following a systematic troubleshooting approach.
Pre‑Brewing Checklist
Before you dive into deeper diagnostics, perform a quick pre‑brewing check. This saves time and ensures that you’re not overlooking the obvious.
- Confirm Water Level – Make sure the reservoir contains the recommended amount of water (usually at least 12 oz for a single pod).
- Verify Pod Placement – Inspect that the pod sits flush in the brew basket and that the cup is correctly positioned.
- Check Power Source – Confirm that the outlet is functioning by plugging in a different device.
- Inspect for Obvious Clogs – Look at the filter screen for any visible debris or coffee grounds.
- Read the Display – Pay attention to any error codes or warnings that appear during the initial start.
If all of these points check out, proceed to the detailed troubleshooting steps below.
Step‑by‑Step Troubleshooting
Inspecting the Water Reservoir
Water quality and cleanliness are critical to a smooth brew cycle.
- Remove the Reservoir – Unscrew the cap and detach the reservoir from the machine.
- Wash Thoroughly – Rinse with warm soapy water and then with clean water.
- Check for Residue – Look for any mineral buildup on the inner walls.
- Re‑attach Properly – Ensure the reservoir is seated firmly; a loose fit can create pressure leaks.
If you use a water softener, consider switching to filtered water to reduce mineral deposits.
Checking the Brew Basket and Filter
The brew basket and its filter screen are the first line of defense against coffee grounds entering the machine’s plumbing.
- Remove the Basket – Gently pull the basket out and inspect the screen.
- Clean the Screen – Use a small brush or a damp cloth to remove any trapped grounds.
- Inspect for Damage – Look for cracks or deformations that could impede flow.
- Reinstall Correctly – Place the basket back into its slot, aligning it so the screen sits flush.
If the filter screen is visibly damaged or warped, replace it with a new one from the manufacturer.
Cleaning the Internal Components
Over time, coffee oils and grounds can accumulate inside the machine’s internals, especially around the pump and heating element.
- Perform a Self‑Clean Cycle – Most DCC‑7500 models have a cleaning mode that uses water to flush the internal pathways.
- Use Descaling Solution – Run a descaling cycle once a month, following the manufacturer’s instructions.
- Manual Cleaning – If the machine is stuck, detach the water reservoir and use a cotton swab dipped in vinegar to reach tight spaces.
After cleaning, reassemble all components, fill the reservoir, and run a test brew.
Inspecting the Heating Element
The heating element is responsible for bringing water up to the optimal brewing temperature. A fouled element can reduce flow and heat transfer.
- Visual Check – Look for visible mineral crust around the element housing.
- Descale – If crust is present, run a descaling cycle or soak the element in a vinegar‑water solution for an hour, then rinse thoroughly.
- Temperature Confirmation – Some models allow you to check the brew temperature via the display. Verify that it matches the recommended range.
If the element shows signs of damage or if descaling does not improve performance, consult a professional technician.
Adjusting Brew Strength Settings
The DCC‑7500 offers several brew strength options. Selecting a too‑strong setting forces the machine to use a smaller amount of water over a longer period, which can feel sluggish.
- Select a Moderate Strength – Try the medium or regular setting to see if the cycle speeds up.
- Experiment with a Lighter Setting – A lighter brew will use more water, increasing flow.
If a moderate setting still results in a slow cycle, move on to the next step.
Inspecting the Timer and Cycle Settings
Sometimes the problem lies in the machine’s internal timers or software glitches.
- Reset the Machine – Turn the machine off, unplug it for a minute, then plug it back in.
- Clear Settings – Some models allow you to reset the brew cycle timer to default values via the menu.
- Update Firmware – If the machine supports firmware updates, download the latest version from the manufacturer’s website and install it.
A reset can clear corrupted settings that may have slowed the brew cycle.
Checking for Power Issues
Electrical irregularities can reduce pump pressure, leading to a slower brew.
- Verify Outlet Voltage – Use a multimeter to confirm that the outlet provides the correct voltage (usually 120V).
- Inspect Power Cord – Look for frayed or damaged sections.
- Try a Different Outlet – If the machine performs well on another outlet, the original outlet may be unstable.
If the outlet voltage fluctuates, consider installing a surge protector or using a dedicated circuit for the coffee maker.
Preventive Maintenance Tips
Regular maintenance not only keeps the brew cycle quick but also extends the life of the machine.
- Weekly Cleaning – After each use, rinse the brew basket, screen, and water reservoir.
- Monthly Descaling – Run a descaling cycle every month or after every 20 uses, whichever comes first.
- Check Filters Regularly – Replace the filter screen every 3–4 months if you notice reduced flow.
- Keep the Machine Dry – After cleaning, wipe down the exterior and allow it to dry completely before storing.
By establishing a routine, you can prevent the slow‑brew problem from ever arising.
When to Call Support
Despite your best efforts, some issues require professional attention.
- Persistent Slow Brew After Troubleshooting – If the machine continues to brew slowly after all the steps above.
- Error Codes Persist – Error messages that do not resolve with a reset.
- Physical Damage – Cracks in the housing, broken components, or exposed wiring.
- Unusual Noises – Grinding or humming noises that may indicate a pump or motor problem.
Reach out to Cuisinart customer support or an authorized service center. They can provide parts or guidance specific to your model.
FAQ
| Question | Answer |
|---|---|
| Why does my DCC‑7500 take longer to brew with certain pods? | Some pods have a higher density or larger size, which can naturally slow water flow. Using a matching pod size or adjusting the brew strength can help. |
| Can I use tap water instead of filtered water? | Yes, but if your tap water is hard, mineral buildup can occur faster. Using filtered water can reduce this issue. |
| Does the machine require a specific type of pod? | The DCC‑7500 is compatible with most standard pod sizes. Ensure the pod is compatible and not damaged. |
| How long should a descaling cycle take? | A full descaling cycle typically takes 30–45 minutes. Follow the machine’s instructions for exact timing. |
| Is it safe to wash the brew basket in a dishwasher? | Most users prefer hand washing to avoid damaging the filter screen. Check the manufacturer’s guidelines before using a dishwasher. |
Closing Remarks
A slow brew cycle on the Cuisinart DCC‑7500 can feel frustrating, but it is rarely a catastrophic issue. By understanding the machine’s internal workings, performing regular maintenance, and following a systematic troubleshooting procedure, you can identify and resolve almost any cause of sluggish brewing. Keep a clean reservoir, replace filters on schedule, and don’t hesitate to reset the machine or seek professional help if needed. With a little attention, your coffee maker will continue to deliver consistent, flavorful brews, keeping your mornings smooth and energized.
Discussion (10)
Join the Discussion
Your comment has been submitted for moderation.
Random Posts

Addressing Apple iPhone 14 Pro Max Battery Drain During Gaming Sessions
Learn why iPhone 14 Pro Max batteries drain during gaming, how to diagnose the issue, and practical tweaks to keep you playing longer with less power loss.
5 months ago

Curing iPhone 14 Plus Charging Port Wear After Daily Fast Charge Cycles
Fast charging can loosen your iPhone 14 Plus port. Learn to spot slow charging and loose cables, then fix it with simple home tricks or long, term prevention.
6 months ago
Xiaomi Mi SmartGlasses 3 Eye Tracking Error Fix
Fix the eye, tracking issue on Mi SmartGlasses 3 with this step, by, step guide to diagnose, clear errors, and restore functionality without repair.
1 year ago

Overcoming Sony X900H Color Saturation Drift During HDR Playback
Discover how to spot and fix color saturation drift on your Sony X900H during HDR playback, tune settings, correct HDR metadata, and keep your scenes vivid and natural.
4 months ago

Remediating Signal Dropout on Bowers & Wilkins PX8 Noise Cancelling Headphones
Discover why the Bowers & Wilkins PX8 may drop sound and how to fix it by tackling interference, low battery, outdated firmware, obstacles and Bluetooth settings for uninterrupted audio
1 week ago
Latest Posts

Fixing the Eufy RoboVac 15C Battery Drain Post Firmware Update
Fix the Eufy RoboVac 15C battery drain after firmware update with our quick guide: understand the changes, identify the cause, and follow step by step fixes to restore full runtime.
5 days ago

Solve Reolink Argus 3 Battery Drain When Using PIR Motion Sensor
Learn why the Argus 3 battery drains fast with the PIR sensor on and follow simple steps to fix it, extend runtime, and keep your camera ready without sacrificing motion detection.
5 days ago

Resolving Sound Distortion on Beats Studio3 Wireless Headphones
Learn how to pinpoint and fix common distortion in Beats Studio3 headphones from source issues to Bluetooth glitches so you can enjoy clear audio again.
6 days ago