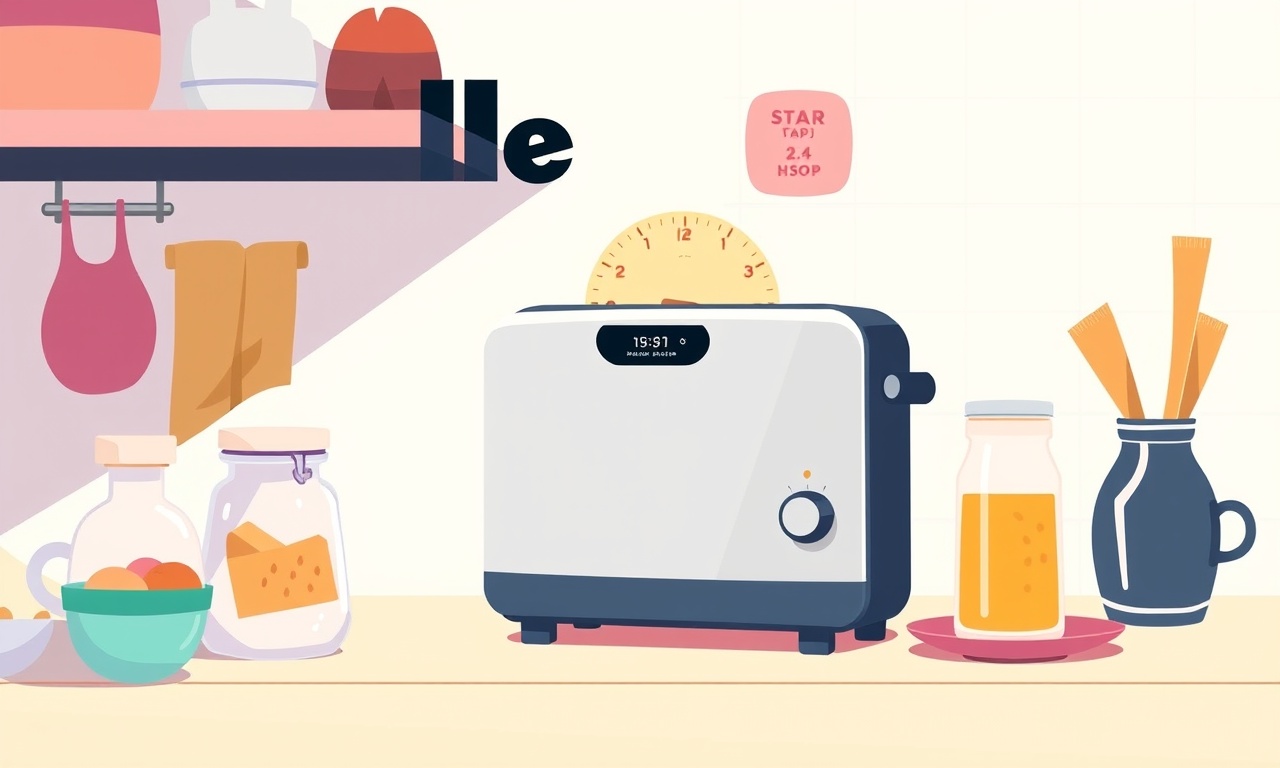
How to Stop the Breville BES860 from Showing an Error Code
Understanding why the Breville BES860 espresso machine repeatedly shows an error code is the first step toward a quick fix. The BES860 is a sophisticated appliance that relies on sensors, pumps, and software to deliver a consistent cup of coffee. When one of its systems malfunctions, the machine signals the issue with an error code, a helpful but sometimes frustrating warning. This guide explains what those codes mean, identifies common causes, and walks you through a detailed, step‑by‑step process to eliminate the problem and get your espresso maker back to working order.
Why Breville BES860 Shows Error Codes
Every modern espresso machine, including the Breville BES860, contains a built‑in diagnostic system. When a sensor detects a problem—such as a blocked brew head, low water pressure, or an electrical fault—the machine halts operation and displays a code on its digital display. These codes serve two purposes:
- Immediate Feedback – The user knows that something is wrong and must not attempt to run the machine until the issue is resolved.
- Diagnostic Aid – Service technicians use the code to identify the affected component quickly.
While a generic “error” message can feel daunting, the code is a precise clue. Common codes for the BES860 include:
| Code | Meaning |
|---|---|
| E001 | Water supply problem (low pressure or blocked line) |
| E002 | Over‑temperature in the boiler |
| E003 | Pump failure or blockage |
| E004 | Sensor fault (temperature, pressure, or flow) |
| E005 | Electronic control board error |
| E006 | Maintenance required (e.g., descaling overdue) |
| E007 | Safety interlock (e.g., lid not closed) |
| E008 | Unexpected power cycle |
Knowing the code is essential because each one points to a specific component or fault type. The following sections explain how to interpret these codes and guide you through the most effective troubleshooting methods.
Common Causes of Error Codes on the BES860
Before diving into repairs, it’s useful to understand why the machine might generate errors in the first place. Several recurring issues are responsible for most error displays:
1. Power‑Related Issues
- Unstable Voltage – If the outlet or surge protector delivers fluctuating voltage, the machine’s electronic board can misread signals and trigger an error.
- Loose Connections – A loose plug or frayed power cord can cause intermittent power loss.
2. Water Supply Problems
- Clogged Water Filter – A partially blocked filter can restrict water flow, leading to pressure errors.
- Air Bubbles – Trapped air in the line may cause the pump to stall.
3. Blockage or Clogging
- Brew Head Obstruction – Accumulated coffee grounds or scaling can block the brew head, raising pressure readings.
- Pump Clogging – Particulate matter can clog the pump, causing it to fail.
4. Sensor Malfunction
- Temperature Sensor Drift – Over time, the temperature sensor may become less accurate.
- Pressure Sensor Fault – A faulty pressure sensor can misinterpret boiler pressure.
5. Software or Firmware Glitches
- Outdated Firmware – The BES860 receives firmware updates that fix bugs and improve stability.
- Software Corruption – A corrupted program can misinterpret sensor inputs.
6. Mechanical Wear
- Pump Wear – The pump is the heart of the machine; after many cycles, it may develop mechanical fatigue.
- Seals and Gaskets – Worn seals can leak water and alter pressure.
Recognizing the most likely culprit can save time and reduce frustration.
Step‑by‑Step Troubleshooting Guide
Below is a comprehensive, systematic approach to diagnosing and fixing most Breville BES860 error codes. Follow each step in order, and you will increase the likelihood of a permanent solution.
Reset the Machine
Before attempting any repairs, reset the machine to clear transient faults.
- Turn the power switch to the OFF position.
- Unplug the machine from the outlet.
- Wait 60 seconds.
- Plug the machine back in and turn it ON.
The display should now be clear. If the error code persists, proceed to the next section.
Inspect the Power Supply
An unstable power source can trigger a series of errors.
- Check the Outlet – Use a different outlet or a known‑good power strip.
- Inspect the Cable – Look for frays, cracks, or bent pins.
- Try a Surge Protector – A high‑quality surge protector can guard against voltage spikes.
If the error disappears after changing the power source, replace or repair the faulty outlet or cable.
Verify the Water Reservoir and Filter
- Remove the water reservoir.
- Check the filter for visible blockage.
- If the filter is clogged, rinse it thoroughly or replace it with a new one.
- Inspect the reservoir itself for cracks or residue build‑up.
Reattach the reservoir, fill it with fresh water, and run a short test cycle. If the error code disappears, you’ve solved a water‑supply problem.
Clear the Brew Head
A blocked brew head is a common cause of pressure errors.
- Remove the portafilter and clean the filter basket.
- Use a brush or compressed air to dislodge any residual coffee grounds.
- Inspect the internal channels of the brew head for scaling or debris.
- If scaling is present, run a descaling solution through the machine.
Descaling typically eliminates mineral buildup that can block the brew head and cause the machine to over‑pressurize.
Descale the Machine
Even if no scaling is visible, regular descaling prevents future errors.
- Fill the reservoir with a descaling solution as recommended in the manual.
- Run a full brew cycle to pass the solution through the entire system.
- Rinse thoroughly with clean water to flush residual acid.
- Repeat if necessary until the machine completes a cycle without error.
Descaling also helps reset temperature and pressure sensors by removing mineral deposits that can interfere with readings.
Inspect for Stuck or Faulty Buttons
- Examine the control panel for any buttons that feel sticky or do not return to their normal position.
- Use a soft, damp cloth to clean around the buttons.
- If a button is physically damaged, it may trigger an error by sending incorrect signals.
Update Firmware
Outdated firmware can misinterpret sensor signals.
- Connect the machine to the internet using the Wi‑Fi option if available.
- Navigate to the “Settings” menu and select “Firmware Update.”
- Follow on‑screen prompts to download and install the latest firmware.
If the machine is not Wi‑Fi enabled, consult Breville’s support site for a manual update procedure or contact customer service for assistance.
Check the Pump and Seals
If the error code is E003 (pump failure) or E004 (sensor fault), the pump may be the culprit.
- Listen for Pump Noise – A humming or grinding noise indicates blockage.
- Open the Service Panel – Remove the cover to inspect the pump housing.
- Inspect Seals and Gaskets – Look for cracks, leaks, or wear.
- Clean the Pump – Carefully remove any debris with a brush or compressed air.
- Replace Faulty Components – If the pump or seals are damaged, replace them with Breville‑approved parts.
If you are not comfortable opening the machine, it is safest to call a professional technician.
Examine the Temperature Sensor
An erratic temperature sensor can trigger E002 (over‑temperature) or E004 (sensor fault).
- Use a multimeter to test the sensor’s resistance.
- Compare the reading with the manufacturer’s specification.
- If the reading deviates significantly, replace the sensor.
Temperature sensors are typically located near the boiler or within the heating element. Replacement should be performed by a qualified technician unless you have experience with electronic components.
Consult the Manual and Support Resources
If all troubleshooting steps fail, consult the official Breville BES860 manual for specific error code troubleshooting. Breville’s online support portal also offers:
- FAQs
- Video tutorials
- Live chat or email support
- Authorized repair centers
If you suspect a deeper electronic issue (such as a faulty control board), professional service is strongly recommended.
Preventive Maintenance Tips
To keep your BES860 free of error codes in the future, incorporate these habits into your routine:
- Regular Descaling – Follow the manufacturer’s schedule (usually every 1–2 months depending on usage).
- Water Quality – Use filtered or bottled water to reduce mineral buildup.
- Daily Cleaning – Rinse the portafilter, basket, and brew head after each use.
- Weekly Inspection – Check the water reservoir, filters, and seals for wear.
- Software Updates – Install firmware updates as soon as they are released.
- Gentle Operation – Avoid forcing the machine to run beyond its capacity.
By combining vigilant maintenance with a structured troubleshooting approach, you can minimize downtime and extend the life of your Breville BES860 espresso machine.
With the steps outlined above, you should be able to identify and resolve most error codes that appear on the Breville BES860. Remember to approach each potential issue methodically, keep a clear record of what you’ve tried, and seek professional help if the problem appears beyond your skill level. Your espresso machine’s reliability is in your hands—apply these guidelines, and enjoy the rich, café‑quality coffee it is designed to produce.
Discussion (10)
Join the Discussion
Your comment has been submitted for moderation.
Random Posts

Solving a Persistent Stain Release Issue on Whirlpool WFW5620HW
Tired of spots on your clothes? Discover how to diagnose and fix the stubborn stain release problem on your Whirlpool WFW5620HW with our step-by-step guide.
9 months ago

De'Longhi DL150 Steam Iron Water Recirculation Failure Solution
Trouble with your DeLonghi DL150 steam iron? Learn why water recirculation fails, diagnose the issue, and follow our simple step by step solution to restore steady steam and wrinkle free clothes.
3 months ago

Resolving Lenovo Mirage Solo Bluetooth Pairing Issues
Fix Lenovo Mirage Solo Bluetooth glitches fast with this step by step guide. From simple checks to firmware hacks, reconnect your headset, controllers, and peripherals in minutes.
2 months ago
Lenovo SmartEyewear X Eye Tracking Error Troubleshoot
Get your Lenovo SmartEyewear X eye tracking back with our step-by-step guide. Diagnose glitches, reset settings, and restore smooth gaze navigation quickly.
3 months ago

Calibrating Noise‑Cancellation on Beats Studio Buds
Master Beats Studio Buds ANC: learn the science, step, by, step calibration, and troubleshooting to silence distractions and boost your listening experience.
10 months ago
Latest Posts

Fixing the Eufy RoboVac 15C Battery Drain Post Firmware Update
Fix the Eufy RoboVac 15C battery drain after firmware update with our quick guide: understand the changes, identify the cause, and follow step by step fixes to restore full runtime.
5 days ago

Solve Reolink Argus 3 Battery Drain When Using PIR Motion Sensor
Learn why the Argus 3 battery drains fast with the PIR sensor on and follow simple steps to fix it, extend runtime, and keep your camera ready without sacrificing motion detection.
5 days ago

Resolving Sound Distortion on Beats Studio3 Wireless Headphones
Learn how to pinpoint and fix common distortion in Beats Studio3 headphones from source issues to Bluetooth glitches so you can enjoy clear audio again.
6 days ago