Lenovo ThinkCam E2 Microphone Stops Working After Update
Introduction
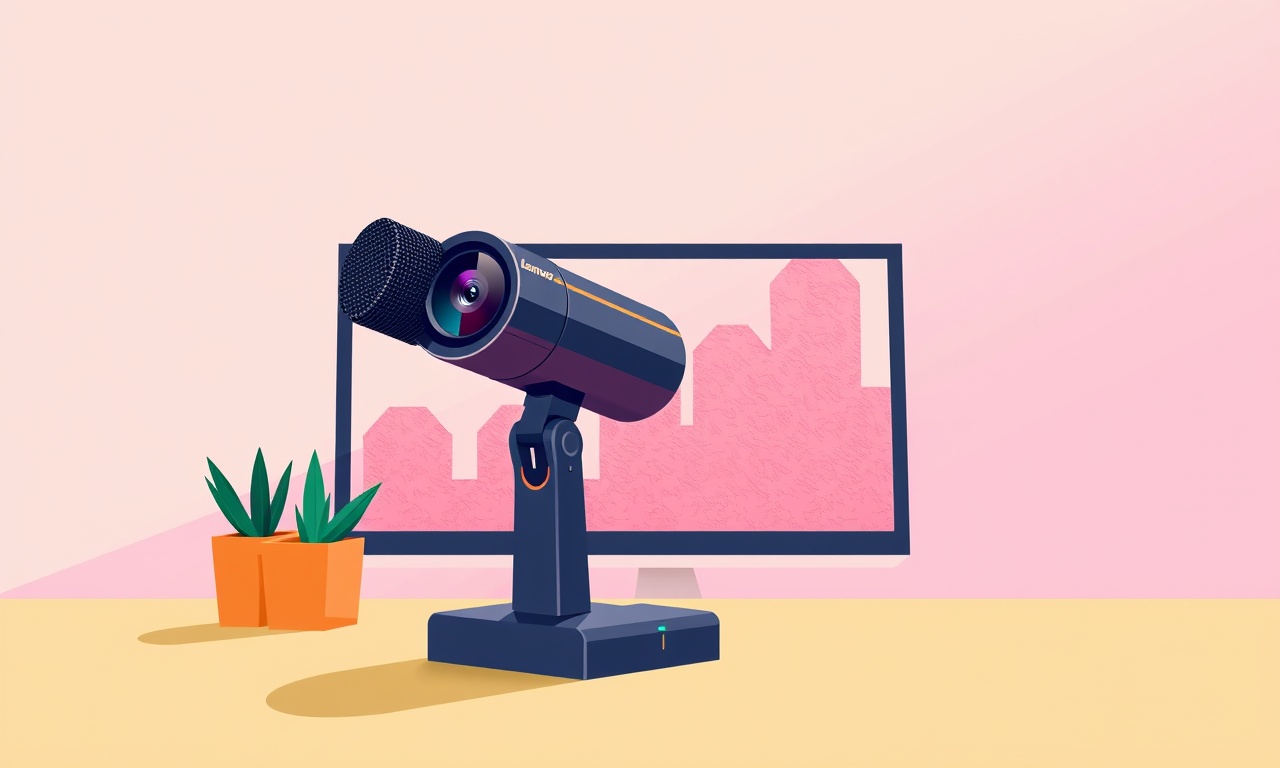
A quiet office is a productive office, but a silent webcam can quickly turn that into a source of frustration. Many users of the Lenovo ThinkCam E2 have reported that their microphone suddenly stops working after installing a recent Windows update. The camera itself may still stream video fine, yet the audio channel is dead, causing missed conference calls, failed recordings, and general annoyance. This article delves into why the issue occurs, how to confirm that the microphone is indeed the culprit, and step‑by‑step remedies that restore audio functionality without the need for costly hardware replacements.
Common Causes of Microphone Failure After an Update
When a system update touches components that are closely tied to audio—such as drivers, the Windows audio service, or the privacy settings—unintended side effects can occur. The Lenovo ThinkCam E2 is a compact USB webcam that bundles a microphone into its tiny housing. Users have reported similar problems in Lenovo ThinkCam E2 mic not recognized by OBS where the mic disappears from the device list. The following scenarios are frequently encountered:
-
Driver Corruption or Incompatibility
An update may replace the webcam’s audio driver with a generic version that lacks the necessary support for the ThinkCam’s built‑in mic. -
Disabled Audio Devices in Privacy Settings
Windows 10/11 allow users to toggle microphone access for the entire system. An update can reset or enforce stricter privacy defaults. -
Windows Audio Service Issues
The “Windows Audio” service may become disabled, crash, or fail to load properly after an update. -
Conflicts With Third‑Party Audio Software
Programs like VoIP clients, sound enhancement tools, or system optimization suites can be incompatible with new system libraries. -
Firmware or BIOS Update Side Effects
In some cases, a recent BIOS update may affect how USB audio devices are enumerated, leading to recognition problems.
Understanding these causes helps narrow the troubleshooting path and avoid unnecessary steps.
Diagnosing the Problem
Before you dive into a solution, verify that the microphone is indeed the problem and that other audio sources (headphones, speakers) are functioning.
Verify System Audio Output
- Open the Sound control panel by right‑clicking the speaker icon in the taskbar and selecting Open Sound settings.
- Check the Output device list. If you hear your computer’s default speaker audio fine, the output is working.
Check the Microphone List
- Still in Sound settings, scroll to the Input section.
- Ensure that Lenovo ThinkCam E2 Microphone is listed and selected.
- Test the mic by speaking into the camera; the level meter should move.
If the mic is missing, muted, or shows no level movement, proceed to the troubleshooting section.
Troubleshooting Steps
1. Confirm the Device Is Enabled in Windows Privacy Settings
Windows 10/11 enforce a privacy toggle for each microphone.
- Go to Settings → Privacy & security → Microphone.
- Ensure the toggle is On for both Allow apps to access your microphone and for the individual apps you use (Zoom, Teams, etc.).
- If the switch is off, turn it on and restart the application.
2. Restart the Windows Audio Service
Sometimes the audio service stops or fails to start.
- Press Win + R, type services.msc, and hit Enter.
- Locate Windows Audio in the list.
- Right‑click and select Restart. If the service is stopped, choose Start.
After restarting the service, return to the Sound settings page and test the mic again.
3. Inspect Device Manager for Errors
Device Manager gives a quick visual cue if the webcam’s audio part is flagged.
- Press Win + X and choose Device Manager.
- Expand Sound, video and game controllers.
- Look for ThinkCam E2 or USB Audio Device.
- If an icon with a yellow triangle appears, right‑click and choose Properties to read the error message.
Common error codes include “This device is not working correctly” or “Driver is not installed properly.”
4. Reinstall the Webcam Driver
The simplest and most effective fix is often a fresh driver install.
a. Uninstall the Existing Driver
- In Device Manager, right‑click the camera entry and select Uninstall device.
- In the confirmation dialog, check Delete the driver software for this device and click Uninstall.
b. Remove Residual Driver Packages
-
Open Command Prompt as administrator.
-
Run the command:
pnputil /delete-driver oem*.inf /uninstall /forceThis removes any lingering driver packages that may conflict.
c. Download the Latest Driver
Visit the Lenovo Support website. Search for “ThinkCam E2” and locate the driver for your Windows version (32‑bit or 64‑bit).
- Download the USB camera driver bundle.
- Run the installer and follow the prompts.
d. Reboot the System
After installation, restart your computer. The webcam should re‑enumerate with a clean driver, restoring audio functionality.
5. Check for Windows Updates After Reinstallation
Sometimes an update that broke the mic can be repaired by installing the latest cumulative update.
- Go to Settings → Windows Update → Check for updates.
- Install any pending updates, then reboot again.
6. Test with a Different USB Port
USB hubs, especially older ones, may not provide sufficient power or proper audio routing.
- Disconnect the webcam.
- Plug it into a different USB port directly on the laptop or desktop.
- Test the microphone.
If the mic works in another port, consider keeping the webcam connected to that port or upgrading the hub.
7. Verify No Third‑Party Software Is Blocking Audio
Programs that modify audio settings (equalizers, virtual mixers, antivirus utilities) can inadvertently mute or disable device input.
- Open any such applications and temporarily disable them.
- Restart the system and test the mic.
If the mic returns to life, adjust the application’s settings to exclude the webcam mic.
Advanced Fixes
When basic steps fail, the problem may lie deeper.
System Restore to a Point Before the Update
Windows maintains restore points automatically.
- Search for Create a restore point in the Start menu.
- In the System Properties window, click System Restore.
- Choose a restore point dated before the problematic update.
- Follow the wizard to revert the system.
After restoration, confirm the mic works.
Update BIOS or Firmware
An outdated BIOS can cause USB device enumeration issues.
- Visit Lenovo’s support site, download the latest BIOS for your device, and follow the update instructions.
- After BIOS update, restart and test the webcam.
Use the Lenovo Vantage App
Lenovo’s Vantage utility sometimes offers driver updates and hardware diagnostics.
- Install or open Lenovo Vantage.
- Navigate to Device → Camera → Update.
- Follow prompts to install any recommended updates.
Alternative Solutions
If the microphone remains stubbornly silent after exhaustive troubleshooting, consider these alternatives:
- External USB Microphone – A dedicated mic such as the Blue Yeti X (Blue Yeti X microphone not picking up voice on macOS Catalina) or the Rode NT‑USB (Rode NT‑USB Microphone Disconnects During Remote Sessions) can serve as a reliable audio input.
- Built‑in Laptop Mic – Many laptops have a separate microphone jack or integrated mic.
- Audio Capture Card – For advanced users, a USB audio interface can provide higher quality and reliability.
While these options add cost or complexity, they bypass the hardware issue entirely.
Preventing Future Issues
- Create Restore Points Regularly – Especially before major updates.
- Backup Drivers – Keep copies of current webcam drivers in a safe folder.
- Monitor Update Settings – Configure Windows Update to notify before installing.
- Keep Firmware Updated – Regular BIOS and firmware checks ensure compatibility.
Conclusion
A Lenovo ThinkCam E2 microphone that stops working after a Windows update can usually be fixed by methodically addressing driver issues, privacy settings, and service status. Start with the simplest steps—checking the microphone in Sound settings and privacy permissions—then move to driver reinstallation and device manager diagnostics. If those fail, system restore or BIOS updates may be necessary. By following the steps outlined above, most users can recover audio functionality without purchasing new hardware. A silent webcam need not stay silent; with a little patience and systematic troubleshooting, the microphone can be revived quickly and efficiently.
Discussion (6)
Join the Discussion
Your comment has been submitted for moderation.
Random Posts

Maytag M2011 Microwave Error Code 12, Troubleshooting Tips
Error Code 12 on a Maytag M2011 signals a power or high voltage fault. Follow a step by step guide to inspect the transformer, diode, and connections, and restore your microwave without costly repairs.
4 weeks ago

Strategy to Avoid Unresponsive Power Button on Sonoff Smart Plug S40
Keep your Sonoff S40 button responsive by learning why it fails and how to prevent it with simple care, firmware updates, and smart habits.
1 year ago

AVer CAM3400 Microphone Silences Voice When Using Zoom
Find out why your AVer CAM3400 mic cuts out on Zoom, learn step-by-step fixes, and know when to call a pro to keep your audio loud and clear.
9 months ago

Correcting a Fan Speed Oscillation on the Lasko LS7500 Tower Heater
Learn how to stop the Lasko LS7500 fan from wavering by clearing dust, checking bearings and tightening connections, simple steps that restore steady heat and prolong your heater’s life.
9 months ago

Fix Sony SmartCam Indoor Noise Interference
Discover why your Sony SmartCam hisses, crackles, or distorts indoors, learn to spot power, cord and wireless culprits, and fix the noise with simple, lasting solutions.
3 weeks ago
Latest Posts

Fixing the Eufy RoboVac 15C Battery Drain Post Firmware Update
Fix the Eufy RoboVac 15C battery drain after firmware update with our quick guide: understand the changes, identify the cause, and follow step by step fixes to restore full runtime.
5 days ago

Solve Reolink Argus 3 Battery Drain When Using PIR Motion Sensor
Learn why the Argus 3 battery drains fast with the PIR sensor on and follow simple steps to fix it, extend runtime, and keep your camera ready without sacrificing motion detection.
5 days ago

Resolving Sound Distortion on Beats Studio3 Wireless Headphones
Learn how to pinpoint and fix common distortion in Beats Studio3 headphones from source issues to Bluetooth glitches so you can enjoy clear audio again.
6 days ago