LG LS1203 Repair Guide for Fan Noise During Night Operation
LG LS1203 Repair Guide for Fan Noise During Night Operation
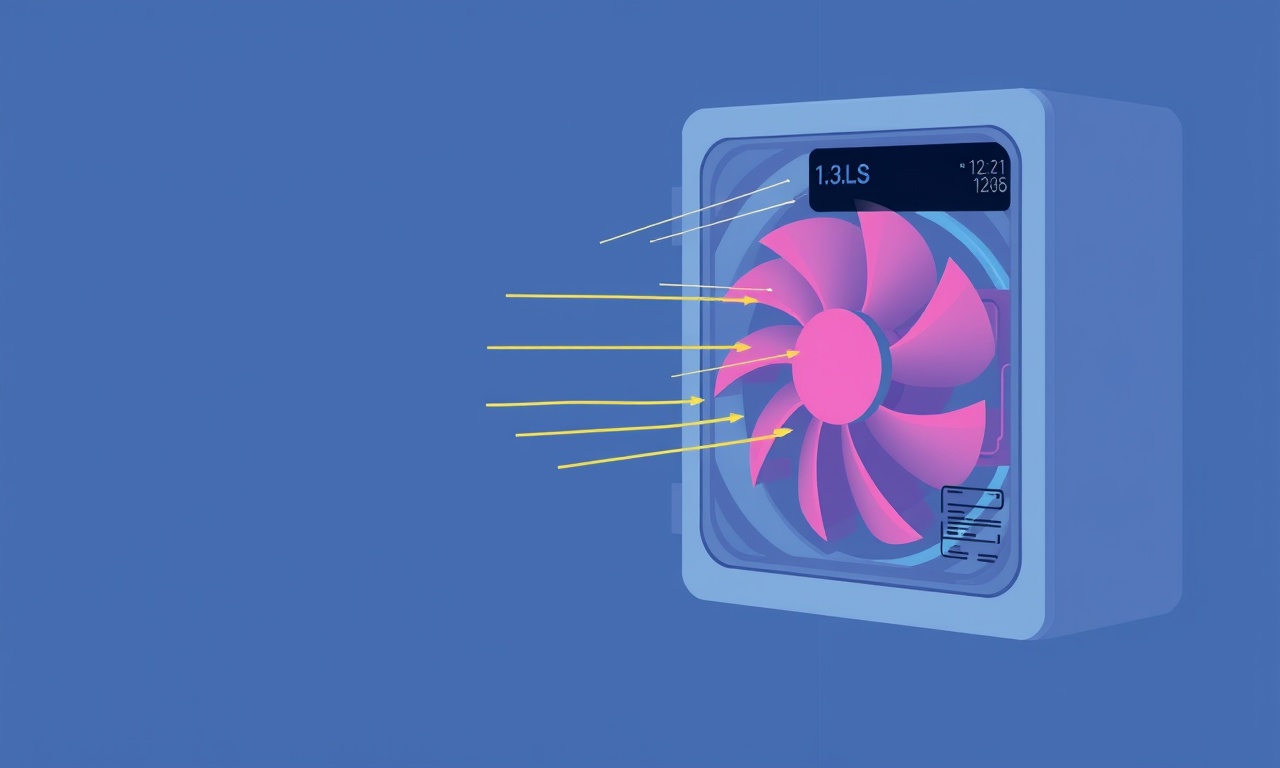
When the night settles, a quiet environment is crucial for a good sleep cycle. If your LG LS1203 air conditioner starts to make a noticeable fan noise during night operation, it can become a source of irritation and even cause discomfort for the whole household. This guide will walk you through the process of diagnosing and fixing common fan noise issues that occur specifically during nighttime usage. By following the steps below you will be able to restore the quiet performance of your unit and extend its life.
Safety First
Before you begin any repair work, safety must be your top priority. The air conditioning system contains electrical components and potentially hazardous refrigerant lines. Always perform the following precautions:
- Unplug the unit from the wall outlet. If the system is hard‑wired, shut off the circuit breaker that powers the unit.
- Allow the compressor to cool for at least 15–20 minutes. The compressor can remain hot for a while after operation.
- Wear protective gear such as safety glasses and gloves, especially if you need to reach for parts that might be sharp or heavy.
- Keep a work area free of clutter to avoid tripping over cords or stepping on fragile components.
If you are not comfortable with electrical repairs or are uncertain about any step, contact a qualified HVAC technician.
Common Causes of Fan Noise at Night
The LG LS1203 uses a single compressor and a fan that draws air through the evaporator coil. When it operates during the day, fans and motors usually run at higher speeds and create background noise that is easily masked by other household sounds. At night, when ambient noise is lower, any abnormal sound becomes noticeable. Here are the most common culprits:
- Loose fan blades: Slight misalignment can cause vibration.
- Worn bearings: Bearings that have lost lubrication or become damaged produce a grinding or whirring sound.
- Dust accumulation: Debris on the fan blades or inside the fan housing can unbalance the motor.
- Misaligned fan: If the fan is not seated correctly on its shaft, the motor will shake.
- Belt issues: A worn, loose or cracked belt will slip or chatter.
- Electrical contacts: Faulty connections can lead to irregular motor operation.
By systematically checking each of these possibilities you can isolate the source of the noise.
Tools and Materials Needed
Before starting the repair, gather the following items. Having everything ready saves time and avoids the frustration of having to pause mid‑repair.
- Adjustable wrench set
- Phillips and flat‑head screwdrivers
- Socket wrench (3/8” and 1/4” sizes)
- Replacement fan belt (model specific to LG LS1203)
- New bearings (if necessary)
- Contact cleaner (aerosol)
- Compressed air can
- Replacement screws (if any are stripped)
- Lubricating oil for bearings (mineral oil or dedicated HVAC grease)
- Cleaning rags
- Multimeter (for electrical checks)
If you suspect the motor itself is failing, you may also need a replacement motor kit. Check LG’s official parts catalog for compatibility.
Inspecting the Fan Assembly
Begin by accessing the fan housing. On most LG LS1203 units, the fan is located behind a removable panel that sits above the evaporator coil. Follow these steps:
- Remove the panel: Use the Phillips screwdriver to remove the screws that hold the fan cover in place. Keep the screws in a small container so you don’t lose them.
- Visual inspection: Look for obvious signs of wear such as cracked blades, missing teeth on the pulley, or uneven surfaces on the fan motor.
- Check for debris: Using compressed air, blow away dust from the fan blades and around the motor housing. Clean the blades with a damp rag if necessary.
- Test the fan manually: With the unit still off, gently spin the fan blades by hand. They should rotate smoothly without wobble or resistance. Any grinding feel or wobble indicates a bearing problem or misalignment.
Diagnosing Belt Issues
The belt transfers power from the motor to the fan. A worn belt can slip, produce a high‑pitched squeal, or even break entirely. Inspect the belt as follows:
- Visual check: Look for cracks, fraying, or glazed edges on the belt surface. A cracked belt is a common source of nighttime noise because the crack may allow the belt to slip more easily during the slower nighttime run.
- Tension test: Press down on the middle of the belt. It should give up to about an inch before springing back. If the belt is too loose, the motor will run harder to keep the fan moving, creating noise.
- Alignment: Ensure the belt sits perfectly on both pulleys. A misaligned belt can cause the motor to work against uneven resistance.
If the belt shows any of these issues, replace it with a new one that matches the model specifications for the LG LS1203. Installing a new belt is usually straightforward:
- Release the belt tension: Use the tensioner tool or manually slide the motor pulley to release the belt.
- Remove the old belt: Slip it off the pulleys.
- Install the new belt: Route it around the pulleys, making sure it follows the same path. Re‑engage the tensioner until the belt is snug but not overly tight.
Checking and Replacing Bearings
Bearings allow the fan motor to spin with minimal friction. Over time, they can become dirty or lose lubrication, leading to a low‑level hum or a high‑pitch squeal that becomes prominent at night.
- Spin the motor: With the unit powered off, try spinning the motor shaft by hand. If it is difficult or feels gritty, the bearings are likely worn.
- Remove the motor: This step may involve unbolting the motor housing. Keep track of any screws or brackets.
- Clean the bearings: Use a small brush and compressed air to remove any dust. Apply a few drops of mineral oil or HVAC grease to lubricate the bearings.
- Test rotation: Spin again. A smooth rotation indicates proper lubrication. If it still feels rough, replace the bearings with new ones compatible with the unit’s motor model.
After replacing or lubricating the bearings, re‑assemble the motor and ensure the fan blades are still properly seated.
Tightening Loose Screws and Components
Even a small loose screw can cause vibration that results in noise. Carefully tighten all screws that hold the fan assembly, motor, and cover panel. Use a torque wrench if available to match the manufacturer’s recommended torque settings.
Cleaning and Re‑seating the Fan Blades
Dust and debris can build up on the fan blades and cause them to spin unevenly. Follow these steps:
- Remove the blades: Some units allow you to unscrew or unlatch the fan blades. If not, you may need to carefully pry them off with a flat‑head screwdriver.
- Clean: Use a damp rag to wipe each blade. For stubborn grime, use a mild detergent solution. Avoid soaking the blades.
- Dry: Let the blades air dry completely to avoid moisture entering the motor.
- Re‑attach: Ensure each blade is seated correctly on the shaft and secured with the original screws or clips.
Re‑assembly and Final Testing
Once all components have been inspected, cleaned, and replaced as needed, it is time to re‑assemble the unit.
- Replace the fan cover: Snap the panel back into place and secure with the original screws.
- Power on the system: Restore power to the unit either by plugging it back in or flipping the breaker back on.
- Run the unit: Set the thermostat to a comfortable temperature and let the AC run through its normal cycle. Pay close attention during the night period to confirm the noise has been resolved.
- Monitor performance: Listen for any new sounds. If you hear a faint humming, check the fan motor again; if the noise persists, consider contacting a professional.
Preventative Maintenance Tips
Regular maintenance can prevent most fan noise problems before they start. Here are some habits to keep your LG LS1203 running quietly:
- Monthly cleaning: Use a vacuum or compressed air to remove dust from the air filter and the fan housing. Change the filter at least once a month during peak usage periods.
- Quarterly inspections: Every few months, visually inspect the fan blades, belt, and motor. Replace worn parts promptly.
- Keep the unit clear: Ensure there is at least 2–3 feet of clearance around the unit’s intake and exhaust to allow proper airflow.
- Professional tune‑up: Schedule an annual HVAC tune‑up with a licensed technician to check refrigerant levels, electrical connections, and overall system health.
By staying on top of these tasks you reduce the likelihood of fan noise emerging during the night.
When to Call a Professional
If, after completing the steps above, the fan noise persists, it is time to seek expert help. Reasons to contact a professional include:
- Motor failure: The motor may have failed internally, requiring replacement or a complete rebuild.
- Electrical issues: Faulty wiring or blown fuses can cause irregular motor performance.
- Refrigerant leaks: A leak can affect system pressure and induce noise.
- Complex component replacement: Some parts, like the blower housing or internal circuitry, may require specialized tools or expertise.
A qualified HVAC technician will bring the right tools and parts, diagnose complex issues quickly, and ensure your unit operates safely and quietly.
Final Note
By following this comprehensive repair guide, you can effectively address fan noise that emerges during night operation of your LG LS1203. A quiet, efficient AC not only improves your sleep quality but also contributes to energy savings and longer appliance life. If the steps above feel overwhelming, remember that professional service is always an option—and sometimes the most efficient choice for maintaining comfort in your home.
Discussion (6)
Join the Discussion
Your comment has been submitted for moderation.
Random Posts

Analyzing iPhone 13 Pro Max Apple Pay Transaction Declines After Software Update
After the latest iOS update, iPhone 13 Pro Max users see more Apple Pay declines. This guide explains the technical cause, how to diagnose the issue, and steps to fix payment reliability.
2 months ago

Dyson AM15 Mist Not Spreading What Causes It And How To Repair
Find out why your Dyson AM15 Mist isn’t misting, learn the common causes, and follow our step, by, step guide to restore full misting performance quickly.
2 months ago

Adjusting the Neato Botvac D6 for Unexpected Cleaning Pause
Learn why your Neato Botvac D6 pauses, diagnose the issue, and tweak settings for smooth, uninterrupted cleaning.
11 months ago

Quelling LG OLED G1 Picture Loop at Startup
Stop the LG OLED G1 picture loop that stutters at startup, follow these clear steps to diagnose software glitches, adjust settings, and restore a smooth launch every time.
4 months ago

Resolving Room Acoustics Calibration on Samsung HW Q990T
Calibrate your Samsung HW, Q990T to your room's acoustics and unlock true cinema-quality sound, every dialogue and subtle score becomes crystal clear.
1 month ago
Latest Posts

Fixing the Eufy RoboVac 15C Battery Drain Post Firmware Update
Fix the Eufy RoboVac 15C battery drain after firmware update with our quick guide: understand the changes, identify the cause, and follow step by step fixes to restore full runtime.
5 days ago

Solve Reolink Argus 3 Battery Drain When Using PIR Motion Sensor
Learn why the Argus 3 battery drains fast with the PIR sensor on and follow simple steps to fix it, extend runtime, and keep your camera ready without sacrificing motion detection.
5 days ago

Resolving Sound Distortion on Beats Studio3 Wireless Headphones
Learn how to pinpoint and fix common distortion in Beats Studio3 headphones from source issues to Bluetooth glitches so you can enjoy clear audio again.
6 days ago