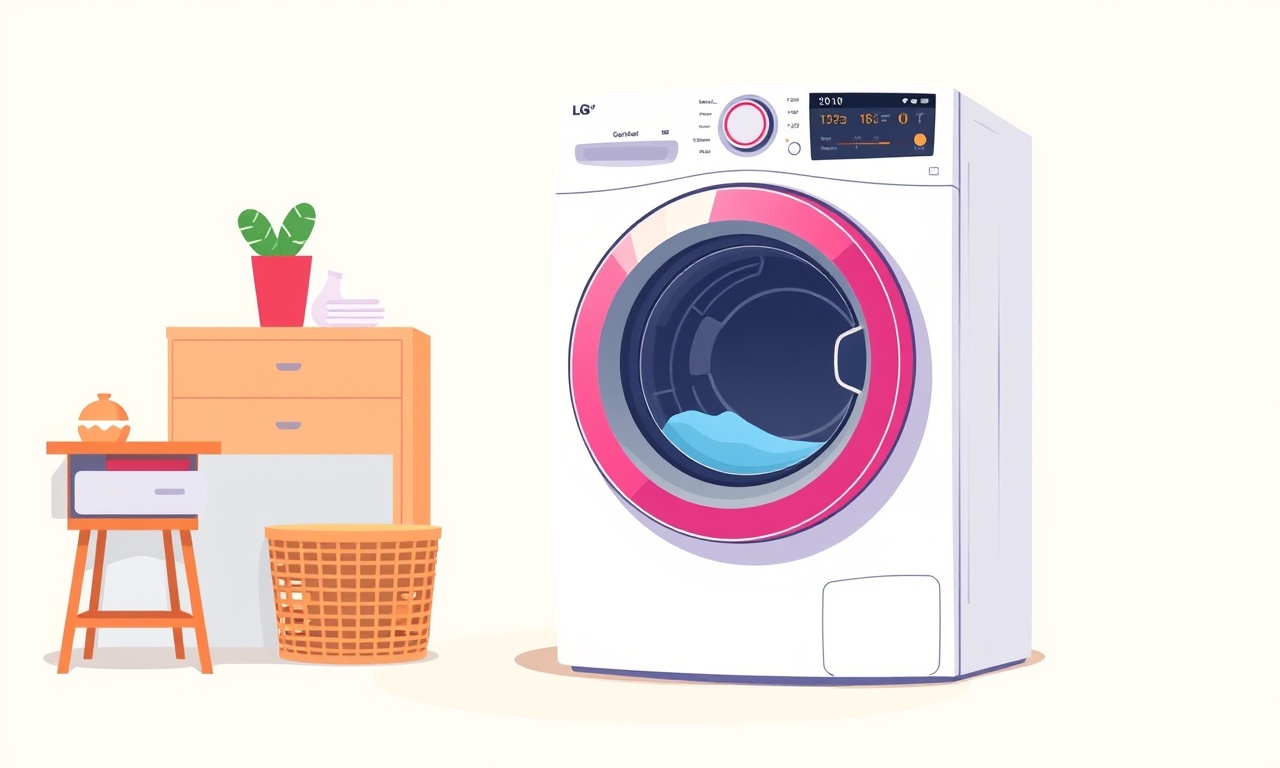
LG T7000 Dryer Moisture Sensor Gives False Low Read
LG T7000 Dryer Moisture Sensor Gives False Low Read
When a dryer says the clothes are dry while they are still damp, you’ll soon notice the clothes come out with a stubborn, sticky feel, or you’ll have to re‑dry a load that was meant to be finished. This common complaint with the LG T7000 series is tied to the moisture‑sensor system that the machine uses to determine when to stop. The sensor is designed to provide energy‑efficient drying, but when it fails to read correctly it can mislead the control board into stopping early.
Below is a thorough guide to understanding the problem, diagnosing the root cause, and applying the most effective fixes. It also covers long‑term maintenance to keep the sensor accurate over the appliance’s lifespan.
What Is the LG T7000 Dryer’s Moisture‑Sensor System?
The LG T7000 uses a sensor bar that sits inside the drum and touches the fabric. The bar is made of conductive material and is powered by a tiny current. As water evaporates from clothes, the moisture level above the sensor drops; the sensor’s resistance changes and the controller reads this as a “dry” cue. A properly calibrated sensor stops the drying cycle once a certain resistance threshold is reached.
Because the sensor is inside the drum, it must stay clean and unobstructed. Any residue or debris can distort the electrical signal, leading to a false low reading (the dryer thinks the load is dry when it is not).
Recognizing the False‑Low Problem
Symptoms you should look out for:
- Clothes feel damp or sticky after a cycle that supposedly finished. Even when the cycle ends, the garments still hold moisture.
- The dryer stops before the “Dry‑Complete” light turns off. The indicator may switch to green, but the clothes remain wet.
- You notice “over‑drying” on previous loads that were fine. The sensor sometimes gives a low reading on a normal load, causing the dryer to cut short, then the load is re‑run.
- The drying cycle ends with an unusually short duration. Typical T7000 cycles last 60–80 minutes for a standard load; a false‑low reading may end the cycle in 30 minutes.
If you experience more than one of these signs, it is highly likely that the moisture sensor is giving a false low read.
Common Causes of False Low Reads
- Build‑up of detergent or fabric softener residue on the sensor bar. Modern detergents and softeners contain polymers that cling to the sensor surface.
- Hard water deposits (calcium, magnesium). These mineral deposits can form a film that changes the sensor’s electrical properties.
- Electrical noise from a failing component (motor, control board). A malfunctioning power supply can introduce voltage spikes that confuse the sensor signal.
- Physical damage to the sensor bar. Cracks, scratches, or dents can alter resistance readings.
- Incorrect installation of the sensor during a previous repair. An improper fit or misaligned contact point can cause intermittent reading errors.
- Temperature or humidity extremes in the laundry area. Very high humidity can keep the sensor from detecting dryness accurately.
Step‑by‑Step Troubleshooting Guide
1. Verify the Symptoms
- Load a familiar set of items (e.g., a pair of jeans and a towel).
- Run a full drying cycle.
- Inspect the clothes afterward. If they remain damp, move to the next step.
2. Inspect and Clean the Sensor Bar
- Turn off the dryer and unplug it from the wall outlet.
- Open the dryer door and locate the sensor bar. It is usually a small strip or plate on the interior of the drum wall, positioned about 8–12 inches from the bottom.
- Remove the sensor bar. Some models allow it to be slid out; others require a screwdriver to unscrew a small mounting bracket. Refer to the service manual if unsure.
- Use a mild detergent (dish soap) and a damp microfiber cloth to wipe the sensor. Avoid abrasive pads.
- Rinse with a small amount of distilled water. The use of tap water can leave mineral residue.
- Dry the sensor thoroughly with a clean towel. Any remaining moisture can trigger a false reading.
- Re‑install the sensor bar, ensuring a snug fit.
3. Check for Physical Damage
- Inspect the sensor bar for cracks or dents. If the bar is visibly damaged, it should be replaced.
- Confirm that the sensor’s contact points are clean and not corroded. A simple visual inspection often reveals oxidation.
4. Test the Sensor Using a Multimeter (Optional)
If you have a digital multimeter:
- Set it to measure resistance (Ω).
- Place the probes on the sensor’s terminals (consult the service manual for exact pins).
- Compare the reading to the manufacturer’s specification (usually around 150 kΩ to 250 kΩ for a dry load).
- A reading that is consistently lower than spec indicates a false‑low condition.
If you lack a multimeter, proceed to the next step.
5. Verify the Control Board and Wiring
- Examine the wiring harness that connects the sensor bar to the main control board. Look for frayed or loose wires.
- Inspect the control board for burnt or discolored components. A damaged board can corrupt the sensor signal.
- If you find any damage, replace the affected part. Some boards can be reprogrammed with a service tool, but replacement is often more reliable.
6. Test with a Different Load Type
- Run the dryer with a very light load (e.g., a single T‑shirt). If the sensor still stops early, it confirms an internal issue rather than a load‑related one.
7. Reset the Dryer
- After cleaning and inspecting, unplug the dryer for a few minutes.
- Plug it back in and start a new cycle. A full reset can sometimes clear a temporary software glitch.
Solutions for Persistent False‑Low Reads
A. Replace the Moisture Sensor Bar
If cleaning does not resolve the issue, replace the sensor bar with a new one from a reputable supplier. LG spare parts are available through authorized dealers, but generic parts can work if they match the electrical specifications.
Steps:
- Remove the old sensor bar as described earlier.
- Install the new bar, ensuring it aligns correctly with the mounting bracket.
- Re‑connect any wires if necessary.
B. Upgrade to a High‑Quality Detergent
Switch to a detergent or fabric softener that is designed to be “sensor‑friendly.” These products contain fewer polymers that stick to the sensor. Look for labels that state “sensor‑clean” or “dry‑cycle compatible.”
C. Install a Descaler
If mineral deposits are a problem, install a descaler or use a water softening system in the laundry area. This reduces calcium buildup on the sensor and inside the dryer drum.
D. Re‑calibrate the Sensor (Advanced)
Some LG models allow sensor calibration via a service mode. If you have a service tool or can connect to a diagnostic port, you may be able to recalibrate the sensor:
- Enter service mode (consult the service manual for key combinations).
- Select the “Sensor Calibration” option.
- Follow on‑screen prompts to complete the process.
E. Replace the Control Board
If after all previous steps the sensor still fails, the control board might be faulty. The board interprets sensor input and may misread due to internal faults. Replace the board with a new one or have a qualified technician evaluate the board’s health.
Preventive Measures to Avoid False Low Reads
-
Use Proper Detergent Dosage
Over‑loading the dryer with detergent leads to residue buildup. Follow the label’s instructions and consider a smaller amount for lightly soiled loads. -
Choose a High‑Efficiency Detergent
Modern detergents designed for high‑efficiency machines have lower surfactant levels, reducing film on the sensor. -
Regular Cleaning Schedule
Clean the sensor bar every 2–3 months, even if no issues are apparent. Spot‑clean after any hard‑water event. -
Keep the Dryer Door Open
After each use, leave the dryer door open for a few hours. This promotes ventilation and reduces humidity inside the drum. -
Check Water Quality
If you have hard water, install a water softener in your laundry area or use a descaler before washing. -
Avoid Overloading
A packed drum can impede air circulation, causing uneven drying and stressing the sensor system. -
Schedule a Professional Maintenance Check
Every few years, have a certified technician inspect the dryer. They can test the sensor, clean the drum, and check electrical connections.
Common Misconceptions About Dry‑Cycle Sensors
| Myth | Reality |
|---|---|
| “If the clothes are dry, the sensor must be working.” | Even a fully dry load can trigger a false low if the sensor is dirty or damaged. |
| “A new dryer won’t have this problem.” | All models are susceptible if maintenance is neglected or the environment is harsh. |
| “Only the sensor causes early stops.” | Other components such as the motor or heating element can also misbehave, mimicking sensor faults. |
| “Replacing the sensor guarantees a fix.” | If the root cause is mineral buildup or a faulty control board, merely swapping the sensor will not help. |
When to Call a Professional
If you have tried cleaning, replacing the sensor, and resetting the dryer but still see false low readings, it’s time to contact a professional. Issues with the control board or internal wiring often require specialized diagnostic equipment. A certified technician can:
- Run a full diagnostic on the control board.
- Test all sensor inputs and outputs.
- Inspect and repair wiring harnesses.
- Replace components with OEM parts.
Recap and Final Tips
- Identify the problem by checking for damp clothes after a cycle.
- Clean the sensor bar with mild detergent and distilled water.
- Inspect for physical damage or electrical faults.
- Replace the sensor or control board if cleaning fails.
- Prevent future issues with proper detergent use, regular cleaning, and maintenance.
A properly functioning moisture‑sensor system not only saves energy but also keeps your fabrics in good condition. By staying proactive and addressing false low reads early, you can extend the life of your LG T7000 dryer and enjoy reliable drying performance.
Discussion (8)
Join the Discussion
Your comment has been submitted for moderation.
Random Posts

Reassessing the Audio Jack Dropout on LG Velvet 2
Explore why the LG Velvet 2's 3.5mm jack glitches, what triggers audio dropouts, user fixes, and LG's stance: essential insight for current and future Android phones.
1 year ago

Philips HP700 Fan Stalls Quietly Even At Low Speed Why This Happens And What To Do
Discover why your Philips HP700 quietly stalls at low speed, spot early signs, and fix the issue to keep steady airflow.
2 weeks ago

How to Stop Sharp LC-40M from Producing Audio Sync Issues While Gaming
Fix your Sharp LC-40M so game audio stays in sync. Learn quick settings tweaks, cable checks, and audio-output fixes that keep sound matching action for a flawless gaming experience.
6 months ago

Solve Arlo Pro 4 Wireless Connection Problems
Discover quick fixes for offline Arlo Pro 4 cameras. Check power, Wi, Fi, firmware, reset steps, and more get your live feed back up fast.
4 months ago

Panasonic D45 Dryer Timer Skips Final Drying Cycle
Discover why your Panasonic D45 dryer skips its final cycle, learn the symptoms, root causes, and easy fixes to keep clothes dry, save energy, and avoid extra runs.
5 months ago
Latest Posts

Fixing the Eufy RoboVac 15C Battery Drain Post Firmware Update
Fix the Eufy RoboVac 15C battery drain after firmware update with our quick guide: understand the changes, identify the cause, and follow step by step fixes to restore full runtime.
5 days ago

Solve Reolink Argus 3 Battery Drain When Using PIR Motion Sensor
Learn why the Argus 3 battery drains fast with the PIR sensor on and follow simple steps to fix it, extend runtime, and keep your camera ready without sacrificing motion detection.
5 days ago

Resolving Sound Distortion on Beats Studio3 Wireless Headphones
Learn how to pinpoint and fix common distortion in Beats Studio3 headphones from source issues to Bluetooth glitches so you can enjoy clear audio again.
6 days ago