Maytag MHD30 Dryer Produces Excess Heat Fix Overheating
Introduction
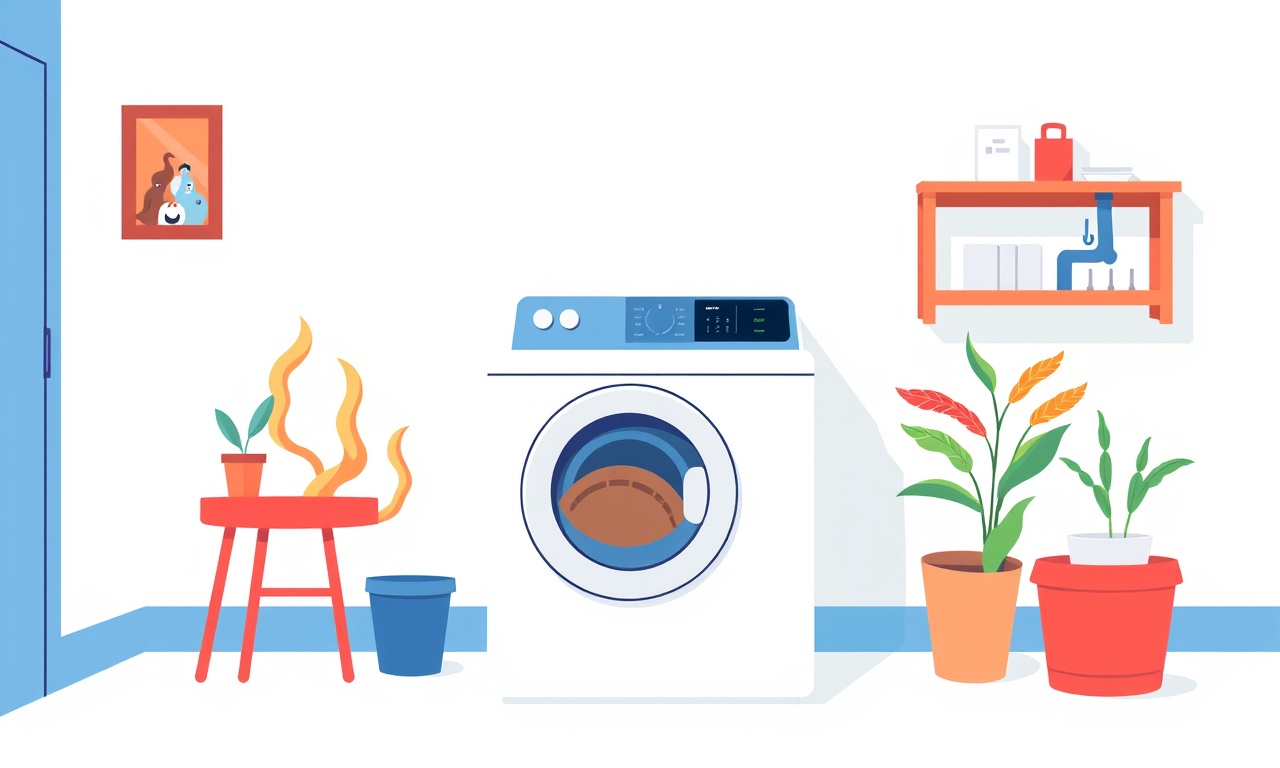
The Maytag MHD30 is a popular condenser dryer that many households rely on for quick, efficient drying. Over time, users sometimes notice that the dryer emits more heat than expected, or that clothes feel scorching even after a short cycle. Excess heat can be a sign of an underlying issue that, if left untreated, may reduce drying performance, waste energy, or even pose a fire risk. This article dives deep into the root causes of overheating in the MHD30 and offers a step‑by‑step guide to diagnose and fix the problem.
The information below is presented as a practical reference for homeowners and DIY enthusiasts. While the steps are designed to be approachable, some repairs may require a qualified technician—especially when working with electrical components or gas connections.
How the Maytag MHD30 Works
The MHD30 uses a hot‑air cycle to dry laundry. Key components include:
- Heating element (typically a 5000 W coil) that heats the air.
- Condenser unit that condenses moisture from the air.
- Vent system that directs heated, damp air into the condenser.
- Temperature sensor that monitors air temperature and feeds back to the control board.
- Thermostat that prevents overheating by limiting the maximum temperature.
- Linter filter that traps fibers and prevents them from entering the vent.
Because the dryer relies on a closed‑loop system—air is heated, passes through clothes, then cools in the condenser—any obstruction or sensor malfunction can raise the internal temperature beyond safe limits.
Symptoms of Excess Heat
Before digging into potential fixes, it’s helpful to recognize the signs that your MHD30 is overheating:
- Hot exterior surfaces: The cabinet or heat‑exposed panels feel unusually warm or hot to the touch during or after a cycle.
- Cracked or melted plastic: Plastic components near the heating element may show discoloration or signs of melt.
- Red or orange lights: Some models display a red LED or a “heat warning” icon on the digital panel.
- Shortened cycle times: The dryer stops early because it has reached its temperature threshold.
- Clothes that feel scorched: Garments may be dry but with a faint, hot smell or slight singed edges.
If you notice any of these symptoms, it is wise to pause operation, unplug the dryer, and begin the diagnostic process.
Common Causes of Overheating
A systematic approach to troubleshooting often yields the best results. Below are the most frequent culprits behind excessive heat in the MHD30:
- Clogged lint filter
- Blocked or short vent
- Faulty temperature sensor
- Stuck or malfunctioning thermostat
- Damaged heating element
- Faulty control board
- Improper load size or fabric type
- Vent cover obstruction
Each issue will be addressed in detail, including how to identify it and recommended fixes.
Diagnosis Checklist
Start with a quick inspection before opening the dryer:
- Check the lint filter: Remove it, clean it, and inspect for cracks.
- Look at the vent duct: Inspect the exterior vent for visible blockages.
- Listen for unusual noises: A high‑pitch whine can indicate a failing motor or belt.
- Feel for heat on the cabinet: Use a thermometer to compare normal operating temperature (around 120 °F) with the current reading.
If the basic checks don’t reveal a problem, move on to deeper diagnostics.
1. Clean the Lint Filter
A lint‑filled filter forces the dryer to work harder, raising temperatures. Remove the filter, rinse it with warm water, or replace it if cracked. This simple action often resolves mild overheating.
2. Inspect the Dryer Vent
A blocked vent creates a pressure buildup, making the heating element work overtime. Disconnect the vent from the dryer, pull out the duct, and clear any lint, pet hair, or foreign objects. Do the same for the exterior vent cap.
3. Test the Temperature Sensor
The sensor monitors the air temperature and informs the control board. If it reads incorrectly, the dryer may overheat. Remove the sensor, inspect for corrosion, and test its resistance with a multimeter. A faulty sensor typically shows a resistance of 0 Ω (shorted) or infinite (open circuit).
4. Check the Thermostat
The thermostat is a safety valve that cuts off the heating element if the temperature exceeds a safe limit. If it’s stuck closed, the dryer will overheat. Disassemble the thermostat housing and inspect the contact points for corrosion or pitting.
5. Examine the Heating Element
A damaged or partially shorted heating element can produce uneven heat. Use a multimeter to test continuity across the element’s terminals. A reading of 0 Ω indicates a short; infinite resistance suggests an open circuit.
6. Verify the Control Board
The electronic board processes sensor input and controls the heating element. Look for scorch marks, bulging capacitors, or loose connections. If the board is damaged, replacement is usually necessary.
7. Inspect the Drive Belt and Motor
A belt that has slipped or a motor that has burned out can cause overheating by forcing the drum to rotate too fast or by drawing excess current. Check for a taut belt and listen for motor noise.
8. Load Size and Fabric Type
Large, bulky loads or high‑denier fabrics can cause the dryer to run longer than usual, generating excess heat. Make sure not to overload the drum and consider using a “low‑heat” cycle for delicate items.
Fixes
Below are step‑by‑step instructions for the most common repairs. Always unplug the dryer before attempting any work.
Clean or Replace the Lint Filter
- Pull the lint filter out of its slot.
- Remove lint by hand or with a soft brush.
- Wash the filter with warm soapy water.
- Rinse thoroughly and let it dry.
- Reinsert the filter and start a short cycle to test.
If the filter is cracked or warped, replace it with a new one.
Clear the Dryer Vent
- Unplug the dryer and move it away from the wall.
- Detach the vent hose from the back of the dryer.
- Use a vent cleaning brush or a vacuum to remove lint.
- Inspect the hose for kinks or obstructions; straighten it if necessary.
- Reattach the hose and the vent cap.
- Run a short cycle to confirm airflow.
Replace the Temperature Sensor
- Locate the sensor near the heating element.
- Disconnect the wiring harness.
- Remove the mounting screws.
- Take note of the wire colors and positions.
- Install the new sensor and reconnect the harness.
- Secure with screws and reapply any seals.
Test the dryer after replacement.
Repair or Replace the Thermostat
- Remove the thermostat housing.
- Inspect the contacts for corrosion.
- Clean the contacts with a fine abrasive pad or contact cleaner.
- If contacts are pitted, replace the thermostat.
- Reassemble and test.
Replace the Heating Element
- Disconnect the power.
- Unplug the heating element’s terminals.
- Remove mounting screws.
- Install the new element, ensuring proper orientation.
- Reconnect terminals and secure with screws.
- Test the dryer.
Replace the Control Board
- Remove the dryer’s front panel.
- Locate the control board on the back.
- Disconnect all wiring harnesses.
- Unscrew the board and remove it.
- Install the new board, reattach wiring, and secure it.
- Reinstall the front panel and test.
Adjust the Drive Belt
- Remove the dryer’s front panel.
- Loosen the drive belt tensioner.
- Replace the belt if it is worn or cracked.
- Tighten the tensioner to the manufacturer’s specifications.
- Reinstall the panel and test.
Check the Vent Cap
- Remove the vent cap from the exterior.
- Use a flashlight to check for blockages.
- Clear any lint or debris.
- Reinstall and test.
When to Call a Professional
If you have tried all the above steps and the dryer still overheats, or if you encounter issues with gas connections or electrical components, it is safest to call a licensed technician. A professional can:
- Perform advanced diagnostics on the control board or motor.
- Inspect internal seals or gas lines.
- Ensure compliance with local safety codes.
Never attempt to repair gas appliances if you are not certified.
Preventive Maintenance Tips
Regular care can prevent overheating and extend the dryer’s life.
- Clean the lint filter after every load.
- Inspect the vent every three months for lint buildup.
- Check the temperature sensor annually for accuracy.
- Run a “clean” cycle (empty, with a damp cloth) every six months to remove dust from the condenser.
- Avoid overloading the dryer.
- Use the right cycle for each fabric type.
A well‑maintained dryer operates efficiently, uses less energy, and stays safe.
Conclusion
Excess heat in the Maytag MHD30 dryer often signals a straightforward issue—such as a clogged lint filter or blocked vent—that can be resolved with a few minutes of troubleshooting. By following the diagnostic checklist and step‑by‑step fixes, you can bring your dryer back to safe operating temperatures and ensure that your laundry stays dry and damage‑free. Regular maintenance and timely repairs not only protect your appliance but also save energy and reduce the risk of fire. If you encounter any component that you are not comfortable handling, don’t hesitate to contact a professional technician.
Discussion (5)
Join the Discussion
Your comment has been submitted for moderation.
Random Posts

Addressing Apple iPhone 14 Pro Max Battery Drain During Gaming Sessions
Learn why iPhone 14 Pro Max batteries drain during gaming, how to diagnose the issue, and practical tweaks to keep you playing longer with less power loss.
5 months ago

Curing iPhone 14 Plus Charging Port Wear After Daily Fast Charge Cycles
Fast charging can loosen your iPhone 14 Plus port. Learn to spot slow charging and loose cables, then fix it with simple home tricks or long, term prevention.
6 months ago
Xiaomi Mi SmartGlasses 3 Eye Tracking Error Fix
Fix the eye, tracking issue on Mi SmartGlasses 3 with this step, by, step guide to diagnose, clear errors, and restore functionality without repair.
1 year ago

Overcoming Sony X900H Color Saturation Drift During HDR Playback
Discover how to spot and fix color saturation drift on your Sony X900H during HDR playback, tune settings, correct HDR metadata, and keep your scenes vivid and natural.
4 months ago

Remediating Signal Dropout on Bowers & Wilkins PX8 Noise Cancelling Headphones
Discover why the Bowers & Wilkins PX8 may drop sound and how to fix it by tackling interference, low battery, outdated firmware, obstacles and Bluetooth settings for uninterrupted audio
1 week ago
Latest Posts

Fixing the Eufy RoboVac 15C Battery Drain Post Firmware Update
Fix the Eufy RoboVac 15C battery drain after firmware update with our quick guide: understand the changes, identify the cause, and follow step by step fixes to restore full runtime.
5 days ago

Solve Reolink Argus 3 Battery Drain When Using PIR Motion Sensor
Learn why the Argus 3 battery drains fast with the PIR sensor on and follow simple steps to fix it, extend runtime, and keep your camera ready without sacrificing motion detection.
5 days ago

Resolving Sound Distortion on Beats Studio3 Wireless Headphones
Learn how to pinpoint and fix common distortion in Beats Studio3 headphones from source issues to Bluetooth glitches so you can enjoy clear audio again.
6 days ago