Maytag MHD60 Dryer Produces Excessive Noise While Spinning
Understanding the Noise Problem
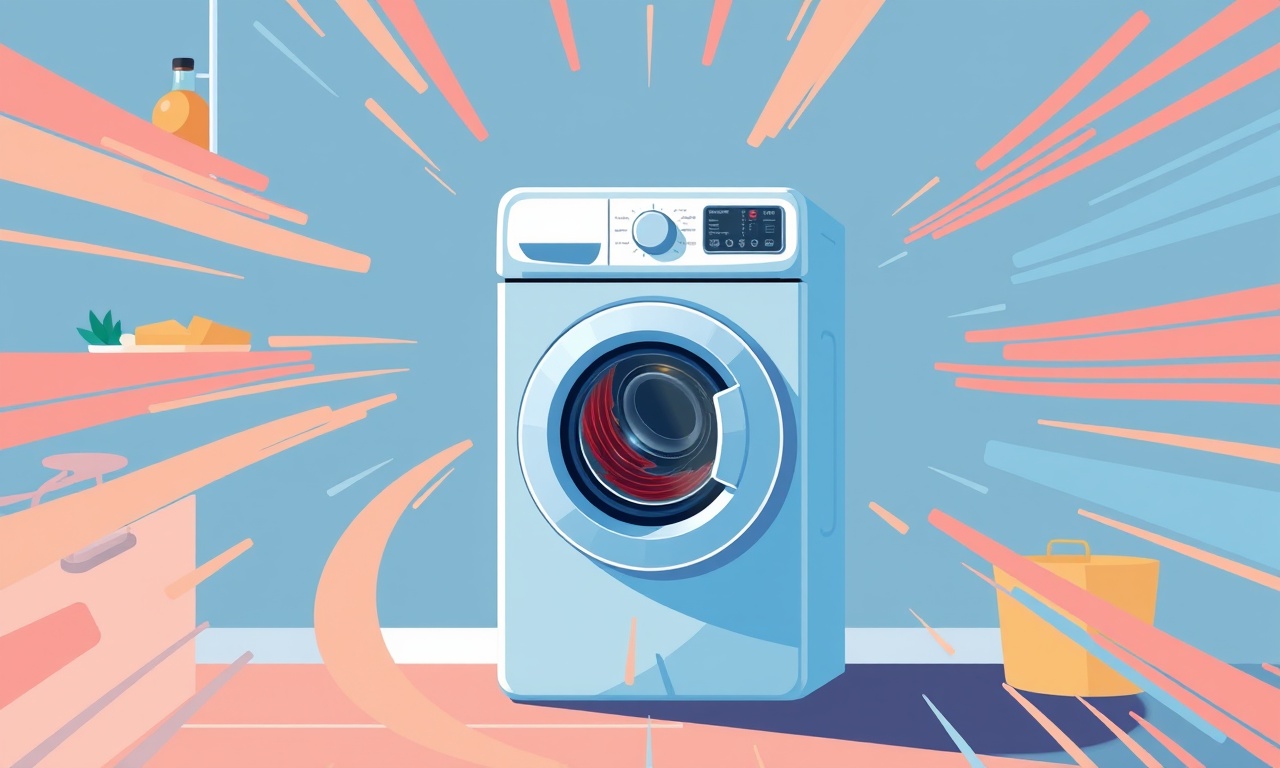
A Maytag MHD60 dryer that produces excessive noise during the spin cycle can be frustrating and potentially damaging to your appliance if left unchecked. The noise may range from a low thump to a high‑pitched whine, and it can be caused by a variety of issues—from loose parts to worn bearings. This guide will walk you through the most common causes, safety precautions, diagnostic steps, and repair solutions so you can get your dryer running quietly again.
Why the Dryer Is Noisy
When the dryer’s drum spins, several components work in unison. If one of these parts is out of alignment, worn, or damaged, the drum will vibrate, causing the loud noise you hear. Understanding which components are involved helps narrow down the problem quickly.
Key Components Involved in Noise
- Drum and drum belt
- Tension roller
- Motor and motor coupler
- Drive wheel and idler pulley
- Belt and pulley set
- Rollers on the motor housing
- Suspension springs
Each of these parts can become a noise source if they fail to perform their role correctly.
Common Causes of Excessive Noise
Below is a list of the most frequent culprits behind loud spinning sounds in the MHD60 dryer. Recognizing the symptom helps you focus your inspection.
- Loose or damaged drum belt
- Worn drum rollers or motor bearings
- Faulty drive wheel or idler pulley
- Incorrect belt tension
- Unevenly weighted load
- Accumulated lint in the lint filter or vent
- Obstructed or bent drum
- Faulty motor or motor coupler
If you notice a particular type of noise—such as a grinding, rattling, or high‑pitch whine—match it to the component above. For instance, a grinding noise usually points to drum rollers or motor bearings, while a rattling sound often signals a loose belt or loose screws.
Safety First
Before opening the dryer or conducting any repairs, take these precautions:
- Unplug the unit from the wall outlet.
- Wait a few minutes after unplugging to ensure the dryer is fully discharged.
- Locate the circuit breaker if you prefer cutting power from the panel.
- Use a flashlight for better visibility inside the dryer cavity.
- Wear safety gloves and eye protection if you plan to remove any hardware.
These simple steps protect both you and the appliance from accidental damage or injury.
Step‑by‑Step Diagnostic Guide
Diagnosing the source of the noise involves methodical inspection. Follow this sequence to pinpoint the problem.
1. Check the Lint Filter and Vent
- Remove the lint filter and clean it thoroughly.
- Inspect the dryer vent for any lint buildup or obstructions.
- A blocked vent can cause the motor to work harder, amplifying noise.
Tip: Vacuum the vent and use a vent cleaning brush to remove any accumulated lint.
2. Inspect the Drum Belt
- Remove the dryer’s rear panel to expose the drum belt.
- Look for cracks, fraying, or holes.
- Test the belt for slack; it should have a slight give but remain snug.
3. Test the Drum Rollers and Motor Bearings
- Rotate the drum manually.
- Listen for any grinding or squealing.
- If the drum feels uneven or makes noise when turned, the rollers or bearings may be worn.
4. Examine the Drive Wheel and Idler Pulley
- Look for any visible wobble or damage.
- Verify that the idler pulley turns freely without resistance.
- A damaged drive wheel will create a humming or rattling noise during spin.
5. Assess Belt Tension
- Apply gentle pressure to the belt.
- It should not slide or loosen easily.
- Use a belt tension gauge if you have one.
6. Verify Load Balance
- Load the dryer with a small, evenly distributed weight and run a quick cycle.
- If the noise decreases, the issue might have been an unbalanced load.
7. Look for Obstructions Inside the Drum
- Remove a few items from the drum and rotate it by hand.
- Feel for any objects that might be stuck between the drum and the dryer housing.
Common Fixes and Repair Methods
Once you’ve identified the cause, the next step is to correct it. Below are the most frequent repairs for the MHD60 dryer’s spinning noise.
Fixing a Loose or Damaged Drum Belt
- Replace the belt: Purchase a replacement belt that matches the original’s length and width.
- Install the new belt: Follow the manufacturer’s instructions. Usually, the belt loops around the motor, drum, and idler pulley.
- Test the dryer: Run a short cycle to ensure the belt runs smoothly.
Replacing Worn Drum Rollers or Motor Bearings
- Remove the rear panel to expose the rollers and bearings.
- Detach the rollers: Usually held by a single screw or set of screws.
- Install new rollers: Tighten securely.
- Lubricate bearings: Apply a few drops of high‑temperature grease to motor bearings if recommended by the manufacturer.
Repairing a Faulty Drive Wheel or Idler Pulley
- Inspect for cracks or deformities: Replace the component if damaged.
- Adjust tension: If the idler pulley is loose, tighten its adjustment screw.
- Check for alignment: Ensure the drive wheel sits squarely on the motor shaft.
Correcting Belt Tension
- Use the tension adjustment screw on the idler pulley to increase or decrease belt tightness.
- Check tension: The belt should be firm but not overly tight, as this can cause premature wear.
Clearing Vent Obstructions
- Remove the vent hose from the dryer end.
- Vacuum out lint from the hose and vent flaps.
- Reinstall the hose and ensure it’s properly sealed.
Preventive Measures
Keeping your dryer in top shape reduces the likelihood of noise problems. Here are some routine maintenance practices.
- Clean the lint filter after every load.
- Vacuum the dryer vent monthly to keep airflow unrestricted.
- Check the drum for dents or warps every few months.
- Rotate the drum manually to spot any unusual vibrations early.
- Keep the dryer on a level surface to avoid uneven wear on rollers.
By staying on top of these tasks, you prolong the life of the dryer’s components and maintain a quiet operation.
When to Call a Professional
While many noise issues can be resolved by the homeowner, certain problems warrant professional attention:
- Motor replacement: If the motor has failed, a qualified technician should handle replacement.
- Complex wiring issues: Any electrical fault requires a licensed electrician or appliance repair specialist.
- Major structural damage: If the dryer housing or frame is cracked, professional repair is necessary.
- Warranty coverage: If your dryer is still under warranty, call Maytag service for authorized repairs.
Frequently Asked Questions
Does the MHD60 dryer’s noise indicate a faulty motor?
Not always. While a noisy motor can be a sign of failure, many other components can cause similar sounds. A thorough diagnostic will determine the exact cause.
How often should I clean the dryer vent?
At least once a month, especially if you use the dryer frequently. Some manufacturers recommend quarterly cleaning for high‑usage homes.
Can I fix a worn drum roller myself?
Yes, if you are comfortable working with appliance components. Replace the roller with a new one of the same size and secure it with the original screws.
Will replacing the belt fix the noise?
If the noise is due to a damaged or loose belt, then yes. However, if the cause lies in bearings or rollers, belt replacement alone will not solve the problem.
Is it safe to run the dryer if it is noisy?
It is safer to stop the dryer and identify the issue first. Continuing to run a noisy dryer can cause further damage or pose a fire risk.
Conclusion
A Maytag MHD60 dryer producing excessive noise while spinning is a common issue that can usually be resolved with a methodical approach. By inspecting key components, performing safety checks, and following step‑by‑step diagnostic and repair procedures, you can restore quiet, efficient operation to your dryer. Regular maintenance and timely repairs not only keep the noise at bay but also extend the life of your appliance. If any repair steps feel beyond your skill level or you encounter a motor or electrical problem, it’s best to call a qualified technician.
Discussion (9)
Join the Discussion
Your comment has been submitted for moderation.
Random Posts

Analyzing iPhone 13 Pro Max Apple Pay Transaction Declines After Software Update
After the latest iOS update, iPhone 13 Pro Max users see more Apple Pay declines. This guide explains the technical cause, how to diagnose the issue, and steps to fix payment reliability.
2 months ago

Dyson AM15 Mist Not Spreading What Causes It And How To Repair
Find out why your Dyson AM15 Mist isn’t misting, learn the common causes, and follow our step, by, step guide to restore full misting performance quickly.
2 months ago

Adjusting the Neato Botvac D6 for Unexpected Cleaning Pause
Learn why your Neato Botvac D6 pauses, diagnose the issue, and tweak settings for smooth, uninterrupted cleaning.
11 months ago

Quelling LG OLED G1 Picture Loop at Startup
Stop the LG OLED G1 picture loop that stutters at startup, follow these clear steps to diagnose software glitches, adjust settings, and restore a smooth launch every time.
4 months ago

Resolving Room Acoustics Calibration on Samsung HW Q990T
Calibrate your Samsung HW, Q990T to your room's acoustics and unlock true cinema-quality sound, every dialogue and subtle score becomes crystal clear.
1 month ago
Latest Posts

Fixing the Eufy RoboVac 15C Battery Drain Post Firmware Update
Fix the Eufy RoboVac 15C battery drain after firmware update with our quick guide: understand the changes, identify the cause, and follow step by step fixes to restore full runtime.
5 days ago

Solve Reolink Argus 3 Battery Drain When Using PIR Motion Sensor
Learn why the Argus 3 battery drains fast with the PIR sensor on and follow simple steps to fix it, extend runtime, and keep your camera ready without sacrificing motion detection.
5 days ago

Resolving Sound Distortion on Beats Studio3 Wireless Headphones
Learn how to pinpoint and fix common distortion in Beats Studio3 headphones from source issues to Bluetooth glitches so you can enjoy clear audio again.
6 days ago