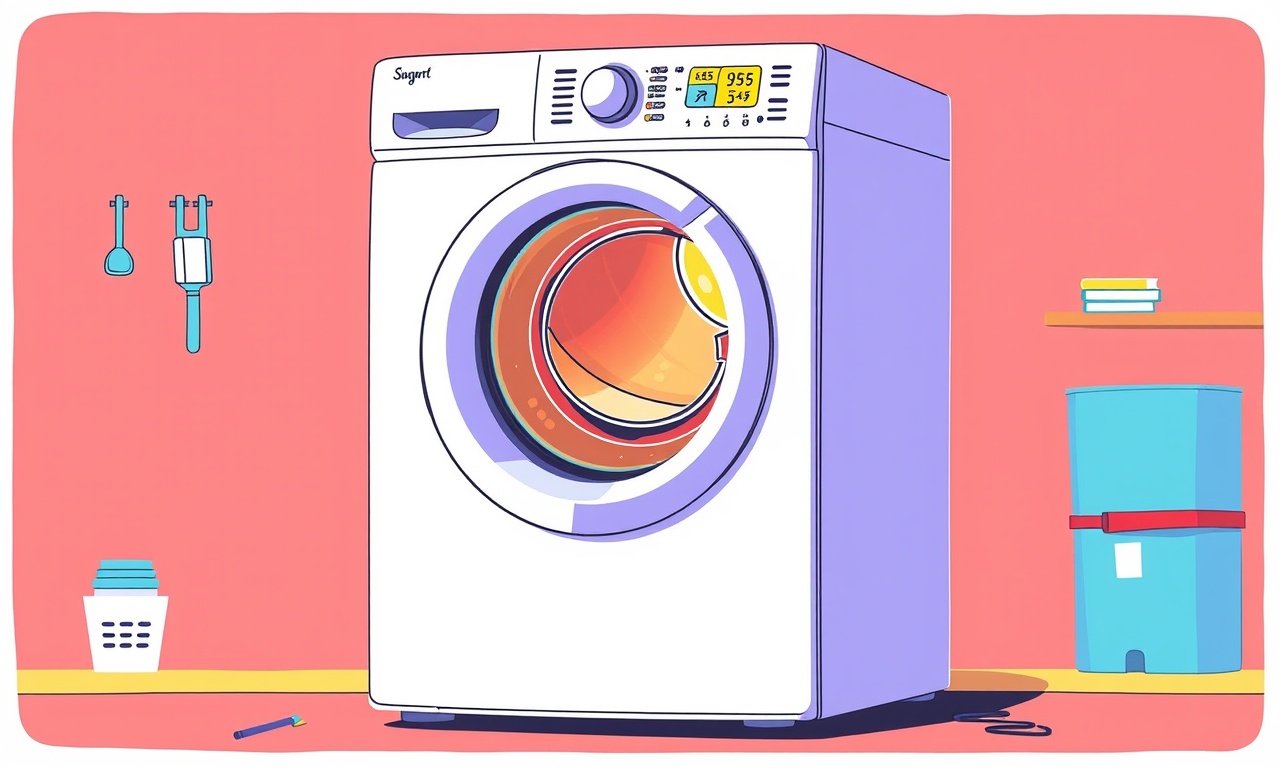
Reassembling a Detached Latch on Whirlpool WFW5700HW
Step‑by‑Step Guide to Reassembling a Detached Latch
When the latch on a Whirlpool WFW5700HW pulls loose, the door no longer locks properly. Reassembling it is a matter of careful disassembly, inspection, and reattachment. The following instructions walk you through every stage of the repair, ensuring that the latch is restored to its original strength and reliability.
Safety First
-
Unplug the Machine
The first step is always to remove the appliance from any power source. Locate the power cord, disconnect it, and confirm that the outlet is turned off. -
Work in a Clean, Dry Area
A cluttered workspace can hide sharp edges or loose screws. Clear a flat surface that will hold the washing machine door and parts as you work. -
Protect Your Eyes
Small metal shards can fly during disassembly. A pair of safety glasses keeps you safe. -
Keep the Door Open
The latch is inside the door’s frame. Keeping the door open provides better visibility and prevents accidental strikes.
What You’ll Need
- Flat‑head screwdriver
- Phillips screwdriver
- Small pair of needle‑point pliers
- Socket set (including 3/8‑inch and 1/4‑inch sockets)
- Soft cloth or towel
- Clean, dry towel for wiping parts
- Replacement screws (if any)
- A small storage container for screws and small parts
Locate the Door Latch
The latch is hidden behind the door’s rubber gasket and the door’s interior handle. To see it:
- Slide the door open as wide as possible.
- Run a finger along the inside edge where the latch will sit.
- Note that the latch is a small, rectangular metal piece that slides into the door frame.
Remove the Door Handle Assembly
-
Unbolt the Handle
On the back of the handle, you will find two screws—one on the handle itself and one on the door’s frame. Use the appropriate screwdriver or socket to loosen them. -
Lift the Handle
Carefully pull the handle off. It may release a small clip that holds it in place. Set the handle aside in a safe spot. -
Pull the Gasket
Gently pry the rubber gasket away from the door using the flat‑head screwdriver. The gasket covers the latch; remove it to expose the latch mechanism.
Detach the Latch
-
Identify the Latch Release
The latch is usually held by a tiny set screw or a pin. Locate it on the latch’s side. -
Remove the Set Screw or Pin
Use the socket set to unscrew or pull the pin out. Some latches use a small spring that holds the latch in place. Note its orientation. -
Separate the Latch from the Door Frame
Once the holding mechanism is released, lift the latch out of its groove. Keep track of the latch’s orientation, especially if it has a notch that aligns with the door frame.
Inspect the Components
-
Check for Wear or Damage
Look for cracks in the latch metal, worn plastic, or bent components. A damaged latch must be replaced. -
Clean the Latch
Use a soft cloth to wipe away any debris, lint, or residue. A clean latch reduces friction and improves operation. -
Verify the Door Frame
Inspect the area where the latch slides. Ensure that the groove is straight and free of burrs.
Reassemble the Latch
-
Re‑Insert the Latch
Slide the latch back into its groove, ensuring that any notch aligns correctly. The latch should sit flush with the frame. -
Secure the Latch
Replace the set screw or pin, tightening it just enough that the latch stays in place but still allows smooth movement when the door is opened or closed. -
Check the Spring (if applicable)
If the latch includes a compression spring, verify that it is seated correctly. A mis‑positioned spring can cause the latch to bind.
Reinstall the Door Handle Assembly
-
Place the Gasket
Slide the rubber gasket back into its position on the door. Use gentle pressure to ensure it sits evenly without wrinkles. -
Reattach the Handle
Position the handle back onto the door. Align the screw holes, then tighten the screws with the screwdriver or socket. Ensure the handle does not wobble. -
Test the Handle
Move the handle through its full range of motion. It should feel firm and should return to its original position when released.
Test the Door
-
Close the Door
Gently close the door and let the latch engage. Listen for a distinct click that confirms proper engagement. -
Open and Close Again
Repeat the opening and closing motion several times to ensure smooth operation. No excessive resistance should be felt. -
Check for Leaks
Though the latch itself does not affect water, a loose latch can cause the door to remain open slightly, letting air in. Verify that the door stays fully closed during a cycle.
Troubleshooting Common Issues
1. Latch Does Not Engage
- Cause: Misalignment of the latch or the door frame.
- Fix: Re‑check the orientation of the latch. Ensure it is fully seated in the groove. If the frame is warped, you may need to straighten it gently with a flat tool.
2. Door Remains Slightly Open After Closing
- Cause: The gasket is uneven or the latch is partially detached.
- Fix: Re‑install the gasket, ensuring it lies flat. Tighten the latch set screw again.
3. Handle Bounces Back Too Fast
- Cause: The latch spring may be too stiff or mis‑positioned.
- Fix: Replace or reposition the spring. Test the spring’s resistance before final tightening.
4. Small Parts Fall Into the Machine
- Cause: Loose screws or missed small components.
- Fix: Keep a dedicated container for screws and small parts during disassembly. Double‑check the number of screws before re‑assembly.
Maintenance Tips
-
Clean Regularly
Dust and lint can accumulate around the latch. Wipe the area with a dry cloth every few months. -
Inspect Periodically
Check the latch, screws, and handle every six months for loosening. Tighten promptly. -
Avoid Excessive Force
Do not slam the door. Gentle, deliberate closing ensures the latch and frame endure longer. -
Replace Worn Parts
If the latch or handle shows signs of wear—cracking, plastic brittleness, or metal deformation—order replacement parts from Whirlpool’s official parts catalog.
Final Thoughts
Reassembling a detached latch on a Whirlpool WFW5700HW is a manageable task for most homeowners with basic tools. By following the steps carefully, paying attention to alignment, and ensuring all screws are tight, you restore the door’s secure closure and extend the lifespan of the appliance. Remember to keep all parts organized during the process and to test the door after each major step. With proper maintenance, your washing machine will continue to run smoothly for years to come.
Discussion (8)
Join the Discussion
Your comment has been submitted for moderation.
Random Posts

Addressing Apple iPhone 14 Pro Max Battery Drain During Gaming Sessions
Learn why iPhone 14 Pro Max batteries drain during gaming, how to diagnose the issue, and practical tweaks to keep you playing longer with less power loss.
5 months ago

Curing iPhone 14 Plus Charging Port Wear After Daily Fast Charge Cycles
Fast charging can loosen your iPhone 14 Plus port. Learn to spot slow charging and loose cables, then fix it with simple home tricks or long, term prevention.
6 months ago
Xiaomi Mi SmartGlasses 3 Eye Tracking Error Fix
Fix the eye, tracking issue on Mi SmartGlasses 3 with this step, by, step guide to diagnose, clear errors, and restore functionality without repair.
1 year ago

Overcoming Sony X900H Color Saturation Drift During HDR Playback
Discover how to spot and fix color saturation drift on your Sony X900H during HDR playback, tune settings, correct HDR metadata, and keep your scenes vivid and natural.
4 months ago

Remediating Signal Dropout on Bowers & Wilkins PX8 Noise Cancelling Headphones
Discover why the Bowers & Wilkins PX8 may drop sound and how to fix it by tackling interference, low battery, outdated firmware, obstacles and Bluetooth settings for uninterrupted audio
1 week ago
Latest Posts

Fixing the Eufy RoboVac 15C Battery Drain Post Firmware Update
Fix the Eufy RoboVac 15C battery drain after firmware update with our quick guide: understand the changes, identify the cause, and follow step by step fixes to restore full runtime.
5 days ago

Solve Reolink Argus 3 Battery Drain When Using PIR Motion Sensor
Learn why the Argus 3 battery drains fast with the PIR sensor on and follow simple steps to fix it, extend runtime, and keep your camera ready without sacrificing motion detection.
5 days ago

Resolving Sound Distortion on Beats Studio3 Wireless Headphones
Learn how to pinpoint and fix common distortion in Beats Studio3 headphones from source issues to Bluetooth glitches so you can enjoy clear audio again.
6 days ago