Reconditioning Brush Roll Gap in Bissell EdgeFlex 400
Introduction
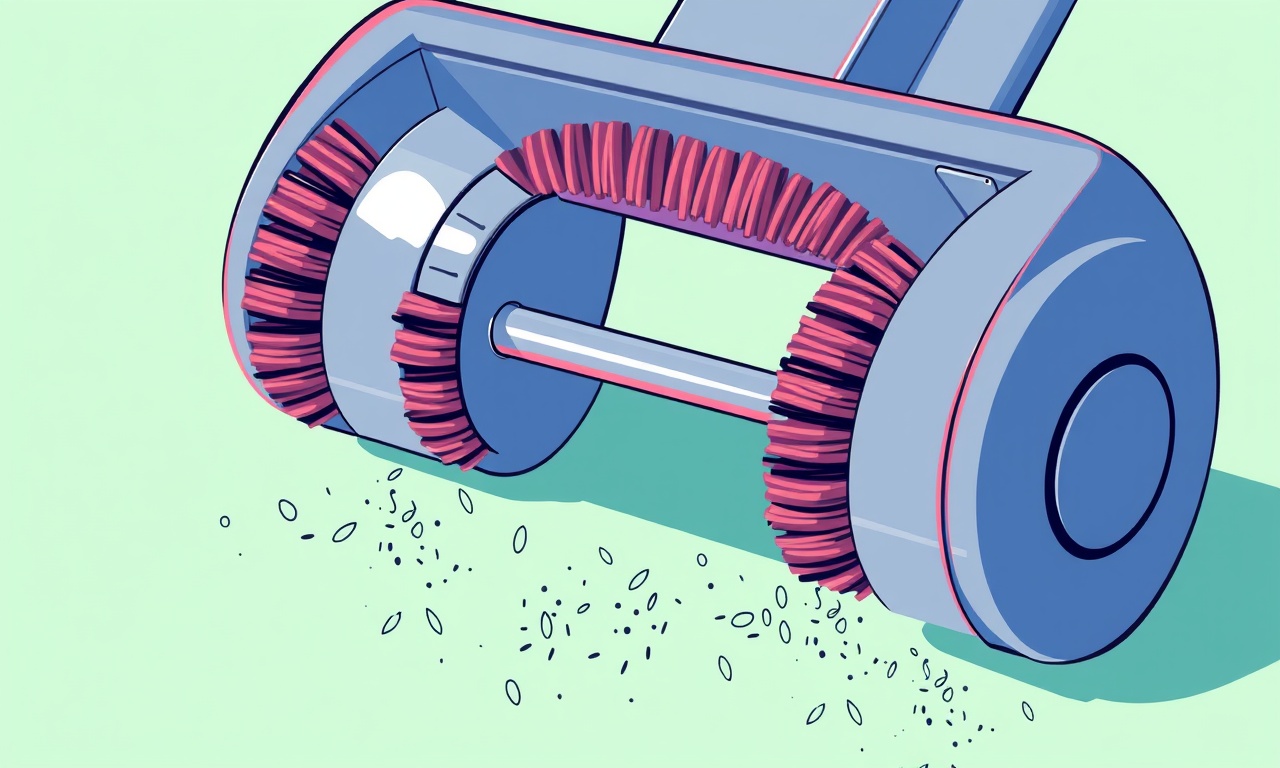
The Bissell EdgeFlex 400 is a versatile stick vacuum that excels at tackling both hard floors and carpeted surfaces. One of the key components that determines its cleaning performance is the brush roll gap – the space between the rotating brush roll and the vacuum’s housing. Over time, debris, wear, or an accidental collision can cause the gap to close or become uneven, which in turn reduces suction efficiency, creates streaks on hard floors, and may even damage the brush roll.
Reconditioning the brush roll gap restores the original clearance, ensuring the vacuum operates at peak efficiency and prolongs the life of the machine. This guide walks you through every step of the process, from gathering tools to testing the vacuum after reassembly. Follow each instruction carefully to avoid damage and achieve a professional‑grade result.
Why the Brush Roll Gap Matters
- Optimal suction – A correctly sized gap allows air to flow freely while the brush roll agitates debris. If the gap is too narrow, suction is restricted; if it is too wide, the brush roll may wobble and lose traction.
- Floor protection – On hard surfaces the brush roll should glide just above the floor without scraping. An uneven gap can cause scratches or swirl marks.
- Motor longevity – Excessive resistance from a tight gap forces the motor to work harder, leading to overheating and premature wear.
- Noise reduction – A properly spaced brush roll runs smoother, producing less vibration and noise.
Understanding these benefits underscores why regular inspection and adjustment are essential parts of vacuum maintenance.
Tools and Materials
Gather the following items before you begin. Having everything at hand prevents interruptions and reduces the risk of losing small components.
- Small flat‑head screwdriver
- Phillips‑head screwdriver (typically #2)
- Needle‑nose pliers
- Soft brush or old toothbrush
- Clean lint‑free cloth
- Isopropyl alcohol (optional, for cleaning contacts)
- Replacement brush roll (only if the existing one is damaged)
Safety Precautions
- Unplug the vacuum from the power outlet before removing any parts.
- Allow the brush roll to cool for at least five minutes after the vacuum has been in use, as the motor can become hot.
- Work on a stable, flat surface such as a kitchen table or workbench.
- Keep small screws and components organized in a cup or magnetic tray to avoid misplacement.
Accessing the Brush Roll
- Detach the wand – Press the release button on the wand‑to‑handle connector and pull the wand away from the main body.
- Remove the bottom cover – Locate the two screws that secure the bottom plate over the brush roll cavity. Using the Phillips‑head screwdriver, unscrew them and set the screws aside.
- Lift the cover – Gently lift the bottom cover; you should now see the brush roll housed in a cylindrical chamber.
If your model includes a removable brush roll guard or filter housing, remove those components as well to gain unobstructed access.
Inspecting the Current Gap
With the brush roll exposed, observe the clearance on all sides. The ideal gap is typically 2 to 3 millimeters when the brush roll is at rest. Use a ruler or a small gap gauge to measure the distance between the outer edge of the brush roll and the housing wall at several points around the circumference.
- Even gap – All measurements fall within the 2‑3 mm range. No adjustment needed, but cleaning is still recommended.
- Narrow gap – Measurements are less than 2 mm in one or more locations. The brush roll may be pressing against the housing, reducing suction.
- Wide gap – Measurements exceed 3 mm. The brush roll may wobble, leading to uneven cleaning and increased noise.
Take note of any visible wear on the brush roll bristles, cracked plastic, or accumulated hair and debris.
Cleaning Before Adjustment
Before attempting any mechanical adjustment, clean the brush roll and its surrounding area.
- Remove hair – Use the needle‑nose pliers to pull tangled hair or fibers out of the brush roll’s teeth.
- Brush away dust – A soft brush or old toothbrush works well for dislodging dust from the housing interior.
- Wipe surfaces – Dampen the lint‑free cloth with a small amount of isopropyl alcohol and wipe the housing walls and brush roll surface. This removes residue that could affect gap measurement.
Allow all components to dry completely before proceeding.
Adjusting the Brush Roll Gap
Most Bissell EdgeFlex 400 units feature a built‑in adjustment mechanism located near the brush roll axle. This mechanism typically consists of a small screw or a sliding shim that can be turned or shifted to alter the clearance.
If Your Model Uses an Adjustment Screw
- Locate the screw – It is usually positioned on the side of the brush roll housing, accessible once the bottom cover is removed.
- Turn clockwise to close the gap – If the gap is too wide, rotate the screw clockwise in small increments (about a quarter turn). Check the gap after each turn.
- Turn counter‑clockwise to open the gap – If the gap is too narrow, rotate the screw counter‑clockwise, again in small increments.
If Your Model Uses a Sliding Shim
- Find the shim slot – A narrow slot runs along the outer wall of the brush roll housing.
- Insert the shim – Use a thin piece of plastic or the supplied shim to push the housing wall outward, widening the gap.
- Remove the shim – To narrow the gap, gently tap the housing wall back into place with a soft rubber mallet, being careful not to damage the plastic.
Verification
After each adjustment, re‑measure the gap at multiple points. Continue adjusting until the clearance is consistently within the 2‑3 mm range.
Reassembly
- Replace the bottom cover – Align the cover with the screw holes and press it firmly into place.
- Secure the screws – Using the Phillips‑head screwdriver, tighten the screws just enough to hold the cover without warping it. Over‑tightening can deform the housing and alter the gap again.
- Reattach the wand – Snap the wand back onto the handle until it clicks securely.
Double‑check that no tools or stray parts remain inside the vacuum.
Testing the Vacuum
Plug the vacuum back into a power outlet and turn it on. Observe the following indicators:
- Brush roll rotation – The brush roll should spin smoothly without wobbling.
- Suction performance – Test on both a hard floor and a carpeted area. The vacuum should pick up debris effectively and maintain steady suction.
- Noise level – The operation should be relatively quiet; excessive rattling may indicate an improperly set gap.
If any of these criteria are not met, disconnect the vacuum and revisit the adjustment steps.
Ongoing Maintenance Tips
- Monthly cleaning – Remove hair and debris from the brush roll at least once a month to prevent buildup that can affect the gap.
- Quarterly inspection – Measure the gap every three months. Small shifts can occur as the plastic ages.
- Avoid heavy objects – Do not drag the vacuum over large, hard objects that could bend the brush roll housing.
- Store properly – Keep the vacuum upright on its handle or in a designated holder to maintain alignment.
Regular maintenance not only preserves the brush roll gap but also extends the overall lifespan of your EdgeFlex 400.
Frequently Asked Questions
What if the adjustment screw is stripped?
If the screw head is damaged, try using a small flat‑head screwdriver that fits snugly, or apply a screwdriver bit with a rubber band for extra grip. In severe cases, the screw may need to be replaced with a matching part from Bissell.
Can I replace the brush roll entirely?
Yes. If the bristles are worn or broken, remove the brush roll by pulling the central axle clip, insert the new roll, and re‑secure the clip. After replacement, re‑measure the gap and adjust as needed.
Is there a risk of voiding the warranty by adjusting the gap?
Adjusting the gap using the factory‑provided mechanism does not void the warranty. However, forcing components or using non‑OEM parts may affect coverage.
Why does the gap change after a deep clean?
During a deep clean, you may remove accumulated grime that was acting as a spacer, causing the gap to appear narrower. Re‑measure and readjust after cleaning.
What if the vacuum still loses suction after adjustment?
Check the filter and dust cup for clogs. A blocked airflow path elsewhere can mimic a gap issue. Clean or replace filters according to the user manual.
Conclusion
Reconditioning the brush roll gap in a Bissell EdgeFlex 400 is a straightforward yet vital task that ensures optimal cleaning performance, protects floors, and prolongs the vacuum’s service life. By following the step‑by‑step process outlined above—preparing tools, safely accessing the brush roll, accurately measuring and adjusting the gap, and thoroughly testing the machine—you can restore your vacuum to its original efficiency without professional assistance. Regular inspection and cleaning will keep the gap consistent, allowing you to enjoy reliable, powerful suction on every cleaning session.
Remember that patience and precision are key. Take small adjustment increments, verify measurements frequently, and never force components. With diligent care, your EdgeFlex 400 will continue to deliver the high‑quality results that made you choose it in the first place.
Discussion (12)
Join the Discussion
Your comment has been submitted for moderation.
Random Posts

Analyzing iPhone 13 Pro Max Apple Pay Transaction Declines After Software Update
After the latest iOS update, iPhone 13 Pro Max users see more Apple Pay declines. This guide explains the technical cause, how to diagnose the issue, and steps to fix payment reliability.
2 months ago

Dyson AM15 Mist Not Spreading What Causes It And How To Repair
Find out why your Dyson AM15 Mist isn’t misting, learn the common causes, and follow our step, by, step guide to restore full misting performance quickly.
2 months ago

Adjusting the Neato Botvac D6 for Unexpected Cleaning Pause
Learn why your Neato Botvac D6 pauses, diagnose the issue, and tweak settings for smooth, uninterrupted cleaning.
11 months ago

Quelling LG OLED G1 Picture Loop at Startup
Stop the LG OLED G1 picture loop that stutters at startup, follow these clear steps to diagnose software glitches, adjust settings, and restore a smooth launch every time.
4 months ago

Resolving Room Acoustics Calibration on Samsung HW Q990T
Calibrate your Samsung HW, Q990T to your room's acoustics and unlock true cinema-quality sound, every dialogue and subtle score becomes crystal clear.
1 month ago
Latest Posts

Fixing the Eufy RoboVac 15C Battery Drain Post Firmware Update
Fix the Eufy RoboVac 15C battery drain after firmware update with our quick guide: understand the changes, identify the cause, and follow step by step fixes to restore full runtime.
5 days ago

Solve Reolink Argus 3 Battery Drain When Using PIR Motion Sensor
Learn why the Argus 3 battery drains fast with the PIR sensor on and follow simple steps to fix it, extend runtime, and keep your camera ready without sacrificing motion detection.
5 days ago

Resolving Sound Distortion on Beats Studio3 Wireless Headphones
Learn how to pinpoint and fix common distortion in Beats Studio3 headphones from source issues to Bluetooth glitches so you can enjoy clear audio again.
6 days ago