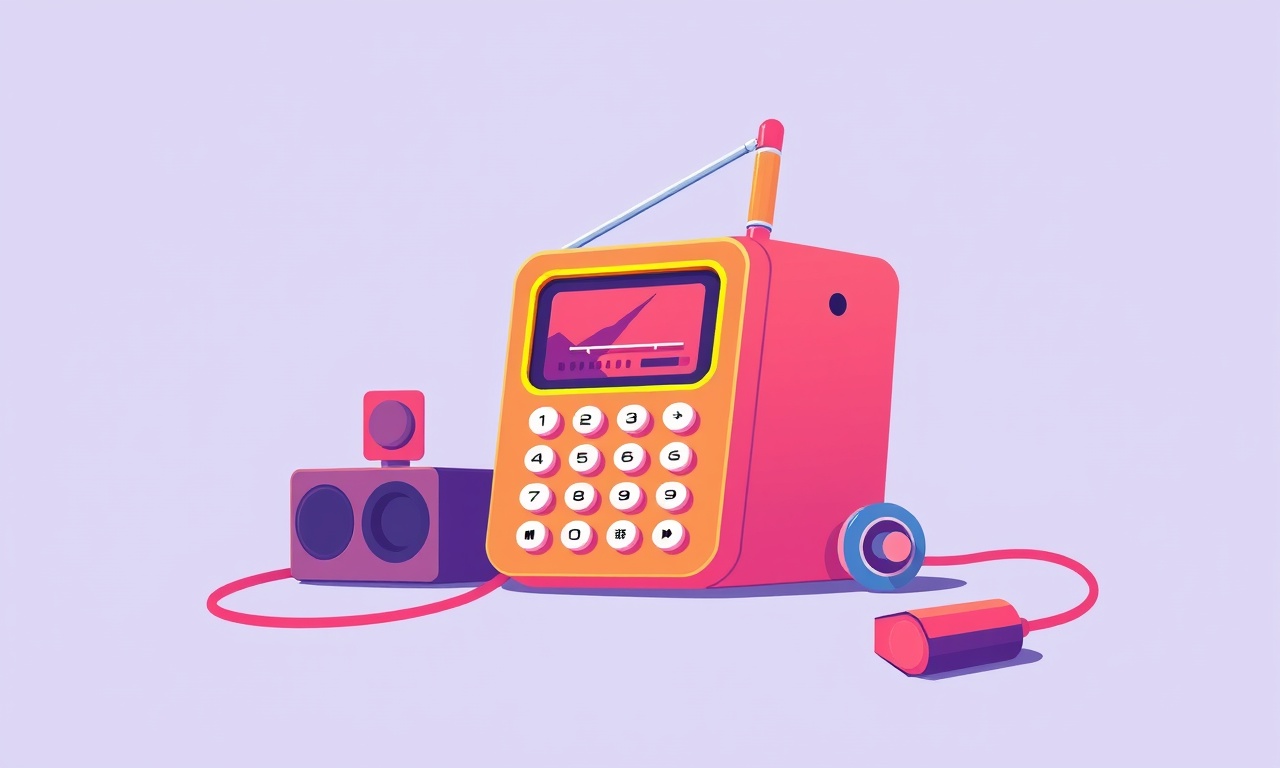
Rectifying the FM Radio Disruption on Nokia 3310 (Modern Edition)
Understanding the FM radio function on the Nokia 3310 has become a curious mix of nostalgia and modern convenience. While the original device was praised for its simple interface and durable design, its built‑in FM tuner has long suffered from intermittent disruptions—pulses of static, sudden loss of signal, or a complete inability to lock onto stations.
This guide walks you through every step you can take to diagnose and rectify those glitches, whether you’re a seasoned DIY fixer or a casual user wanting to enjoy your favourite local broadcasts again.
Why FM Radio on the 3310 is Prone to Disruption
The Nokia 3310’s FM tuner relies on a tiny external antenna that is embedded in the rear panel. Over the years, the plastic housing and the metal circuitry that carry the signal can accumulate dust, corroding contacts or simply become misaligned. In addition, the phone’s firmware may not always stay in sync with the latest radio‑frequency (RF) regulation changes. Because of these mechanical and software constraints, the FM radio can often behave unpredictably.
Common Symptoms of a Faulty FM Radio
- Sudden drop in signal strength while listening to a station
- Frequent re‑scanning required to stay on a channel
- Intermittent audio bursts that cut out for a second before resuming
- Failure to lock onto any frequency after pressing the FM button
- Inconsistent volume that fluctuates without user input
If any of these symptoms appear, you’re dealing with a disruption that needs troubleshooting.
Preliminary Checklist
Before diving into deeper repairs, run through these quick checks. They often resolve the issue without any technical intervention.
| Step | What to Do | Why It Helps |
|---|---|---|
| 1 | Power off the device for 30 seconds | Clears any temporary software hiccups |
| 2 | Inspect the rear panel | Removes dust or debris that may obstruct the antenna |
| 3 | Re‑insert the SIM and memory card | Loose cards can sometimes cause RF interference |
| 4 | Ensure the phone is on a flat surface | Improper positioning can affect antenna reception |
| 5 | Turn on airplane mode and back off | Resets the radio’s internal radio‑frequency lock |
If these simple steps fail, it’s time to move to the next tier of solutions.
Software Fixes
1. Update the Firmware
Nokia occasionally releases firmware updates that patch radio‑related bugs. Even if the phone is no longer officially supported, you can still locate a recent image from trusted sources such as the official Nokia firmware archive or reputable modding communities.
- Download the latest firmware that matches your region’s language code.
- Flash the firmware using Nokia’s SmartSync software or a custom recovery like TWRP if you’ve already unlocked the bootloader.
- Reboot the device and test the FM radio again.
A fresh firmware image can resolve misaligned frequency tables and improve antenna alignment logic.
2. Reset FM Radio Settings
The 3310 stores radio preferences locally. Resetting them often clears corrupted calibration data.
- Press the Menu button.
- Navigate to Settings → Radio.
- Select Clear Settings or Reset.
- Restart the phone and tune to a known station.
After resetting, the phone will need to relearn the frequency offsets, but this typically restores stable reception.
3. Install a Third‑Party FM App
If the built‑in FM receiver is still problematic, try an alternative app that uses a different radio‑driver path.
- Search for “FM Radio” in the Google Play Store.
- Choose an app that is free of in‑app purchases and has high user ratings.
- Grant any required permissions (usually Microphone and Audio).
- Open the app, scan for stations, and listen.
A third‑party app may bypass firmware issues or provide better tuning precision.
Hardware Adjustments
If software fixes fall short, physical modifications might be necessary. Because the 3310 is a closed‑case device, these steps require a delicate approach.
1. Re‑position the Internal Antenna
The antenna is a small wire located just below the screen and near the battery compartment.
- Power off the phone and open the back panel with a precision screwdriver.
- Locate the antenna wire—usually a thin copper strip.
- Gently straighten or reposition it to ensure it is not bent or twisted.
- Replace the panel and test the FM tuner.
Even a slight bend can drastically reduce signal strength.
2. Reinstall the FM Radio Module
If the antenna is intact but the radio still misbehaves, the module itself may need a realignment.
- Locate the module on the main board (it looks like a small rectangular chip with an antenna connector).
- Disconnect the connector, wait a few seconds, then reconnect it firmly.
- Check for any loose solder joints that could be causing intermittent contact.
A secure connection often restores reliable reception.
Advanced Troubleshooting
For users comfortable with deeper diagnostics, the following techniques can pinpoint subtle issues that surface‑level fixes miss.
1. Verify Frequency Format
Different countries use different FM frequency spacings (0.1 MHz in the US, 0.02 MHz in Europe). A mismatch can cause the radio to lock onto an off‑band frequency, resulting in static.
- Open the FM radio settings and check the frequency spacing.
- If it does not match your region, manually adjust it.
A correct spacing ensures the tuner locks onto valid stations.
2. Scan for Radio‑Frequency Interference (RFI)
Nearby devices—Wi‑Fi routers, microwave ovens, or even certain power lines—can interfere with the FM band.
- Move the phone away from known sources of RF noise.
- Test the radio in a quiet environment, such as a different room or outside.
If the signal improves, consider relocating the device or using shielding.
3. Use an External Antenna
If the internal antenna is unreliable, an external antenna can provide a clearer path.
- Obtain a small FM antenna with a compatible connector.
- Connect it to the phone’s FM port or to a small RF splitter that plugs into the ear jack.
- Ensure the antenna is positioned away from metal objects.
External antennas can dramatically improve signal quality, especially in indoor environments with weak reception.
Using an External FM Receiver with the 3310
A convenient workaround is to pair the 3310 with an external FM receiver module. These devices plug into the phone’s headphone jack and provide a separate FM tuner, often with superior sensitivity.
- Buy a compact FM receiver (many are sold online for under $10).
- Connect the receiver to the 3310’s headphone jack.
- Open the FM radio app and switch to the external source if the app allows.
- Enjoy clear audio without the limitations of the built‑in tuner.
This method keeps the phone’s hardware untouched while delivering reliable radio service.
When to Seek Professional Repair
If all the above steps fail, the issue may stem from deeper hardware damage—such as a fried radio chip, corroded contacts, or a broken antenna frame. In these cases, professional assistance is advisable:
- Authorized Nokia repair centers: Even if the phone is out of warranty, they may be able to replace the radio module.
- Electronics repair shops: Look for specialists who work with vintage mobile devices.
- Online communities: Forums like XDA Developers often have users who have repaired similar devices and can share detailed instructions.
Final Thoughts
The Nokia 3310’s FM radio can feel like a fickle relic, but with a systematic approach, most disruptions are resolvable. Start with the simplest fixes—power cycles, antenna cleaning, firmware updates—and gradually progress to hardware tweaks or external solutions. Remember that the device is a blend of old engineering and modern user expectations; patience and a methodical mindset are your best tools.
If you’ve successfully restored your FM tuner, or if you’re still struggling, share your experience in the comments below. Your insights could help another user get their 3310 back to humming along to the radio again.
Discussion (8)
Join the Discussion
Your comment has been submitted for moderation.
Random Posts

Analyzing iPhone 13 Pro Max Apple Pay Transaction Declines After Software Update
After the latest iOS update, iPhone 13 Pro Max users see more Apple Pay declines. This guide explains the technical cause, how to diagnose the issue, and steps to fix payment reliability.
2 months ago

Dyson AM15 Mist Not Spreading What Causes It And How To Repair
Find out why your Dyson AM15 Mist isn’t misting, learn the common causes, and follow our step, by, step guide to restore full misting performance quickly.
2 months ago

Adjusting the Neato Botvac D6 for Unexpected Cleaning Pause
Learn why your Neato Botvac D6 pauses, diagnose the issue, and tweak settings for smooth, uninterrupted cleaning.
11 months ago

Quelling LG OLED G1 Picture Loop at Startup
Stop the LG OLED G1 picture loop that stutters at startup, follow these clear steps to diagnose software glitches, adjust settings, and restore a smooth launch every time.
4 months ago

Resolving Room Acoustics Calibration on Samsung HW Q990T
Calibrate your Samsung HW, Q990T to your room's acoustics and unlock true cinema-quality sound, every dialogue and subtle score becomes crystal clear.
1 month ago
Latest Posts

Fixing the Eufy RoboVac 15C Battery Drain Post Firmware Update
Fix the Eufy RoboVac 15C battery drain after firmware update with our quick guide: understand the changes, identify the cause, and follow step by step fixes to restore full runtime.
5 days ago

Solve Reolink Argus 3 Battery Drain When Using PIR Motion Sensor
Learn why the Argus 3 battery drains fast with the PIR sensor on and follow simple steps to fix it, extend runtime, and keep your camera ready without sacrificing motion detection.
5 days ago

Resolving Sound Distortion on Beats Studio3 Wireless Headphones
Learn how to pinpoint and fix common distortion in Beats Studio3 headphones from source issues to Bluetooth glitches so you can enjoy clear audio again.
6 days ago