Reinstating Ear Cup Integrity on Bang & Olufsen Beoplay H9
Introduction
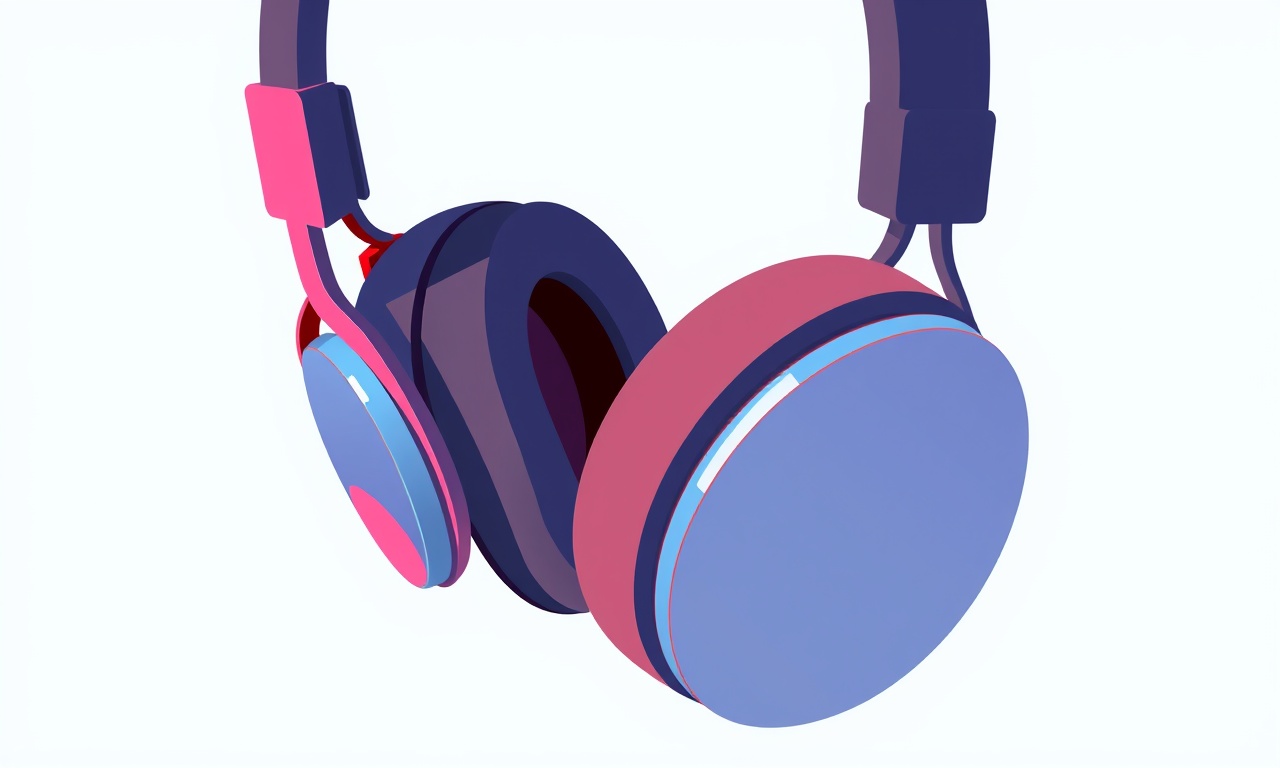
The Bang & Olufsen Beoplay H9 is celebrated for its sleek design, premium materials, and powerful noise‑canceling performance. For many owners, the ear cups are the most exposed part of the headphones, and over time they may develop cracks, loose hinges, or worn padding. Restoring the integrity of the ear cups not only extends the life of the headphones but also preserves the comfort and acoustic isolation that make the Beoplay H9 special.
In this guide you will find a step‑by‑step approach to reinstating ear‑cup integrity. We cover how to identify problems, gather the necessary tools, safely disassemble and repair components, and finally reassemble the headphones so they look and feel like new again.
Recognizing Ear‑Cup Damage
Before diving into repairs, it is essential to determine exactly what type of damage you are dealing with. Common issues include:
- Cracked or fractured silicone hinges that prevent the cups from closing properly.
- Loosened fasteners that allow the cups to sag or detach from the headband.
- Wear on the inner padding, leading to reduced comfort and a loss of acoustic seal.
- Surface scratches or discoloration that give the cup a worn look.
Take a close look at the inside and outside of each ear cup. Use a small flashlight if needed. If you see a fracture that crosses the hinge line, you will need to replace that part. If the screws have come loose but the frame is intact, a tightening or replacement of the screws may be enough.
Tools and Materials You’ll Need
| Item | Purpose | Notes |
|---|---|---|
| Small Phillips screwdriver (size 00) | Tighten or replace screws | B&O uses standard Phillips heads. |
| Flat‑head screwdriver (small) | Open plastic clips | Use a non‑magnetic tip to avoid scratching the casing. |
| Plastic opening tool or a small flat plastic card | Pry open panel edges | Avoid metal tools that could damage the finish. |
| Tweezers | Remove small components | Useful for handling screws and clips. |
| Replacement silicone hinge or ear‑cup frame | Replace broken part | Available from authorized B&O parts suppliers. |
| New ear‑cup padding | Replace worn foam | Choose the same density as original. |
| Small amount of silicone sealant (optional) | Re‑seal small gaps | Use a low‑viscosity, clear sealant. |
| Isopropyl alcohol (90%+) | Clean surfaces | Helps remove dust and oils before reassembly. |
| Microfiber cloth | Clean and dry | Avoid lint on the new padding. |
All tools should be kept on a clean work surface to avoid losing screws or damaging delicate components. If you are unsure about a specific part, refer to the official B&O service guide or contact an authorized repair center.
Step‑by‑Step Restoration Guide
1. Prepare the Workspace
Choose a clean, flat surface with good lighting. Place a soft towel or a foam mat to prevent scratches. Gather all tools and parts within reach.
2. Power Off and Disconnect
Ensure the headphones are turned off. If they are still powered by a battery, remove the battery or disconnect the charging cable. This protects both you and the electronics during the repair.
3. Remove the Ear Cups from the Headband
- Locate the small screws that attach the ear cups to the headband. They are typically hidden under a small plastic cover.
- Use the Phillips screwdriver to unscrew each one carefully.
- While the screws are still in place, gently pry the ear cup away from the headband with the plastic opening tool.
- Set the ear cups on the towel to avoid accidental damage.
4. Inspect the Hinge Mechanism
Open the ear cup by gently pulling it away from the headband. Observe the hinge:
- If you notice a crack that compromises the structural integrity, you will need a replacement hinge.
- If the hinge is intact but the cup does not close evenly, check for loose or missing screws that hold the hinge in place.
5. Replace a Broken Silicone Hinge
- Remove the old hinge by gently prying it off with the tweezers.
- Clean the hinge slot with isopropyl alcohol.
- Slide the new silicone hinge into the slot.
- Re‑tighten the hinge screws (if applicable) using the screwdriver.
6. Tighten or Replace Loose Screws
Some ear cups may have become loose due to daily wear. Check all attachment points:
- Tighten each screw with the screwdriver.
- If a screw is stripped or missing, replace it with a new one of the same size and thread pitch.
7. Replace Worn Padding
If the foam inside the ear cup is compressed or cracked:
- Carefully detach the old padding by pulling it from the center.
- Use a small piece of isopropyl alcohol to clean the interior of the cup.
- Insert the new padding, aligning it so the center of the pad sits directly over the ear.
- Press gently to ensure a snug fit.
8. Re‑seal Small Gaps (Optional)
For cases where a small seam has opened:
- Apply a tiny amount of clear silicone sealant to the edge.
- Allow it to cure according to the manufacturer's instructions.
9. Re‑attach the Ear Cups
- Position the ear cup back onto the headband.
- Align the screw holes.
- Insert the screws and tighten them until snug, but avoid overtightening which could strip the threads.
10. Test the Fit
Before finalizing:
- Move the cups gently to ensure they stay in place.
- Verify that the noise‑canceling microphones and speakers are not obstructed.
- Put the headphones on a test subject (you) and listen to a familiar track.
11. Clean Up
Wipe any fingerprints or smudges from the outside of the ear cups with a microfiber cloth. Avoid using harsh chemicals that could damage the finish.
Maintaining Ear‑Cup Integrity
Even after a successful repair, regular care can prevent future damage.
- Store properly: Use the included case or a soft pouch when not in use.
- Avoid excess moisture: Water can seep into the seams and damage the internal components.
- Keep the foam dry: After a workout or a rainy day, wipe the foam with a dry cloth.
- Check screws periodically: Once a month, give the ear cups a quick visual inspection.
- Replace padding every 2‑3 years: Foam degrades over time; timely replacement keeps the seal intact.
Following these habits will keep your Beoplay H9 performing at its best for many years.
When to Seek Professional Help
If you encounter any of the following, consider sending your headphones to an authorized service center:
- The ear‑cup frame is cracked or broken beyond a simple hinge replacement.
- The internal wiring is damaged or exposed.
- The headphones display electronic faults after the repair.
Professional technicians have access to OEM parts and the expertise to avoid accidental damage.
Final Thoughts
Restoring the ear‑cup integrity of a Bang & Olufsen Beoplay H9 is a manageable task for the attentive DIYer. With the right tools, a clear understanding of the components, and a methodical approach, you can bring your headphones back to their original comfort and acoustic performance. Remember to handle every part with care, follow the steps carefully, and enjoy the satisfaction of having saved a premium device.
Discussion (8)
Join the Discussion
Your comment has been submitted for moderation.
Random Posts

Solving a Persistent Stain Release Issue on Whirlpool WFW5620HW
Tired of spots on your clothes? Discover how to diagnose and fix the stubborn stain release problem on your Whirlpool WFW5620HW with our step-by-step guide.
9 months ago

De'Longhi DL150 Steam Iron Water Recirculation Failure Solution
Trouble with your DeLonghi DL150 steam iron? Learn why water recirculation fails, diagnose the issue, and follow our simple step by step solution to restore steady steam and wrinkle free clothes.
3 months ago

Resolving Lenovo Mirage Solo Bluetooth Pairing Issues
Fix Lenovo Mirage Solo Bluetooth glitches fast with this step by step guide. From simple checks to firmware hacks, reconnect your headset, controllers, and peripherals in minutes.
2 months ago
Lenovo SmartEyewear X Eye Tracking Error Troubleshoot
Get your Lenovo SmartEyewear X eye tracking back with our step-by-step guide. Diagnose glitches, reset settings, and restore smooth gaze navigation quickly.
3 months ago

Calibrating Noise‑Cancellation on Beats Studio Buds
Master Beats Studio Buds ANC: learn the science, step, by, step calibration, and troubleshooting to silence distractions and boost your listening experience.
10 months ago
Latest Posts

Fixing the Eufy RoboVac 15C Battery Drain Post Firmware Update
Fix the Eufy RoboVac 15C battery drain after firmware update with our quick guide: understand the changes, identify the cause, and follow step by step fixes to restore full runtime.
5 days ago

Solve Reolink Argus 3 Battery Drain When Using PIR Motion Sensor
Learn why the Argus 3 battery drains fast with the PIR sensor on and follow simple steps to fix it, extend runtime, and keep your camera ready without sacrificing motion detection.
5 days ago

Resolving Sound Distortion on Beats Studio3 Wireless Headphones
Learn how to pinpoint and fix common distortion in Beats Studio3 headphones from source issues to Bluetooth glitches so you can enjoy clear audio again.
6 days ago