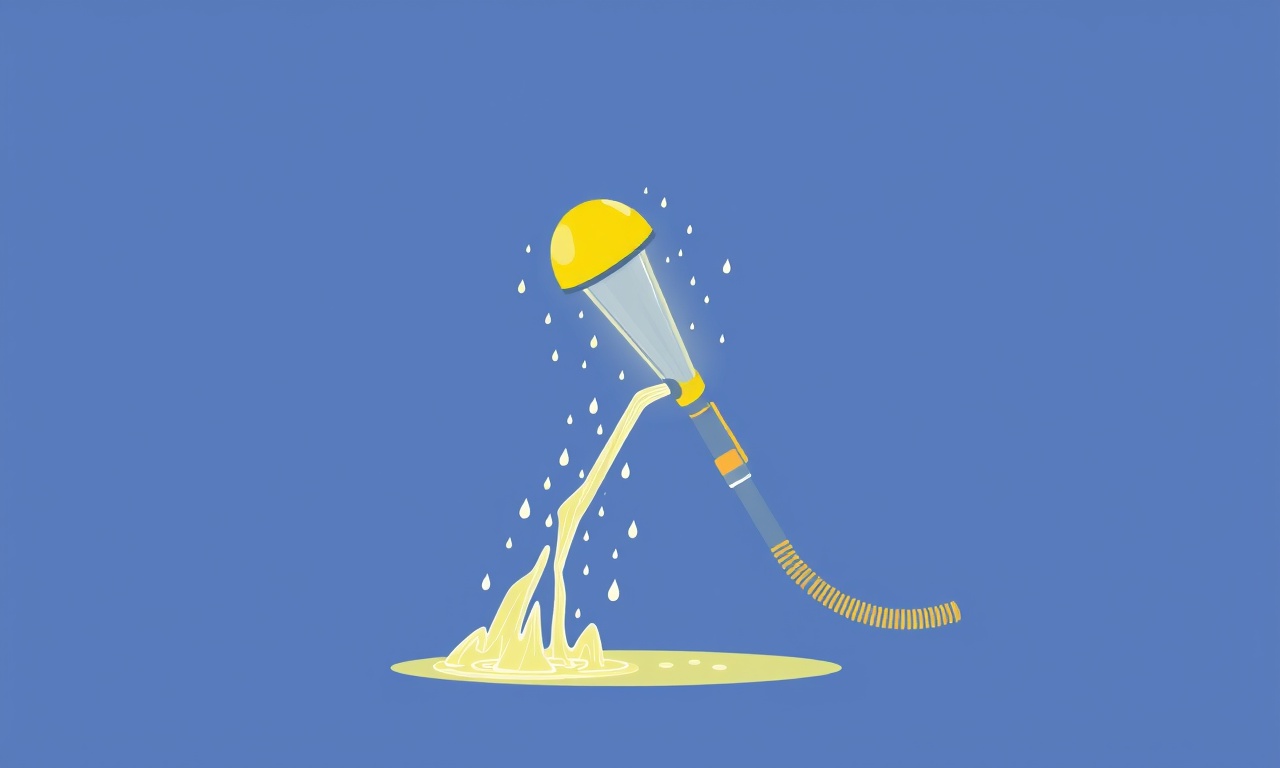
Removing the Steam Hose Clog in Vapir L Steam Cleaner
Welcome to your step‑by‑step guide for clearing a clogged steam hose on a Vapir L steam cleaner. Steam cleaners are powerful tools that bring fresh, clean surfaces to your home, but they need regular care to keep performing at their best. A clogged hose can reduce steam output, cause uneven cleaning, and may even lead to a sudden shutdown. In this article we’ll walk you through every part of the process, from safety precautions to the final test run, and give you practical tips for keeping your Vapir L running smoothly for years.
Understanding Why the Hose Clogs
The Vapir L uses a thin, flexible hose to transport steam from the water reservoir to the nozzle. Over time, tiny particles—dust, lint, mineral deposits from hard water, and sometimes small debris from the surfaces you clean—can accumulate inside the hose. The combination of heat and moisture creates a sticky environment that encourages mineral scale buildup. When the flow is obstructed, the machine’s pressure sensors may trigger a safety stop or the steam output will feel weak.
Key indicators that your hose is clogged include:
- Reduced steam pressure: The nozzle sputters instead of a steady stream.
- Longer warm‑up times: The unit takes longer to reach operating temperature.
- Unusual noises: A hissing or crackling sound during operation.
- Visible residue: After a few uses, you may notice a film or sludge at the hose’s inlet or outlet.
Safety First
Before touching any part of the Vapir L, you should observe these precautions:
- Turn off the machine: Switch the power button to the OFF position.
- Disconnect from the outlet: Unplug the unit from the wall socket.
- Let it cool: Allow the steam cleaner to reach room temperature; the internal water reservoir and steam line can hold a lot of pressure even after power is off.
- Wear protective gloves: A thin, heat‑resistant glove protects your hands from accidental splashes of hot water.
What You’ll Need
- A clean, flat work surface
- A small cleaning brush (e.g., a soft toothbrush or a flexible wire brush)
- White vinegar or a mild descaling solution
- Warm water
- A clean towel or microfiber cloth
- A pair of needle‑point pliers (optional for stubborn fittings)
- A container to hold the water‑vinegar mixture
- A vacuum or compressed air canister (optional)
Step‑by‑Step Hose Cleaning Process
1. Detach the Hose from the Unit
Locate the hose connector on the Vapir L’s body. Depending on the model, it may slide off or have a small screw that needs loosening. Gently pull the hose away, allowing any water that has collected inside to drain into the reservoir or onto your work surface.
2. Inspect the Hose Endpoints
Look inside both ends of the hose—where it meets the machine and where it connects to the nozzle. Use a flashlight if necessary. Remove any obvious debris, such as lint or large particles, with a brush or a paper towel. This gives you a clean starting point for the next steps.
3. Flush with Warm Water
Fill a container with warm tap water. Slowly pour the water through the open end of the hose. Let the water run until it comes out clear from the other side. This step forces loose particles out of the hose and checks for any immediate blockages. If the water does not flow smoothly, you’ll need to take a deeper cleaning approach.
4. Apply Vinegar for Mineral Scale
Create a 1:1 solution of white vinegar and warm water. Soak a clean cloth or a brush in this mixture and insert it into the hose. Gently twist and slide the cloth along the hose’s length to dissolve mineral deposits. For stubborn buildup, leave the vinegar solution inside the hose for 15–20 minutes before rinsing again with warm water.
5. Use a Flexible Brush for Internal Cleaning
Insert a flexible cleaning brush into the hose and rotate it back and forth. The brush’s bristles can dislodge deposits that the water alone could not remove. Move the brush gradually through the hose to avoid pushing debris further into the line. After brushing, run a final rinse with warm water to flush out any loosened particles.
6. Check for Cracks or Damage
While the hose is still out, examine it for signs of wear—cracks, fraying, or holes. A damaged hose cannot be properly cleaned and should be replaced. Vapir offers replacement hoses that fit the L model; contact the manufacturer or a reputable retailer to ensure you purchase the correct part.
7. Reattach the Hose
Once the hose is clean and free of damage, reconnect it to the Vapir L. Make sure the connector is seated firmly and that there are no gaps. If the connector had a screw, tighten it securely but avoid overtightening, which could damage the threads.
8. Test the System
Plug the steam cleaner back in and turn it on. Allow it to heat up to its operating temperature, then spray a few bursts of steam through the nozzle. Verify that the steam pressure feels steady and that no leaks are present at the hose connection. If the system still feels weak, repeat the cleaning process—sometimes a second pass is required.
Preventive Maintenance Tips
- Use filtered water: Hard tap water leaves mineral deposits. A water filter or distilled water can significantly reduce scaling.
- Run a cleaning cycle weekly: Many Vapir models have a cleaning cycle that rinses the internal lines with a vinegar‑water solution. Use it as part of your routine.
- Dry the hose after use: Tilt the unit so excess water drains out, then let it sit upright to dry completely. Moisture trapped inside can foster mold or mineral growth.
- Avoid using harsh chemicals: Bleach, ammonia, or strong acids can damage the hose material and reduce its lifespan.
When Professional Service is Needed
If after thorough cleaning the hose still clogs or the steam output remains weak, the problem may lie deeper in the machine’s boiler or pressure regulation system. In such cases:
- Contact Vapir customer support for guidance.
- Have a qualified appliance technician inspect the boiler and pressure gauge.
- Do not attempt to open the boiler housing yourself; it can be hazardous.
Frequently Asked Questions
| Question | Answer |
|---|---|
| Can I use any vinegar? | White vinegar is recommended because it is mild yet effective at dissolving mineral scale. |
| Is it safe to use a brush with the hose inside? | Yes, use a soft or flexible brush to avoid damaging the inner lining. |
| How often should I clean the hose? | A good rule of thumb is once a month, or more frequently if you use hard water. |
| What if the hose has a hard plug that I cannot remove? | Use compressed air or a small vacuum to blow the plug out, then follow the cleaning steps. |
| Will the hose last forever? | No. Over time, wear and mineral buildup will degrade the hose. Replace it when it shows cracks or fails to clean properly. |
Final Thoughts
Maintaining a clear steam hose is essential for keeping your Vapir L steam cleaner in peak condition. By following the steps above, you’ll restore full steam pressure, extend the life of the unit, and save yourself time and money that might otherwise be spent on repairs or replacements. Regular care—paired with the right water and cleaning habits—ensures that your steam cleaner remains a reliable ally for deep, hygienic cleaning throughout your home.
By treating your Vapir L with the attention it deserves, you’ll keep it running efficiently and enjoy the benefits of steam cleaning for years to come.
Discussion (9)
Join the Discussion
Your comment has been submitted for moderation.
Random Posts

Reassessing the Audio Jack Dropout on LG Velvet 2
Explore why the LG Velvet 2's 3.5mm jack glitches, what triggers audio dropouts, user fixes, and LG's stance: essential insight for current and future Android phones.
1 year ago

Philips HP700 Fan Stalls Quietly Even At Low Speed Why This Happens And What To Do
Discover why your Philips HP700 quietly stalls at low speed, spot early signs, and fix the issue to keep steady airflow.
2 weeks ago

How to Stop Sharp LC-40M from Producing Audio Sync Issues While Gaming
Fix your Sharp LC-40M so game audio stays in sync. Learn quick settings tweaks, cable checks, and audio-output fixes that keep sound matching action for a flawless gaming experience.
6 months ago

Solve Arlo Pro 4 Wireless Connection Problems
Discover quick fixes for offline Arlo Pro 4 cameras. Check power, Wi, Fi, firmware, reset steps, and more get your live feed back up fast.
4 months ago

Panasonic D45 Dryer Timer Skips Final Drying Cycle
Discover why your Panasonic D45 dryer skips its final cycle, learn the symptoms, root causes, and easy fixes to keep clothes dry, save energy, and avoid extra runs.
5 months ago
Latest Posts

Fixing the Eufy RoboVac 15C Battery Drain Post Firmware Update
Fix the Eufy RoboVac 15C battery drain after firmware update with our quick guide: understand the changes, identify the cause, and follow step by step fixes to restore full runtime.
5 days ago

Solve Reolink Argus 3 Battery Drain When Using PIR Motion Sensor
Learn why the Argus 3 battery drains fast with the PIR sensor on and follow simple steps to fix it, extend runtime, and keep your camera ready without sacrificing motion detection.
5 days ago

Resolving Sound Distortion on Beats Studio3 Wireless Headphones
Learn how to pinpoint and fix common distortion in Beats Studio3 headphones from source issues to Bluetooth glitches so you can enjoy clear audio again.
6 days ago