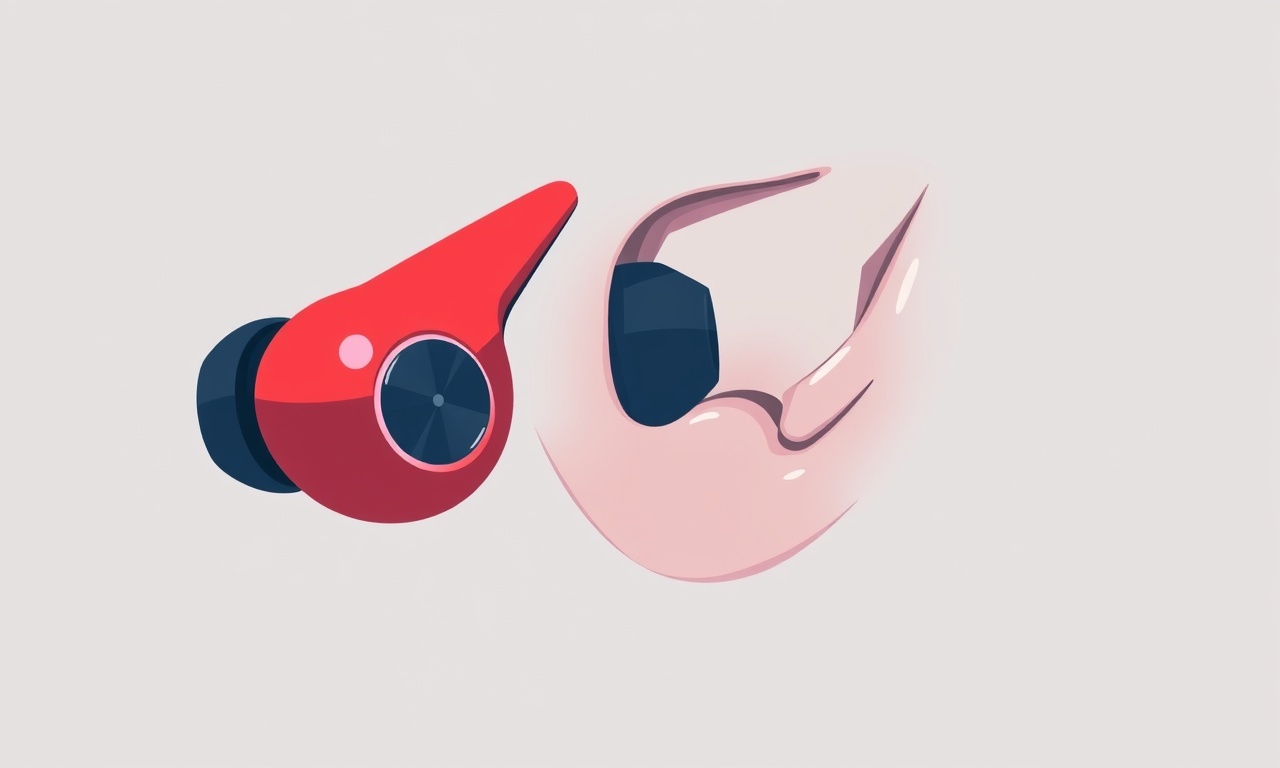
Repair ear‑tip slippage on Jabra Elite 5
Introduction
Ear‑tip slippage is a common frustration for owners of true‑wireless earbuds, and the Jabra Elite 5 is no exception. When the tips move in and out of the ear canal, sound quality drops, noise isolation weakens, and the earbuds can feel insecure during workouts or daily commutes. Fortunately, the problem is usually easy to fix with a few tools and a systematic approach. This guide walks you through every step required to stop ear‑tip slippage on your Jabra Elite 5, from diagnosing the cause to installing new tips and ensuring a long‑lasting secure fit.
Why Ear‑Tip Slippage Happens
Understanding why the tips slide out helps you choose the most effective remedy. Several factors can contribute:
- Wear and tear – The silicone or foam that makes up the ear tips can become stretched, cracked, or deformed after months of use.
- Improper size – Jabra supplies three sizes (small, medium, large). Selecting the wrong size means the tip does not grip the ear canal properly.
- Ear‑shape mismatch – Some users have unusually shallow or deep ear canals, which may require a custom solution beyond the standard sizes.
- Accumulated debris – Wax, skin flakes, and sweat can build up on the tip or inside the earbud, reducing friction.
- Loose connection – The small ridge that locks the tip onto the driver can become loose or broken, allowing the tip to rotate or fall out.
By identifying the root cause you can apply the right fix and avoid repeating the issue.
Tools and Materials You’ll Need
Gather these items before you start. Having everything on hand speeds up the process and reduces the temptation to improvise with unsuitable substitutes.
| Item | Purpose |
|---|---|
| New set of Jabra Elite 5 ear tips (all three sizes) | Replaces worn or damaged tips |
| Small silicone or rubber cleaning brush | Removes wax and debris from the tip slots |
| Soft lint‑free cloth | Wipes away moisture and fingerprints |
| Isopropyl alcohol (minimum 70%) | Disinfects and helps loosen stubborn residue |
| Precision tweezers (optional) | Helps manipulate tiny components without damage |
| Magnifying glass (optional) | Provides a clearer view of the attachment ridge |
| Adhesive‑free ear‑tip holder or small piece of tape | Allows you to test fit before committing |
All of these items are inexpensive and can be found at electronics stores, pharmacies, or online marketplaces.
Step‑by‑Step Repair Process
1. Remove the Existing Ear Tips
- Hold one earbud firmly in the palm of your hand.
- Gently pull the ear tip away from the housing. It should slide off with a modest amount of force. If you feel resistance, do not yank – instead, rotate the tip slightly while pulling to free any friction.
- Inspect the removed tip for cracks, tears, or deformation. If the silicone is still pliable and undamaged, you may be able to reuse it after cleaning. Otherwise, discard it and use a brand‑new replacement.
2. Clean the Tip Slots
Even a brand‑new tip can slip if the slot on the earbud is dirty.
- Dampen the soft cloth with a tiny amount of isopropyl alcohol. Wring out excess liquid so the cloth is only barely moist.
- Use the cleaning brush to gently sweep inside the tip slot. Pay special attention to the small ridge that locks the tip in place; this area can accumulate wax that reduces grip.
- Wipe the slot with the damp cloth, then follow with a dry portion of the cloth to remove any remaining moisture.
- Allow the earbud to air dry for at least 30 seconds. A dry surface ensures the new tip will seat correctly.
3. Choose the Correct Size
Jabra Elite 5 comes with three silicone tip sizes, each labeled with a letter or color code in the packaging. If you still have the original packaging, compare the old tip to the new ones. If not, follow this quick test:
- Fit test – Place each size in your ear and perform a short “fit check.” With the earbuds inserted, gently tug on them. If you can pull them out with light pressure, the tip is too small.
- Seal test – While the earbud is seated, play a piece of music at a low volume. If you hear significant ambient noise, the tip may be too large or not sealing properly.
- Comfort test – The tip should feel snug but not painful after a few minutes. Any lingering pressure points indicate a size mismatch.
Select the size that passes all three tests. For most users, the medium size works, but athletes or travelers often prefer the large size for a tighter seal.
4. Install the New Ear Tips
- Align the tip with the slot so that the ridge on the tip matches the ridge inside the housing. The tip should slide in a straight line; twisting can damage the tiny locking mechanism.
- Press firmly until you feel a ‘click’ or a slight resistance that indicates the tip is fully seated. You should not need excessive force.
- Verify the connection by gently pulling on the tip. It should stay attached without wobbling.
5. Test the Fit and Seal
Before you resume normal use, conduct a quick functional test.
- Insert the earbuds and perform a seal check: While music plays, gently blow air into the ear canal. A proper seal will block most of the airflow and you will hear a muffled sound.
- Conduct a movement test: Move your head side to side, nod, and simulate common activities such as jogging in place. The earbuds should stay in place without the tips slipping.
- Perform a sound quality check: Listen for balanced bass, clear mids, and crisp highs. Any sudden drop in volume or muffling may indicate an incomplete seal.
If the earbuds remain secure, you have successfully repaired the slippage problem.
Troubleshooting Persistent Slippage
Sometimes, after following the steps above, the ear tips may still slip. Below are additional measures to consider.
Check for Damaged Locking Ridge
The tiny ridge inside the earbud that holds the tip can become cracked or broken after repeated removals.
- Use a magnifying glass to inspect the ridge closely. Look for any missing fragments or sharp edges.
- If the ridge is damaged, contact Jabra support for a replacement housing. Attempting a DIY repair on this component can void the warranty.
Try Alternative Materials
Silicone tips are standard, but foam tips can provide a tighter seal for users with irregular ear canals.
- Purchase a third‑party foam tip set compatible with the Jabra Elite 5 (many universal foam tips specify a compatible diameter).
- Follow the same installation steps, ensuring the foam tip stretches slightly as you press it into the slot.
Use a Small Piece of Medical‑Grade Tape
For an interim fix, a thin strip of medical‑grade adhesive tape can add friction.
- Cut a piece of tape roughly the same width as the ear tip.
- Place it inside the slot, ensuring it does not cover the locking ridge.
- Insert the silicone tip. The tape creates a slight grip that can keep the tip in place.
This method is not a permanent solution, but it can buy you time while you order replacement tips.
Adjust Your Ear Insertion Technique
Even a perfect fit can become insecure if the earbud is not inserted correctly.
- Pull the top of your ear upward and backward to straighten the ear canal.
- Insert the earbud while maintaining this tension, then release the ear to let it settle.
- Some users find that rotating the earbud 10–15 degrees clockwise after insertion improves the seal.
Verify Firmware Updates
Occasionally, firmware changes affect the earbuds’ internal pressure management, which can influence how tightly the tips hold.
- Open the Jabra Sound+ app.
- Check for any available firmware updates and install them.
- Re‑run the fit and seal tests after the update.
Preventive Care to Avoid Future Slippage
Once you have a secure fit, maintaining it is essential for long‑term performance.
Regular Cleaning Schedule
- Clean the ear tips and slots at least once a week, even if you do not notice visible buildup.
- Use a dry brush for light cleaning and a damp cloth with isopropyl alcohol for deeper removal of oils.
Rotate Tip Sizes Periodically
If you use multiple tip sizes for different activities (e.g., larger for workouts, smaller for commuting), rotate them regularly to prevent one size from wearing out prematurely.
Store Earbuds Properly
- Always place the earbuds in the charging case with the tips pointing inward.
- Avoid exposing the case to extreme temperatures, which can soften silicone and accelerate wear.
Replace Tips Before They Wear Out
Inspect the tips weekly for signs of tearing, loss of elasticity, or discoloration. Replacing them early prevents slippage caused by a compromised seal.
- Keep a spare set of tips in your bag or pocket for travel.
- Many users find that having a backup set reduces downtime during intense training sessions.
Frequently Asked Questions
Q: Can I use third‑party ear tips with Jabra Elite 5?
A: Yes, as long as the diameter matches the earbud’s slot. Universal silicone or foam tips are widely available, but be sure to test the fit before committing to a purchase.
Q: Do I need to reset the earbuds after changing ear tips?
A: No reset is required. Changing the tips does not affect the internal software. A simple power cycle (removing and reinserting the earbuds into the case) is sufficient.
Q: My earbuds still slip during heavy exercise even with foam tips. What else can I try?
A: Consider using ear‑hook accessories designed for the Elite 5. These hooks wrap around the back of the ear, providing additional mechanical support that keeps the earbuds in place regardless of ear‑tip material.
Q: Is it safe to use alcohol on the silicone tips themselves?
A: Light cleaning with a diluted isopropyl solution is safe, but avoid soaking the tips. Excessive alcohol can degrade silicone over time. Rinse with a dry cloth immediately after cleaning.
Q: How often should I replace the ear tips?
A: Most users replace them every three to six months, depending on usage intensity and personal hygiene. If you notice any loss of grip or comfort, replace them sooner.
Conclusion
Ear‑tip slippage on the Jabra Elite 5 is usually a simple mechanical problem that can be resolved with a few minutes of careful work. By cleaning the tip slots, selecting the correct tip size, and ensuring a secure attachment, you restore the earbuds’ noise isolation, sound quality, and comfort. Should slippage persist, inspecting the locking ridge, trying alternative tip materials, or adding a small amount of medical‑grade tape can provide additional stability. Regular preventive care—cleaning, rotating tip sizes, and proper storage—keeps the earbuds performing at their best and extends the lifespan of both the tips and the devices themselves.
With these steps in hand, you can enjoy uninterrupted music, calls, and podcasts, confident that your Jabra Elite 5 will stay firmly in place no matter where your day takes you.
Discussion (6)
Join the Discussion
Your comment has been submitted for moderation.
Random Posts

Analyzing iPhone 13 Pro Max Apple Pay Transaction Declines After Software Update
After the latest iOS update, iPhone 13 Pro Max users see more Apple Pay declines. This guide explains the technical cause, how to diagnose the issue, and steps to fix payment reliability.
2 months ago

Dyson AM15 Mist Not Spreading What Causes It And How To Repair
Find out why your Dyson AM15 Mist isn’t misting, learn the common causes, and follow our step, by, step guide to restore full misting performance quickly.
2 months ago

Adjusting the Neato Botvac D6 for Unexpected Cleaning Pause
Learn why your Neato Botvac D6 pauses, diagnose the issue, and tweak settings for smooth, uninterrupted cleaning.
11 months ago

Quelling LG OLED G1 Picture Loop at Startup
Stop the LG OLED G1 picture loop that stutters at startup, follow these clear steps to diagnose software glitches, adjust settings, and restore a smooth launch every time.
4 months ago

Resolving Room Acoustics Calibration on Samsung HW Q990T
Calibrate your Samsung HW, Q990T to your room's acoustics and unlock true cinema-quality sound, every dialogue and subtle score becomes crystal clear.
1 month ago
Latest Posts

Fixing the Eufy RoboVac 15C Battery Drain Post Firmware Update
Fix the Eufy RoboVac 15C battery drain after firmware update with our quick guide: understand the changes, identify the cause, and follow step by step fixes to restore full runtime.
5 days ago

Solve Reolink Argus 3 Battery Drain When Using PIR Motion Sensor
Learn why the Argus 3 battery drains fast with the PIR sensor on and follow simple steps to fix it, extend runtime, and keep your camera ready without sacrificing motion detection.
5 days ago

Resolving Sound Distortion on Beats Studio3 Wireless Headphones
Learn how to pinpoint and fix common distortion in Beats Studio3 headphones from source issues to Bluetooth glitches so you can enjoy clear audio again.
6 days ago