Repairing a Drain Pump Failure on a GE GFD225TT Dishwasher
Understanding the Drain Pump Problem
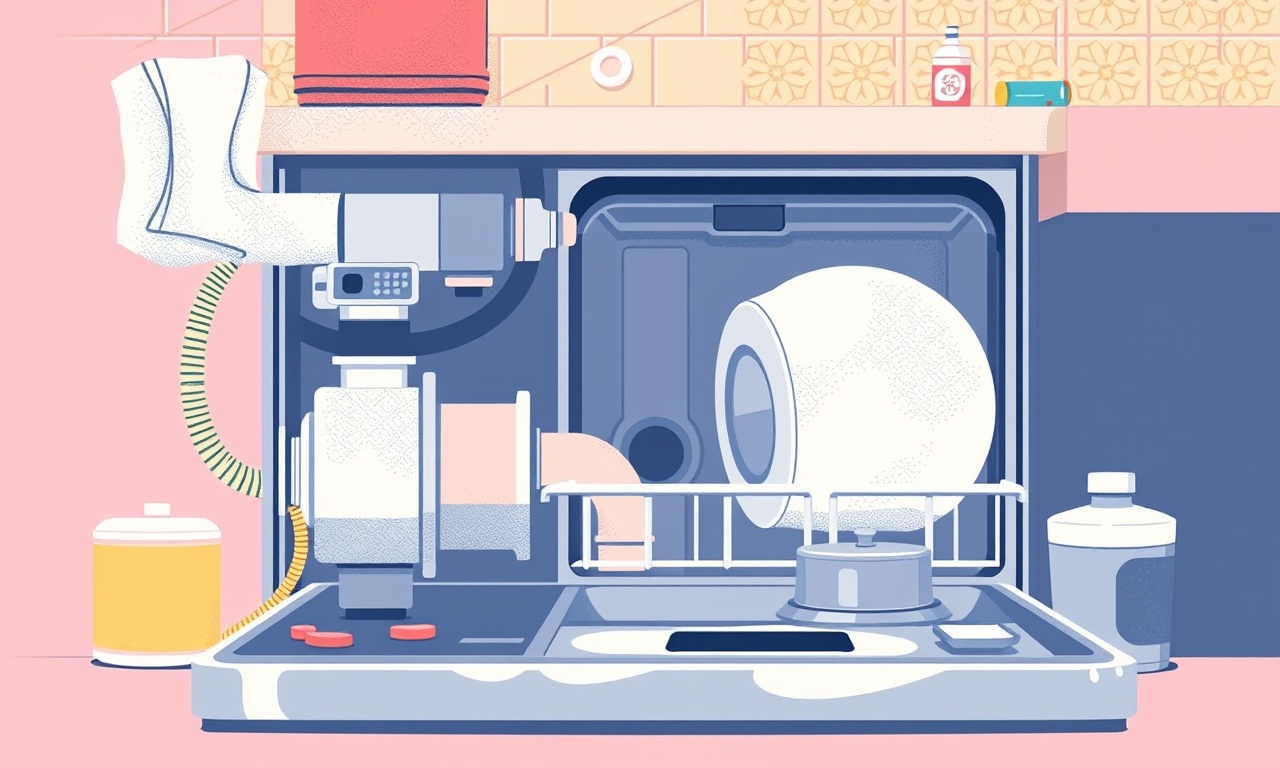
When a GE GFD225TT dishwasher stops draining, the water often remains in the bottom of the tub, making a damp smell and potentially damaging the appliance. The most common culprit is the drain pump, a small but powerful motor that forces water through the drain hose. A failed pump can result from clogged impellers, electrical failures, or physical damage from foreign objects. Knowing how to diagnose and replace the pump will save you time and money, and it will keep your dishwasher running efficiently for years.
Symptoms That Point to a Pump Failure
- Standing water after a cycle – the dishwasher fills and empties but still has water left.
- Low or no drain noise – normally you hear a faint whirring sound during the drain phase; its absence is a red flag.
- Water dripping onto the floor – if the appliance is not draining, water will spill out.
- Error codes – many modern GE models will flash a “PD” or “DR” code indicating a drain problem.
- Strange smells – stagnant water can produce an odor that’s difficult to remove.
If you notice one or more of these symptoms, follow the steps below to inspect and replace the drain pump.
Step 1: Prepare for Work
-
Unplug the unit – safety first. Disconnect the dishwasher from the mains supply to eliminate the risk of electric shock.
-
Remove the lower access panel – this panel is usually held in place by a few screws along the front edge. Use a Phillips screwdriver and lift the panel until the lower half of the dishwasher is exposed.
-
Gather the necessary tools
- Phillips screwdriver
- Flat‑head screwdriver
- Allen wrench (1/4” or 5/16” depending on the model)
- Towel or shallow pan (to catch any remaining water)
- Replacement drain pump (ensure it is a GE‑approved part for the GFD225TT)
- Electrical tape and a multimeter (optional, for testing the new unit)
-
Check for residual water – place the towel or pan under the tub to catch any leftover liquid. Drain a small amount of water from the bottom if possible, using a cup or a small funnel.
Step 2: Locate and Remove the Existing Pump
The drain pump sits near the bottom center of the dishwasher, just above the filter basket. It is attached to the bottom of the tub by a bracket and two screws.
- Disconnect the hoses – The pump has a drain hose and a return hose. Carefully detach them from the pump’s threaded fittings. Use a towel to mop up any spillage.
- Unscrew the bracket – The bracket that holds the pump is usually secured with two or three Phillips screws. Remove these screws and gently lift the pump out.
- Inspect the mounting bracket – While the pump is out, check the bracket for cracks or rust. A damaged bracket may need replacement or repair.
Step 3: Examine the Old Pump and the Area
Before installing the new pump, it’s useful to know what went wrong.
- Check for debris – Open the pump’s housing. Look for food particles, mineral deposits, or a broken impeller blade.
- Inspect the impeller – A common failure mode is a bent or broken impeller that can no longer push water.
- Look at the motor housing – Ensure there are no visible cracks or damage to the motor shaft.
- Check the seal – The rubber seal around the pump shaft can wear out; if it’s cracked or stretched, it must be replaced.
If you see any of these issues, the pump is definitely the problem. Otherwise, proceed to testing.
Step 4: Test the New Pump (Optional but Recommended)
Installing a brand‑new pump is often enough, but testing it before mounting can confirm its integrity.
- Connect a temporary power source – Use a 120‑volt plug‑in tester or a 12‑volt battery (some pumps accept a 12‑V supply).
- Attach the hoses – Screw the drain and return hoses back onto the pump’s threaded ends.
- Apply power – Turn the power on and listen for the motor to start. The pump should spin freely and produce a steady whir.
- Check for leaks – While running, look for water around the hose fittings or the motor housing. Tighten connections if needed.
If the pump does not spin or leaks, double‑check the wiring or replace it before moving on.
Step 5: Install the New Pump
- Position the pump – Place the new pump onto the mounting bracket, aligning the threaded holes with the bracket’s screw positions.
- Secure the bracket – Tighten the Phillips screws evenly; do not overtighten, as that could damage the tub’s bottom.
- Reconnect the hoses – Thread the drain and return hoses back onto the pump’s fittings. Tighten them securely but gently; a loose connection will lead to leaks.
- Check the seal – If you replaced the seal, make sure it sits flush against the pump shaft and the tub wall.
Step 6: Reassemble the Dishwasher
- Replace the lower access panel – Line up the panel with the screws and fasten it back into place.
- Re‑plug the unit – Connect the dishwasher back to the mains power.
- Run a short cycle – Select a quick wash or rinse cycle to test the new pump.
- Observe the drainage – The water should exit the tub cleanly within a minute of the drain phase. Listen for the normal pump sound and watch for any leaks at the hose connections.
If the dishwasher drains correctly, the repair is successful.
Step 7: Troubleshooting If the Problem Persists
| Symptom | Likely Cause | Fix |
|---|---|---|
| No pump noise, water still in tub | Pump still defective | Re‑test the new pump or try a different brand |
| Pump makes noise but water remains | Blockage in drain hose | Disconnect the hose and run a plumber’s snake through |
| Leaks at the pump‑to‑tub joint | Seal is damaged | Replace the rubber seal |
| Error code “PD” or “DR” remains | Electrical issue | Inspect the wiring harness for damage or use a multimeter to check continuity |
If none of the above resolves the issue, it may be time to contact a professional appliance repair technician. Some GE models have integrated electronic control boards that can sometimes malfunction and appear as pump problems.
Maintenance Tips to Prevent Future Pump Failures
- Clean the filter basket regularly – Debris that passes through the filter can clog the pump impeller.
- Use rinse aid – This reduces mineral buildup inside the drain system.
- Run a dishwasher cleaning cycle once a month – Use a dishwasher cleaner or a cup of white vinegar to dissolve deposits.
- Inspect hoses every 6 months – Look for kinks or cracks that might restrict flow.
- Avoid overloading – Excessive load can force more water into the tub than the pump can handle, accelerating wear.
By following these preventive measures, you’ll keep the drain pump running smoothly for many cycles to come.
Final Thoughts
Repairing a drain pump on a GE GFD225TT dishwasher is a manageable task for a DIY homeowner who respects safety guidelines and uses the right tools. The key steps involve safely accessing the appliance, diagnosing the issue, replacing the pump, and verifying proper operation. With careful inspection and a little patience, you can restore your dishwasher’s drainage function and extend its life without the expense of a full replacement.
Discussion (4)
Join the Discussion
Your comment has been submitted for moderation.
Random Posts

Rebooting Google Nest Hub (3rd Gen) to Resolve App Sync Glitches
Stuck with delayed notifications, unresponsive tiles, or stale smart, home data? A simple reboot of your Nest Hub 3rd Gen clears cache, resets processes, and restores smooth app sync.
3 months ago

Fixing Bluetooth Signal Drops on Apple AirPods Pro
Tired of AirPods Pro disconnecting during walks or workouts? Learn why Bluetooth drops happen, how to spot them, and quick fixes - no coding required - to keep audio flowing.
11 months ago

Fixing the Duplexer Failure on a Brother MFC‑J805DW
Learn how to diagnose and replace a faulty duplexer on your Brother MFC, J805DW, restoring double, sided printing with step, by, step instructions for tech, savvy users.
10 months ago

Solving Apple iPhone 13 Pro Camera Rolling Shutter With External Lens
Stop the slanted look from rolling shutter when adding external lenses to your iPhone 13 Pro by tweaking camera settings, choosing the right lens, and using proper stabilization.
9 months ago

Restoring Bandwidth on Amazon Eero Mesh 6 Pro After a Firmware Update
After an Eero Mesh 6 Pro firmware update, bandwidth often drops. This guide explains why the change occurs and walks you through quick steps to restore full speed and a stable connection for work and play.
8 months ago
Latest Posts

Fixing the Eufy RoboVac 15C Battery Drain Post Firmware Update
Fix the Eufy RoboVac 15C battery drain after firmware update with our quick guide: understand the changes, identify the cause, and follow step by step fixes to restore full runtime.
5 days ago

Solve Reolink Argus 3 Battery Drain When Using PIR Motion Sensor
Learn why the Argus 3 battery drains fast with the PIR sensor on and follow simple steps to fix it, extend runtime, and keep your camera ready without sacrificing motion detection.
5 days ago

Resolving Sound Distortion on Beats Studio3 Wireless Headphones
Learn how to pinpoint and fix common distortion in Beats Studio3 headphones from source issues to Bluetooth glitches so you can enjoy clear audio again.
6 days ago