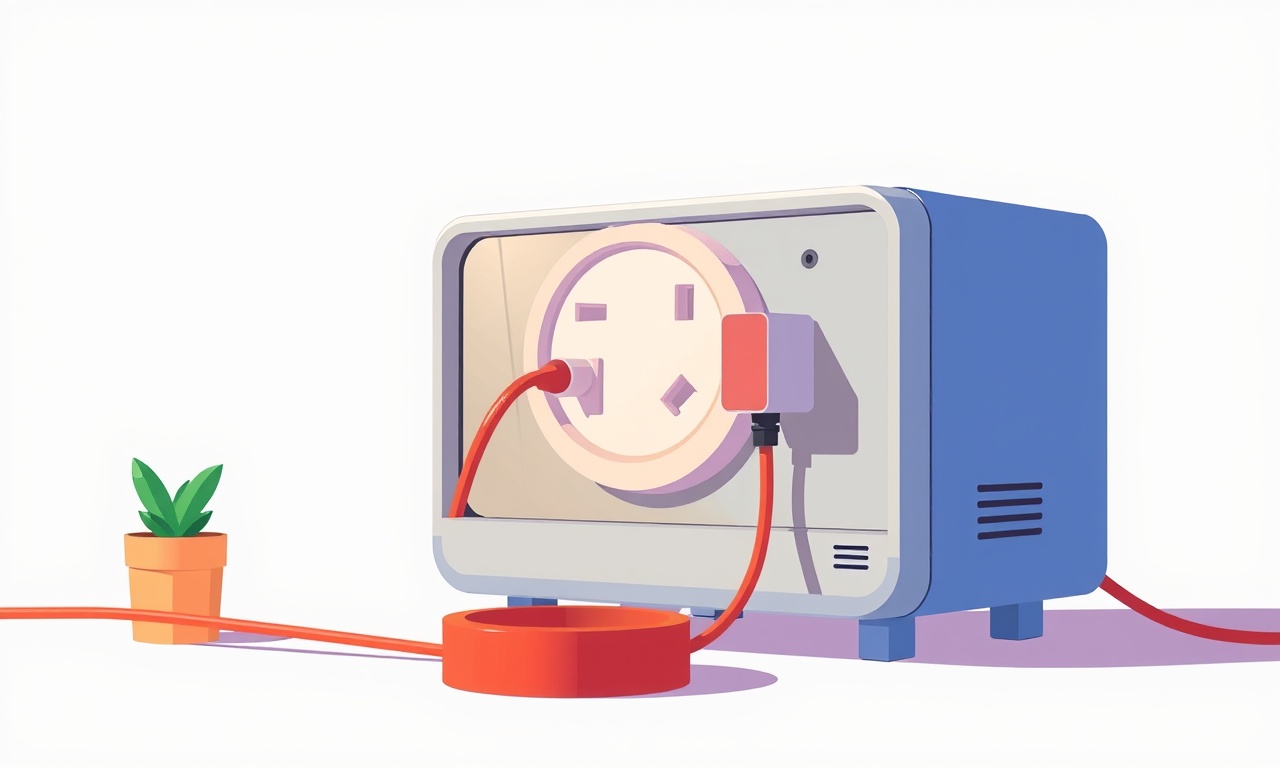
Repairing a Shorted Power Cord in Panasonic NA-FA50W
Safety First
Repairing a power cord involves working with electrical components that can be hazardous if handled improperly. Before you begin, make sure the washing machine is unplugged from the mains and that you have taken all precautions to avoid electric shock. If you are not confident in your ability to carry out the repair safely, contact a qualified appliance technician.
Tools and Materials You Will Need
- Phillips‑head screwdriver
- Flat‑head screwdriver
- Needle‑nose pliers
- Wire cutters/strippers
- Replacement power cord rated for the Panasonic NA‑FA50W (typically 5 mm × 3 mm, 250 V, 10 A)
- Soldering iron and solder (optional for reinforced connections)
- Heat‑shrink tubing
- Electrical tape
- Multimeter (for testing continuity)
- Work gloves and safety glasses
All tools should be in good condition. If any tool feels worn or damaged, replace it before proceeding.
Preparing the Washing Machine
1. Unplug and Isolate
Remove the plug from the wall outlet. If the outlet is hard to reach, unplug the machine’s power cord at the back of the appliance.
Locate the main service panel, usually on the back of the unit. If your model has a separate disconnect switch, turn it off.
2. Remove the Access Panel
Most Panasonic washing machines have a rear access panel that covers the internal wiring.
Using the Phillips screwdriver, remove the screws holding the panel in place.
Set the screws aside in a safe spot; you will need them to reattach the panel later.
3. Locate the Power Cord
The power cord connects the appliance to the mains supply.
In the NA‑FA50W, the cord typically enters through a rectangular connector near the bottom center of the back panel.
Trace the cable to its termination point on the internal wiring harness.
Diagnosing the Short
Inspecting the Cord
-
Visual Inspection
Look for obvious signs of damage: frayed insulation, burn marks, or exposed conductors.
A short often manifests as a scorch mark or a distinct “bite” in the insulation. -
Continuity Test
Use the multimeter set to the continuity or resistance mode.
Touch one probe to the outer insulation of the cable and the other to the inner conductor.
A true short will read as a very low resistance (often close to 0 Ω).
If the cord appears intact but you still suspect a short, the fault may be within the connector or the internal wiring.
Checking the Connector
The connector that mates the power cord to the appliance is usually a rectangular or round plug.
Remove the connector by pulling gently or unscrewing if it has a locking mechanism.
Examine the pins for corrosion or deformation.
If the pins are damaged, replace the connector with a new one that matches the appliance specifications.
Removing the Damaged Cord
1. Detach the Connector
Once you have confirmed the fault lies in the power cord, remove it from the appliance.
If the cord is secured with a clamp or a quick‑release mechanism, release it carefully.
Pull the cord out from the back of the machine slowly to avoid pulling on the wiring harness.
2. Cut the Old Cord
Using the wire cutters, sever the damaged section of the cord near the connector.
Remove any remaining frayed or damaged portions to ensure a clean cut.
3. Prepare the New Cord
A new power cord must match the original in gauge, voltage rating, and connector type.
If your replacement cord comes with pre‑terminated connectors, you can skip the next step.
If not, follow these instructions:
- Strip about 2 cm of insulation from each end of the cord.
- Separate the conductors and twist them into clean bundles.
- Apply a small amount of solder to each conductor for a stronger mechanical bond (optional).
- Slide a piece of heat‑shrink tubing over each conductor before soldering.
- After the solder cools, slide the heat‑shrink tubing over the soldered joint and shrink it using a heat source.
Installing the New Power Cord
1. Attach the Connector
Insert the new connector into the machine’s power input socket.
Ensure the pins align correctly and that the connector is fully seated.
If the connector uses a locking mechanism, secure it firmly.
2. Route the Cable
Guide the new power cord through the same cable path you used for the old cord.
Avoid sharp bends or kinks that could damage the insulation.
Secure the cord with cable ties or a clamp if your machine’s design requires it.
3. Reconnect the Power Supply
If you removed the plug from the wall outlet earlier, reattach it.
Alternatively, if the machine’s internal plug is separate, reconnect that first.
Reassembling the Washing Machine
- Place the rear access panel back onto the machine.
- Replace the screws you removed earlier and tighten them evenly.
- Ensure all internal components remain in place and that no wires are pinched.
Testing the Repair
1. Power On
Plug the washing machine back into the mains and turn the main power switch on.
Observe whether the machine starts normally.
2. Check for Short Again
With the multimeter set to continuity mode, recheck the power cord.
There should be no low resistance reading between the outer insulation and the inner conductors.
3. Run a Test Cycle
If the machine operates without error codes, run a short wash cycle.
Listen for unusual noises and monitor the appliance for any abnormal behavior.
Common Issues and Troubleshooting
-
Persistent Short After Replacement
If the short reappears, the fault may lie in the internal wiring harness rather than the cord.
Inspect the harness for any damaged conductors or solder joints. -
Connector Misalignment
A connector that does not seat properly can cause intermittent faults.
Double‑check the orientation and alignment before tightening. -
Improper Cable Routing
Sharp bends or pinching can damage a new cord.
Always route cables smoothly and avoid placing them in high‑friction areas. -
Incorrect Cord Rating
Using a cord rated for lower voltage or current can result in overheating.
Verify that the new cord matches the Panasonic NA‑FA50W’s specifications (usually 250 V, 10 A).
When to Call a Professional
If you encounter the following situations, it is safest to seek professional help:
- You are unable to locate the source of the short despite thorough inspection.
- The internal wiring harness is damaged or corroded.
- You lack the proper tools or experience to solder and re‑terminate high‑current connections.
- The washing machine still does not operate after a successful cord replacement.
Preventive Maintenance Tips
- Regular Inspection
Periodically check the power cord and its connector for signs of wear. - Avoid Overloading
Do not exceed the recommended load capacity of the washing machine. - Keep the Power Cord Clean
Dust and debris can accumulate in the connector and degrade performance. - Use a Surge Protector
Protect the appliance from voltage spikes by connecting it to a surge protector or an uninterruptible power supply (UPS).
By following these steps carefully, you can safely repair a shorted power cord on your Panasonic NA‑FA50W washing machine, extending its lifespan and restoring reliable operation.
Discussion (10)
Join the Discussion
Your comment has been submitted for moderation.
Random Posts

Analyzing iPhone 13 Pro Max Apple Pay Transaction Declines After Software Update
After the latest iOS update, iPhone 13 Pro Max users see more Apple Pay declines. This guide explains the technical cause, how to diagnose the issue, and steps to fix payment reliability.
2 months ago

Dyson AM15 Mist Not Spreading What Causes It And How To Repair
Find out why your Dyson AM15 Mist isn’t misting, learn the common causes, and follow our step, by, step guide to restore full misting performance quickly.
2 months ago

Adjusting the Neato Botvac D6 for Unexpected Cleaning Pause
Learn why your Neato Botvac D6 pauses, diagnose the issue, and tweak settings for smooth, uninterrupted cleaning.
11 months ago

Quelling LG OLED G1 Picture Loop at Startup
Stop the LG OLED G1 picture loop that stutters at startup, follow these clear steps to diagnose software glitches, adjust settings, and restore a smooth launch every time.
4 months ago

Resolving Room Acoustics Calibration on Samsung HW Q990T
Calibrate your Samsung HW, Q990T to your room's acoustics and unlock true cinema-quality sound, every dialogue and subtle score becomes crystal clear.
1 month ago
Latest Posts

Fixing the Eufy RoboVac 15C Battery Drain Post Firmware Update
Fix the Eufy RoboVac 15C battery drain after firmware update with our quick guide: understand the changes, identify the cause, and follow step by step fixes to restore full runtime.
5 days ago

Solve Reolink Argus 3 Battery Drain When Using PIR Motion Sensor
Learn why the Argus 3 battery drains fast with the PIR sensor on and follow simple steps to fix it, extend runtime, and keep your camera ready without sacrificing motion detection.
5 days ago

Resolving Sound Distortion on Beats Studio3 Wireless Headphones
Learn how to pinpoint and fix common distortion in Beats Studio3 headphones from source issues to Bluetooth glitches so you can enjoy clear audio again.
6 days ago