Repairing a Temperature Sensor Failure on the Buderus 2000 Electric Heater
Introduction
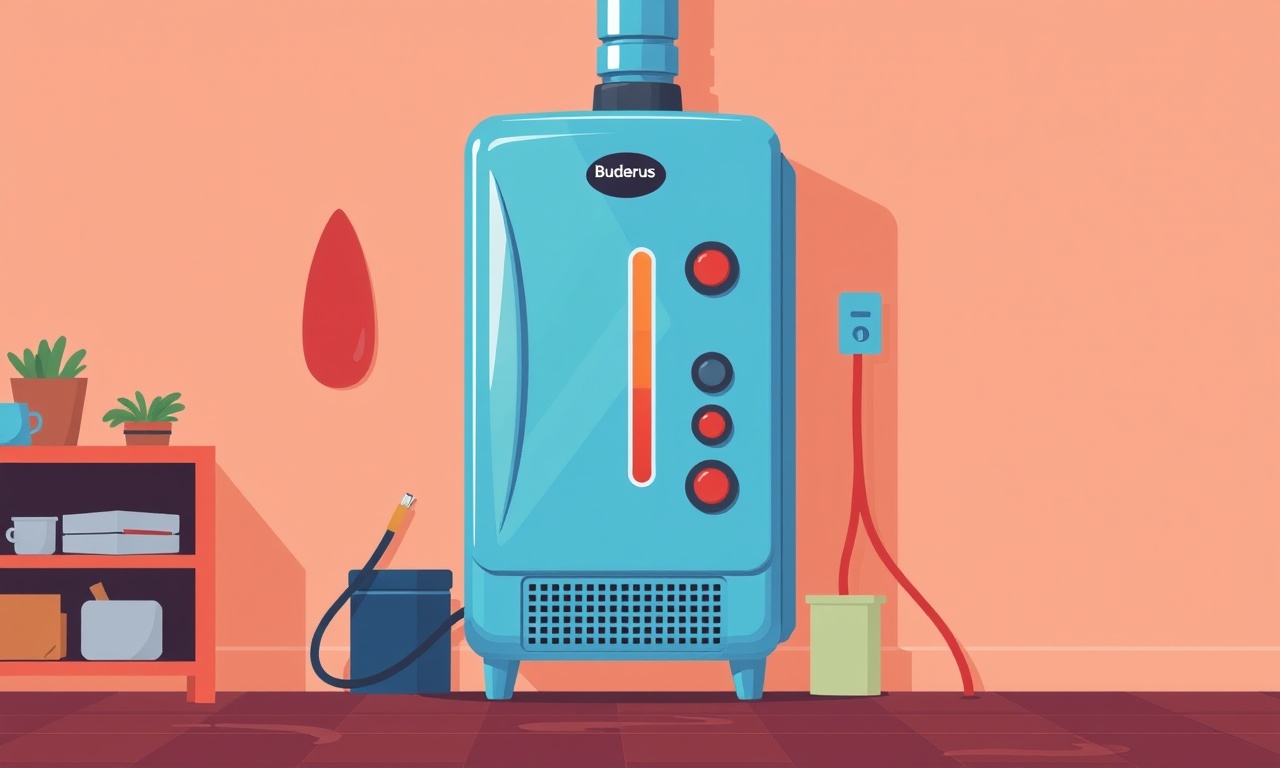
Electric heaters of the Buderus 2000 series are known for their reliability and precise temperature control. At the heart of that control lies the temperature sensor, a small component that feeds real‑time data back to the heater’s electronic board. When that sensor fails, the heater can either overheat, shut down automatically, or simply stop responding to thermostat settings. This guide walks you through every step needed to diagnose, replace, and test a faulty temperature sensor on a Buderus 2000 electric heater.
The instructions below assume a basic level of electrical knowledge. If at any point you feel unsure, stop and seek professional assistance. Working on heating equipment carries inherent risks, especially with electricity.
Safety Precautions
- Turn Off the Power – Disconnect the heater from the mains supply before doing any work. Use a voltage tester to confirm that no voltage is present at the heater terminals.
- Use Insulated Tools – Employ tools with rubber insulation to reduce shock risk.
- Work in a Dry Environment – Water and electricity are a lethal combination. Ensure the work area is dry and free of conductive materials.
- Wear Protective Gear – Safety glasses and gloves are recommended.
- Avoid Overcrowded Workspaces – Keep the area free of clutter so you can move freely and avoid accidental contacts.
Tools and Parts You’ll Need
| Tool/Part | Description |
|---|---|
| Insulated screwdriver set | Phillips and flathead sizes. |
| Pentalobe or Torx set (if required) | Some Buderus models use these for the front panel. |
| Digital multimeter | For checking continuity and resistance. |
| Temperature sensor (model 3A‑2‑A) | The standard sensor for the Buderus 2000 series. |
| Adhesive tape or heat‑shrink tubing | For re‑sealing the sensor housing. |
| Cleaning cloth and isopropyl alcohol | To clean sensor contacts and wiring harness. |
| Wire stripper | For stripping insulated wires. |
| Heat gun (optional) | To remove heat‑shrink tubing. |
Understanding the Temperature Sensor
The sensor on the Buderus 2000 is a thermistor that changes its electrical resistance in response to temperature. It is typically mounted inside the heating chamber, close to the heating element. The sensor’s resistance drops as the temperature rises, sending a voltage signal to the control board that regulates the heater’s power output.
Because the sensor sits in an environment with high temperatures and potentially corrosive gases, it can develop cracks, corrosion, or loose connections over time. Replacing the sensor restores accurate temperature feedback and prevents the heater from overheating.
Diagnosing the Problem
-
Check for Visible Symptoms
- Heater turns on and then shuts off quickly.
- Heater remains on but never reaches the set temperature.
- Heater is constantly cycling on and off.
-
Confirm the Sensor is the Culprit
- Visual Inspection – Remove the front panel (see next section) and look for broken, discolored, or loose wires on the sensor.
- Continuity Test – Use a multimeter to test the sensor’s resistance. A healthy sensor will show a resistance value that changes with temperature (usually between 20 kΩ at 0 °C and 0.1 kΩ at 80 °C). If the multimeter reads infinite resistance or zero, the sensor is faulty.
-
Check Wiring Harness – Sometimes the issue is a loose connector rather than the sensor itself. Inspect the connector for bent pins or corrosion.
If you’re uncertain, consult the heater’s schematic diagram (usually found in the service manual) to identify the sensor’s pinouts.
Disassembling the Heater
-
Remove the Front Panel
- On most Buderus 2000 models, the panel is secured with standard screws or a combination of screws and clips.
- Carefully loosen the screws using the appropriate screwdriver.
- If the panel uses a plastic clip, use a flathead screwdriver to pry it off gently.
-
Locate the Sensor
- The sensor is mounted on a bracket near the heating element.
- It typically has a small plastic housing and a cable that connects to the control board.
-
Disconnect the Sensor Cable
- Gently pull the connector from the board.
- If resistance to the cable, use a pair of needle‑point pliers to release the latch.
-
Remove the Sensor
- Unscrew the mounting screws that hold the sensor in place.
- Carefully lift the sensor out of its bracket.
Removing the Sensor
Step-by-Step
-
Step 1 – Detach the Sensor Housing
The sensor is often sealed inside a metal housing to protect it from heat and dust.- If the housing is held in place by screws, remove them.
- If it uses a simple push‑fit design, gently tap the housing with a rubber mallet to loosen it.
-
Step 2 – Separate the Thermistor
The thermistor itself is a small metal disk with a pin and a pair of wires.- Unscrew or unclip the thermistor from the housing.
- Keep the wires together; they will be re‑connected to the new sensor.
-
Step 3 – Clean the Connection Points
Use a clean, dry cloth and isopropyl alcohol to wipe the sensor contacts and the board’s connector pins.- This ensures a solid electrical connection when you install the new sensor.
Replacing the Sensor
-
Insert the New Sensor
- Align the thermistor’s pin with the mounting screw or latch.
- Secure it firmly, ensuring there is no play.
-
Re‑attach the Housing
- If you removed the housing, place it back over the thermistor.
- Secure it with screws or press it back into place.
-
Reconnect the Cable
- Plug the sensor cable back into the control board connector.
- Make sure the connector clicks into place.
-
Secure All Fasteners
- Tighten any screws that hold the sensor in its bracket.
- Verify that the sensor sits flush and is not under tension.
-
Replace the Front Panel
- Align the panel with the mounting holes and any clips.
- Fasten it with the original screws.
Testing the Heater
-
Restore Power
- Reconnect the heater to the mains supply.
-
Set the Desired Temperature
- Use the thermostat or the heater’s built‑in controls to set the temperature.
-
Observe Heater Operation
- The heater should power on and gradually rise to the set temperature.
- Verify that it does not shut down prematurely.
-
Check for Normal Cycling
- The heater should maintain a steady temperature without rapid on/off cycles.
-
Measure Sensor Resistance (Optional)
- Use a multimeter to confirm the sensor’s resistance matches expected values at room temperature.
Troubleshooting
| Symptom | Possible Cause | Suggested Fix |
|---|---|---|
| Heater fails to turn on | Power supply issue or control board fault | Check wiring, replace control board if necessary |
| Heater turns on but never reaches set temperature | Residual sensor fault or incorrect wiring | Re‑inspect sensor connection, verify wiring diagram |
| Heater keeps cycling on and off | Thermistor resistance still erratic | Replace sensor again, ensure proper installation |
| No change after replacing sensor | Wrong sensor model or incorrect pin configuration | Verify sensor model number, double‑check pinout |
If problems persist after replacement, the issue may lie deeper in the control board or with the heating element. At that point, professional diagnostics are recommended.
Maintenance Tips
- Inspect the Sensor Periodically – Once a year, remove the front panel and visually inspect the sensor and wiring for corrosion or loose connections.
- Keep the Heater Clean – Dust accumulation can affect heat transfer and sensor accuracy.
- Avoid Overloading – Do not exceed the heater’s rated power output; overloading can cause overheating and sensor damage.
- Use Quality Replacement Parts – Always source sensors and components from authorized distributors or the manufacturer to ensure compatibility.
Conclusion
A temperature sensor failure on a Buderus 2000 electric heater is a common yet straightforward issue to resolve. By following the step‑by‑step guide above, you can diagnose the problem, replace the sensor, and restore reliable heating performance. Remember to observe all safety precautions, use proper tools, and double‑check every connection. With the heater back online, you’ll enjoy steady, efficient warmth for the seasons to come.
Discussion (6)
Join the Discussion
Your comment has been submitted for moderation.
Random Posts

Addressing Apple iPhone 14 Pro Max Battery Drain During Gaming Sessions
Learn why iPhone 14 Pro Max batteries drain during gaming, how to diagnose the issue, and practical tweaks to keep you playing longer with less power loss.
5 months ago

Curing iPhone 14 Plus Charging Port Wear After Daily Fast Charge Cycles
Fast charging can loosen your iPhone 14 Plus port. Learn to spot slow charging and loose cables, then fix it with simple home tricks or long, term prevention.
6 months ago
Xiaomi Mi SmartGlasses 3 Eye Tracking Error Fix
Fix the eye, tracking issue on Mi SmartGlasses 3 with this step, by, step guide to diagnose, clear errors, and restore functionality without repair.
1 year ago

Overcoming Sony X900H Color Saturation Drift During HDR Playback
Discover how to spot and fix color saturation drift on your Sony X900H during HDR playback, tune settings, correct HDR metadata, and keep your scenes vivid and natural.
4 months ago

Remediating Signal Dropout on Bowers & Wilkins PX8 Noise Cancelling Headphones
Discover why the Bowers & Wilkins PX8 may drop sound and how to fix it by tackling interference, low battery, outdated firmware, obstacles and Bluetooth settings for uninterrupted audio
1 week ago
Latest Posts

Fixing the Eufy RoboVac 15C Battery Drain Post Firmware Update
Fix the Eufy RoboVac 15C battery drain after firmware update with our quick guide: understand the changes, identify the cause, and follow step by step fixes to restore full runtime.
5 days ago

Solve Reolink Argus 3 Battery Drain When Using PIR Motion Sensor
Learn why the Argus 3 battery drains fast with the PIR sensor on and follow simple steps to fix it, extend runtime, and keep your camera ready without sacrificing motion detection.
5 days ago

Resolving Sound Distortion on Beats Studio3 Wireless Headphones
Learn how to pinpoint and fix common distortion in Beats Studio3 headphones from source issues to Bluetooth glitches so you can enjoy clear audio again.
6 days ago