Repairing a Water Leak in the Rinnai T6 Gas Heater
Repairing a Water Leak in the Rinnai T6 Gas Heater
Introduction
A water leak from your Rinnai T6 gas heater can feel like a minor nuisance at first glance, but if left unchecked it can lead to costly damage, damp walls, and a compromised heating system. This guide walks you through the process of diagnosing, repairing, and preventing leaks, all while keeping safety at the forefront. Whether you’re a seasoned DIY enthusiast or a homeowner tackling a first repair, the steps below are designed to be clear and straightforward.
Understanding the Rinnai T6
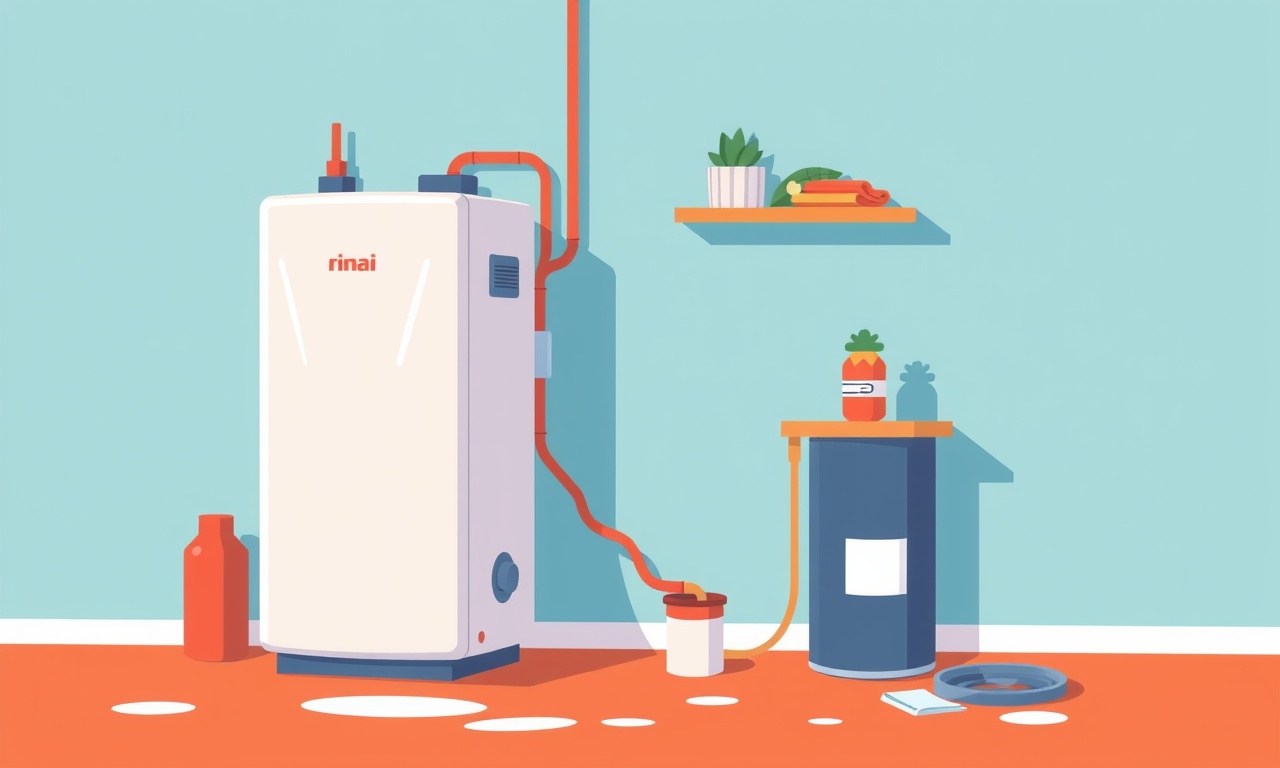
The Rinnai T6 is a popular single‐family tankless water heater known for its compact design and energy efficiency. It heats water on demand using a gas burner and an integrated heat exchanger. When a leak appears, it is usually associated with one of several common failure points:
- Condensate drain line – the line that carries condensation from the heat exchanger to the drain.
- Service valves – inlet and outlet valves that control gas and water flow.
- Heat exchanger or expansion chamber – the core of the heater where water is heated.
- Drain pan – the shallow container that collects condensate before it reaches the drain line.
Familiarity with these components will help you pinpoint where the problem originates.
Common Causes of Leaks
Before opening up the unit, consider why a leak might have appeared:
- Wear and tear – Over time, rubber seals and gaskets can degrade.
- Mineral buildup – Hard water can cause scale to accumulate, which can crack pipes.
- Incorrect installation – Improper drainage slope or faulty connections.
- Temperature fluctuations – Rapid changes can expand metal components, creating micro‑cracks.
By recognizing these triggers, you can target the repair more precisely.
Safety First
Gas appliances demand strict safety protocols. Here are essential precautions:
- Turn off the gas supply – Locate the main gas valve and close it fully.
- Shut off the water supply – Close the valves that feed the heater.
- Ventilate the area – Open windows or use a fan to disperse any residual gas.
- Wear protective gear – Gloves and safety glasses shield you from hot surfaces and debris.
- Call a professional if unsure – When in doubt, a licensed technician can save you time and expense.
Tools & Materials
Below is a list of items you’ll likely need. Some may already be in your toolbox; if not, most hardware stores carry them.
- Adjustable wrench
- Socket set (10‑mm and 14‑mm)
- Screwdrivers (flathead and Phillips)
- Teflon tape
- Replacement gasket or sealant
- Silicone or plumber’s paste
- Pipe wrench
- Bucket or container for condensate
- Drill with drill bits (if new mounting holes are needed)
- Pipe thread sealant
- New drain line or fittings (if necessary)
Step‑by‑Step Repair
1. Identify the Leak
Locate the source by inspecting the heater’s exterior and interior. Common leak spots include:
- The condensate drain line near the base of the unit.
- The area around the service valves.
- Any visible cracks or corrosion on the heat exchanger housing.
- The drain pan, which might show water accumulation.
A wet spot on the floor or a puddle inside the unit typically signals the leak’s location.
2. Remove the Cover and Drain Pan
- Disconnect the power or gas line if not already done.
- Unscrew the front or side panel using the appropriate screwdrivers or wrenches.
- Carefully lift the drain pan and set it in the bucket. This will catch any remaining condensate.
3. Inspect the Condensate Drain
- Check for blockages: debris or mineral buildup can impede flow and cause pressure buildup.
- Look for cracks or loose fittings. If the line is brittle or warped, it will need replacement.
If the drain is blocked, clean it with a small brush or a long flexible tube. For cracked lines, use a new section of pipe or a flexible, heat‑resistant hose.
4. Examine the Service Valves
- Tighten any loose fittings with an adjustable wrench.
- Replace damaged washers or gaskets with new ones. Ensure the correct size and material match the original specifications.
- Apply Teflon tape to the threads to prevent future leaks.
5. Check the Heat Exchanger
- A crack in the heat exchanger is a serious issue. Look for visible fissures or water stains on the metal surface.
- If a crack is present, the entire exchanger usually needs replacement. This is a job for a professional.
6. Replace or Seal the Drain Pan
- If the pan is warped or cracked, replace it with a new unit.
- For minor cracks, apply a durable, high‑temperature silicone sealant around the seams. Allow it to cure per the manufacturer’s instructions.
7. Reassemble the Heater
- Place the drain pan back in position, ensuring the drain line aligns with the outlet.
- Secure the cover panel, tightening all screws evenly.
- Reconnect any gas or water lines, checking for tightness.
8. Restore Power and Gas
- Open the gas valve slowly, allowing the pressure to equalize.
- Turn on the water supply, letting the tankless unit fill with water for a few minutes before turning it on.
9. Test the Repair
- Activate the heater and observe the condensate drain. It should run smoothly without pooling.
- Inspect the area around the service valves and drain pan for any signs of moisture.
- Allow the unit to run for a while to ensure the leak does not reappear.
Testing the Repair
After the initial test, it’s wise to run a longer test cycle:
- Set the thermostat to a typical usage temperature.
- Observe the heater for 30–60 minutes, watching for condensation and any drips.
- Check the floor beneath the unit for moisture after the test is complete.
If you see no leaks, the repair is successful. If leaks persist, revisit the steps above, focusing on any components that may have been overlooked.
Prevention Tips
Even after a successful repair, some habits can help keep your Rinnai T6 leak‑free:
- Regular inspections – Perform a visual check every six months.
- Use a water softener – Reducing mineral content extends component life.
- Keep the drain line clear – Periodically flush the line with water or a mild cleaning solution.
- Maintain proper ventilation – Good airflow prevents excessive condensation buildup.
- Schedule professional maintenance – At least once a year, a qualified technician can inspect and service the unit.
Frequently Asked Questions
| Question | Answer |
|---|---|
| Can I replace the drain line myself? | Yes, if you’re comfortable with basic plumbing. Use a heat‑resistant hose and secure all connections tightly. |
| What if the leak is in the heat exchanger? | The exchanger typically must be replaced by a professional. Do not attempt to patch a cracked exchanger. |
| How do I know if the leak is coming from the gas line? | Gas leaks smell like rotten eggs or have a strong sulfur odor. If you detect this, evacuate the area and call a professional. |
| Can I use regular plumber’s tape on gas fittings? | Only use Teflon tape or manufacturer‑approved seals for gas connections to ensure a safe seal. |
| What if the leak is only intermittent? | Intermittent leaks may indicate a loose fitting or a scaling issue. Inspect all connections again and clean any deposits. |
Conclusion
A water leak in a Rinnai T6 gas heater does not have to be a disaster. By following the steps outlined above—identifying the source, replacing or sealing the affected parts, and testing thoroughly—you can restore your unit to proper working order and prevent future issues. Remember to always prioritize safety, and don’t hesitate to reach out to a qualified technician if the problem seems beyond your comfort level. With regular maintenance and mindful care, your Rinnai T6 can continue to provide reliable, efficient heating for years to come.
Discussion (9)
Join the Discussion
Your comment has been submitted for moderation.
Random Posts

Solving a Persistent Stain Release Issue on Whirlpool WFW5620HW
Tired of spots on your clothes? Discover how to diagnose and fix the stubborn stain release problem on your Whirlpool WFW5620HW with our step-by-step guide.
9 months ago

De'Longhi DL150 Steam Iron Water Recirculation Failure Solution
Trouble with your DeLonghi DL150 steam iron? Learn why water recirculation fails, diagnose the issue, and follow our simple step by step solution to restore steady steam and wrinkle free clothes.
3 months ago

Resolving Lenovo Mirage Solo Bluetooth Pairing Issues
Fix Lenovo Mirage Solo Bluetooth glitches fast with this step by step guide. From simple checks to firmware hacks, reconnect your headset, controllers, and peripherals in minutes.
2 months ago
Lenovo SmartEyewear X Eye Tracking Error Troubleshoot
Get your Lenovo SmartEyewear X eye tracking back with our step-by-step guide. Diagnose glitches, reset settings, and restore smooth gaze navigation quickly.
3 months ago

Calibrating Noise‑Cancellation on Beats Studio Buds
Master Beats Studio Buds ANC: learn the science, step, by, step calibration, and troubleshooting to silence distractions and boost your listening experience.
10 months ago
Latest Posts

Fixing the Eufy RoboVac 15C Battery Drain Post Firmware Update
Fix the Eufy RoboVac 15C battery drain after firmware update with our quick guide: understand the changes, identify the cause, and follow step by step fixes to restore full runtime.
5 days ago

Solve Reolink Argus 3 Battery Drain When Using PIR Motion Sensor
Learn why the Argus 3 battery drains fast with the PIR sensor on and follow simple steps to fix it, extend runtime, and keep your camera ready without sacrificing motion detection.
5 days ago

Resolving Sound Distortion on Beats Studio3 Wireless Headphones
Learn how to pinpoint and fix common distortion in Beats Studio3 headphones from source issues to Bluetooth glitches so you can enjoy clear audio again.
6 days ago