Repairing Lutron Caseta Wireless Smart Dimmer Voltage Fluctuation
Understanding Voltage Fluctuations in a Lutron Caseta Wireless Smart Dimmer
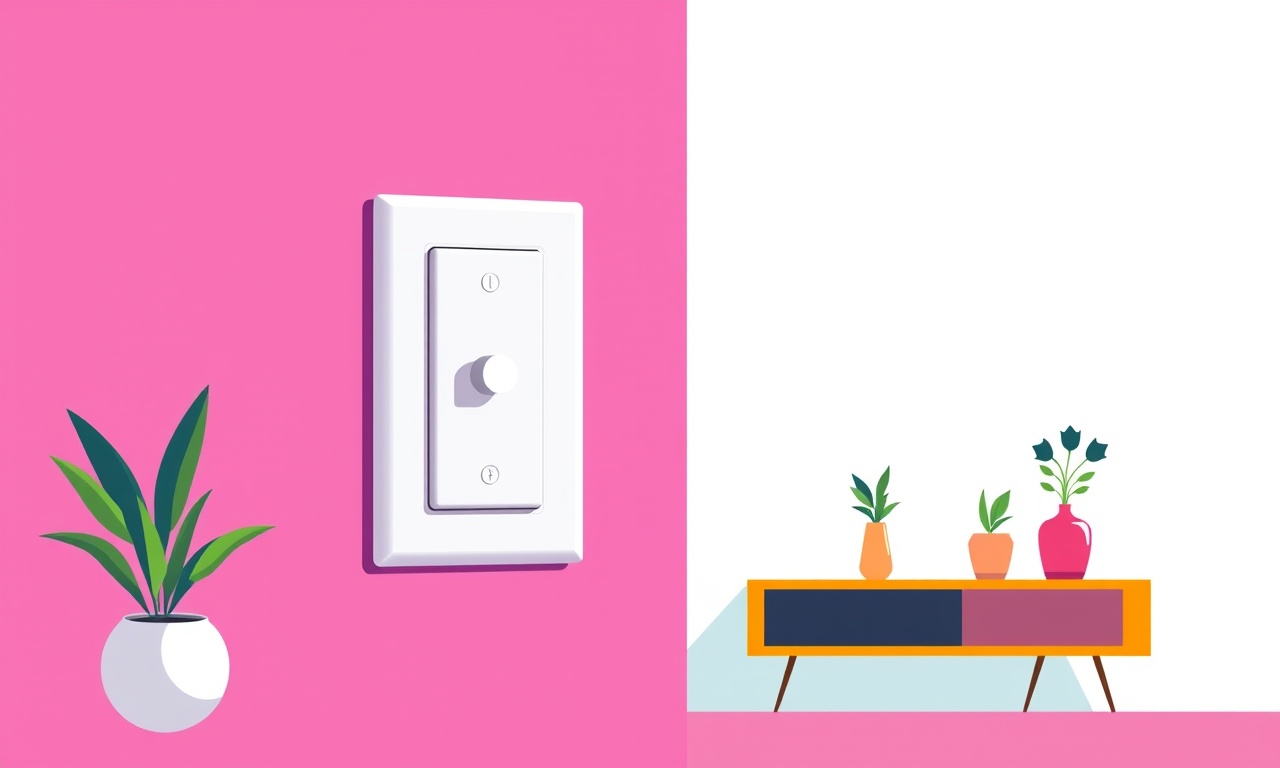
The Lutron Caseta Wireless Smart Dimmer is designed to deliver smooth, flicker‑free lighting control. When it behaves correctly, a dimmer’s voltage output remains steady, translating the user’s touch on a remote or app into a consistent light level. However, in some installations, users notice a sudden voltage spike or drop, resulting in dimming issues, flicker, or the dimmer failing to respond altogether.
In this guide we explore why voltage fluctuations occur, how to diagnose them, and how to repair the problem step by step.
Why Voltage Fluctuations Matter
Voltage is the driving force that powers LED fixtures and traditional incandescent bulbs. A sudden change in voltage can cause:
- Flickering – rapid on/off cycles that are visible to the eye.
- Reduced Light Output – LEDs may not reach their rated brightness.
- Component Stress – repeated voltage spikes can damage the dimmer’s internal circuitry.
- Safety Hazards – excessive voltage may pose a risk of fire or electric shock.
Because the Caseta dimmer is a compact, integrated circuit, diagnosing voltage issues requires a systematic approach, attention to safety, and the right tools.
Common Causes of Voltage Fluctuations
- Weak or Incorrect Wiring – improper connections, inadequate wire gauge, or loose terminal screws.
- Capacitor Failure – the dimmer’s internal electrolytic capacitors are designed to smooth voltage; when they degrade, fluctuations increase.
- Load Mismatch – using a light fixture that exceeds the dimmer’s rated load or an incompatible bulb type.
- Power Supply Noise – fluctuations from other appliances on the same circuit or from the utility grid.
- Grounding Issues – improper or missing ground can lead to voltage instability.
- Age or Wear – long-term use can degrade internal components, especially in harsh environments.
Each of these causes requires a different repair strategy. Below we walk through the troubleshooting and repair process, assuming a basic level of electrical knowledge. If you are unsure or uncomfortable, contact a licensed electrician.
Safety First
Before any work begins:
- Turn Off Power – Locate the breaker panel and switch off the circuit that powers the dimmer. Use a voltage tester to confirm the line is dead.
- Wear Proper PPE – Insulated gloves and safety glasses protect against accidental shocks.
- Use a Non‑Conductive Tool – A plastic screwdriver or insulated tool prevents accidental contact with live parts.
- Follow Local Codes – In many jurisdictions, only a licensed professional may work on certain wiring.
Tools and Materials Needed
| Tool / Material | Purpose |
|---|---|
| Voltage tester or multimeter | Measure line, neutral, and output voltage. |
| Insulated screwdriver set | Tighten screws, replace parts. |
| Wire gauge cutter/stripper | Prepare replacement wires. |
| Replacement electrolytic capacitor (matching voltage and capacitance) | Replace failed capacitor. |
| LED fixture or incandescent bulb of correct wattage | Test the dimmer’s output. |
| Small screwdrivers (Phillips and flathead) | Access internal components. |
| Heat shrink tubing and a heat gun | Protect soldered or patched connections. |
| Wire nuts or terminal blocks | Secure connections if needed. |
| Permanent marker | Label wires for clarity. |
| Lutron Caseta replacement parts kit (optional) | Contains spare components. |
Step‑by‑Step Troubleshooting Guide
1. Verify the Power Supply
-
Check the Incoming Voltage
- With the dimmer still connected but the breaker on, use a multimeter to read the line (usually 120 V in North America).
- If the reading is outside the normal range (e.g., 90 V or 140 V), the problem lies upstream.
-
Inspect for Power Surges
- Look for signs of a recent surge: scorch marks, melted insulation, or a burning smell.
- If a surge is suspected, replace the dimmer and any affected wiring.
-
Confirm Neutral and Ground Connections
- Neutral should be white or gray and ground green or bare.
- Loose or disconnected neutral can cause voltage spikes. Tighten all screws.
2. Inspect Wiring and Terminal Connections
-
Remove the Dimmer Cover
- Use the appropriate screwdriver to open the dimmer housing.
- Carefully note the position of each wire; a diagram is usually on the back or in the manual.
-
Check Wire Gauge and Condition
- Verify that the incoming and outgoing wires are of the correct gauge (typically 14 AWG for 15 A circuits).
- Look for frayed insulation or broken strands. Replace any damaged wire.
-
Secure Terminal Screws
- Tighten all screw terminals with an insulated screwdriver.
- Ensure the screws are not overtightened to the point of crushing the wire.
-
Re‑wire if Necessary
- If the dimmer was installed incorrectly (e.g., swapping line and neutral), re‑wire according to the wiring diagram.
- Label wires clearly to avoid future mistakes.
3. Test the Internal Capacitor
Electrolytic capacitors are often the culprits in voltage fluctuation. They act as a reservoir, smoothing variations in the power supply.
-
Locate the Capacitor
- The main capacitor is usually near the input terminals, labeled “C1” or “C2”.
- It will have a marked voltage rating (e.g., 63 V) and capacitance (e.g., 470 µF).
-
Visual Inspection
- Look for bulging, leakage, or a brownish residue.
- If any of these signs are present, replace the capacitor.
-
Test with a Multimeter
- If your meter has a capacitance measurement mode, compare the reading to the rating.
- A significant drop indicates failure.
-
Replace the Capacitor
- Unsolder the old capacitor carefully.
- Solder a new one of identical specifications.
- Use heat shrink tubing to cover the joint.
-
Re‑assemble
- Close the dimmer housing, ensuring no wires are pinched.
4. Check for Load Compatibility
-
Identify the Connected Fixture
- Determine whether the dimmer controls an LED, halogen, incandescent, or a combination.
-
Verify Load Ratings
- Caseta dimmers typically support up to 120 W on a single fixture or 180 W across multiple.
- If the fixture exceeds the rating, replace or reduce the load.
-
Test with a Known Good Fixture
- Disconnect the current fixture and connect a known good LED bulb that falls within the dimmer’s range.
- If the dimmer now functions correctly, the original fixture was the problem.
5. Inspect for Power Supply Noise
Sometimes the issue is not the dimmer itself but the surrounding electrical environment.
-
Use an Oscilloscope (Optional)
- If available, an oscilloscope can reveal high‑frequency noise.
- A clean sine wave indicates minimal interference.
-
Identify Nearby Appliances
- Devices like motors, refrigerators, or dimmable fixtures can introduce noise.
- Turn off nearby appliances one by one and observe the dimmer’s behavior.
-
Add a Line Filter
- Installing a power line filter on the circuit can reduce noise.
- Ensure the filter is rated for the voltage and current.
6. Final Test and Calibration
- Restore Power – Switch the breaker back on.
- Operate the Remote/App – Adjust the dimmer to low, medium, and high settings.
- Observe the Light – There should be a smooth transition with no flicker.
- Measure Output Voltage – Use a multimeter to confirm a steady reading at the fixture.
If any irregularity persists, repeat the steps above, focusing on the area most likely to be problematic.
Common Repair Scenarios and Quick Fixes
| Scenario | Likely Cause | Quick Fix |
|---|---|---|
| Flicker after a power surge | Capacitor failure, damaged PCB traces | Replace the capacitor; replace the dimmer if traces are damaged |
| Dimmer does not respond to remote | Loose line/neutral, broken RF module | Tighten connections; if RF module is damaged, replace the entire unit |
| Lights go out at high dimmer setting | Overloaded fixture, incompatible LED | Reduce bulb wattage; replace fixture or dimmer |
| Voltage reading is high (e.g., 140 V) | Upstream voltage surge, improper grounding | Inspect circuit breaker, replace or install a surge protector |
| Persistent noise on the line | Motor-driven appliances, harmonic distortion | Add a line filter, isolate the dimmer on a separate circuit |
When to Call a Professional
Even with careful troubleshooting, some problems are beyond DIY repair:
- High‑Voltage Issues – If you encounter 240 V or higher, do not attempt repairs.
- Complex Circuitry – If the dimmer is part of a multi‑way or hardwired network, professional intervention is advised.
- Non‑Standard Wiring – In older homes with non‑standard wiring or outdated panels, an electrician can safely rewire.
- Warranty Replacement – If the dimmer is still under warranty, contacting Lutron support may yield a replacement rather than a repair.
Maintenance Tips to Prevent Future Fluctuations
- Regularly Inspect Wiring – Check for wear, especially at junction boxes.
- Keep the Dimmer Clean – Dust can interfere with connections; use a dry cloth.
- Avoid Overloading – Stay within the dimmer’s rated capacity.
- Update Firmware – If you have a Caseta bridge or hub, keep its firmware current to mitigate software issues that can affect dimming performance.
- Use Quality Fixtures – LED bulbs that are specifically listed as compatible with Caseta reduce load mismatches.
Summary
Voltage fluctuations in a Lutron Caseta Wireless Smart Dimmer are usually caused by wiring issues, capacitor failure, load mismatch, or external electrical noise. By following a structured diagnostic approach—checking power, inspecting wiring, testing internal components, and verifying the load—you can identify the root cause and apply the appropriate repair.
Key steps include:
- Safety first – always turn off power before working.
- Verify incoming voltage and look for surges.
- Inspect and secure all connections – loose terminals are a common source of trouble.
- Test and replace the main capacitor if needed.
- Ensure the connected fixture is within the dimmer’s rating.
- Test for external noise and use a line filter if necessary.
- Re‑assemble and test with the remote or app.
With these procedures, you should be able to restore smooth, flicker‑free operation to your Caseta dimmer. If problems persist after a thorough inspection, professional help or a replacement unit is the safest path forward. Happy repairing!
Discussion (10)
Join the Discussion
Your comment has been submitted for moderation.
Random Posts

Maytag M2011 Microwave Error Code 12, Troubleshooting Tips
Error Code 12 on a Maytag M2011 signals a power or high voltage fault. Follow a step by step guide to inspect the transformer, diode, and connections, and restore your microwave without costly repairs.
4 weeks ago

Strategy to Avoid Unresponsive Power Button on Sonoff Smart Plug S40
Keep your Sonoff S40 button responsive by learning why it fails and how to prevent it with simple care, firmware updates, and smart habits.
1 year ago

AVer CAM3400 Microphone Silences Voice When Using Zoom
Find out why your AVer CAM3400 mic cuts out on Zoom, learn step-by-step fixes, and know when to call a pro to keep your audio loud and clear.
9 months ago

Correcting a Fan Speed Oscillation on the Lasko LS7500 Tower Heater
Learn how to stop the Lasko LS7500 fan from wavering by clearing dust, checking bearings and tightening connections, simple steps that restore steady heat and prolong your heater’s life.
9 months ago

Fix Sony SmartCam Indoor Noise Interference
Discover why your Sony SmartCam hisses, crackles, or distorts indoors, learn to spot power, cord and wireless culprits, and fix the noise with simple, lasting solutions.
3 weeks ago
Latest Posts

Fixing the Eufy RoboVac 15C Battery Drain Post Firmware Update
Fix the Eufy RoboVac 15C battery drain after firmware update with our quick guide: understand the changes, identify the cause, and follow step by step fixes to restore full runtime.
5 days ago

Solve Reolink Argus 3 Battery Drain When Using PIR Motion Sensor
Learn why the Argus 3 battery drains fast with the PIR sensor on and follow simple steps to fix it, extend runtime, and keep your camera ready without sacrificing motion detection.
5 days ago

Resolving Sound Distortion on Beats Studio3 Wireless Headphones
Learn how to pinpoint and fix common distortion in Beats Studio3 headphones from source issues to Bluetooth glitches so you can enjoy clear audio again.
6 days ago