Repairing the Eufy RoboVac 20C When It Stops Mapping
Introduction
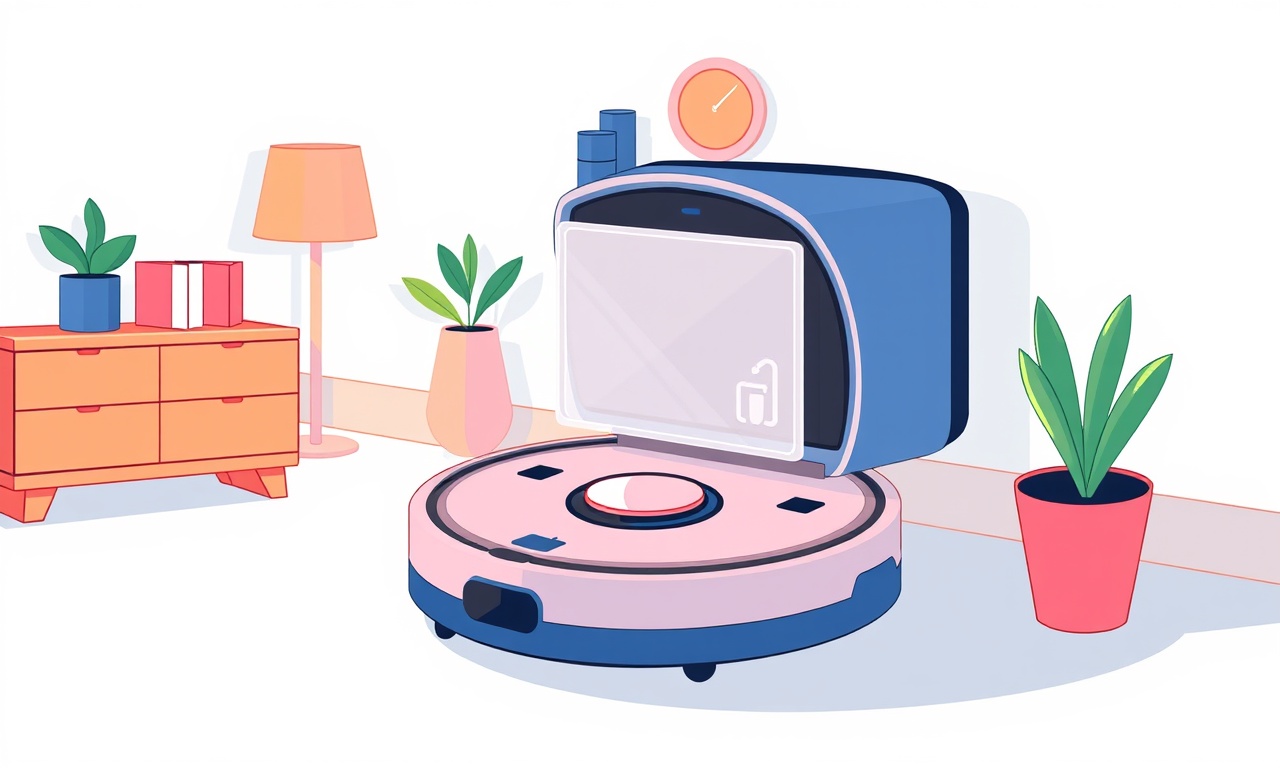
The Eufy RoboVac 20C is a popular choice for many households because of its quiet operation, powerful suction, and intuitive app control. One of its most appreciated features is the ability to map your home automatically and clean specific zones. However, even the best robots can experience hiccups. A common frustration among owners is the vacuum suddenly stopping its mapping routine or showing incomplete maps on the app. When this happens, you may notice that the unit no longer remembers the layout, misses corners, or fails to return to the charging dock after a long clean.
This guide walks you through every step you can take to diagnose and repair a RoboVac 20C that has stopped mapping. From the most common software glitches to hardware faults, we cover the full spectrum of solutions so you can get your robot back on track without calling a professional.
Understanding Why Mapping Stops
Before diving into fixes, it’s useful to understand the underlying reasons why a RoboVac 20C might lose its mapping capability. The robot’s mapping system relies on a combination of sensors, firmware logic, and the Eufy app. Disruptions can stem from any of these components.
Sensor Obstructions
The RoboVac 20C uses infrared sensors and a small camera (or LIDAR in some models) to detect walls, obstacles, and open spaces. Dust, pet hair, or even a wet wipe can block sensor lines of sight, causing the robot to misinterpret the environment or abandon the mapping process.
Firmware Bugs or Corruption
Like all connected devices, the RoboVac runs on embedded firmware that can occasionally contain bugs or become corrupted due to incomplete updates. A buggy firmware version might force the robot to shut down mapping prematurely.
Battery and Power Issues
The mapping process requires the vacuum to run continuously for a period. If the battery is weak or the power circuitry is malfunctioning, the robot may not maintain the necessary power levels to finish a map.
Configuration Mismatches
The Eufy app allows users to set preferences such as “Always map” or “Map only certain rooms.” A misconfigured setting can unintentionally prevent the robot from starting a new map.
Hardware Wear
Over time, components like the camera lens, IR emitters, or wheel encoders can wear out or get damaged. A faulty component can lead to incomplete or failed mapping.
Step‑by‑Step Diagnostic Checklist
A systematic approach will save time and reduce frustration. Follow the checklist below to pinpoint the root cause.
-
Restart the Vacuum
Turn the robot off and back on. Many minor glitches resolve after a reboot. -
Check the Battery Level
Open the Eufy app and confirm the battery status. If it reads below 20 %, charge fully and try again. -
Verify Network Connection
Ensure the vacuum is still connected to your Wi‑Fi network. Go to the device settings in the app and confirm the IP address is listed. -
Inspect the App Settings
In the Eufy app, navigate to the RoboVac’s settings. Confirm that “Map” is enabled and that no zone restrictions are preventing a new map. -
Look for Firmware Updates
In the app, check if a newer firmware version is available. If an update exists, install it immediately. -
Observe the Cleaning Process
Start a clean cycle manually. Pay attention to any alerts, error messages, or sudden stops. If the robot stops mid‑cycle, note the exact time and behavior. -
Test the Sensors
Use a flashlight to shine on the infrared emitters and camera lens. Any smudge or obstruction should be noted.
If the diagnostic process points to a specific area (e.g., sensor blockage or firmware issue), proceed to the corresponding fix. If none of the steps above reveal a problem, continue with deeper troubleshooting.
Cleaning the Sensors and Camera
Dust accumulation is a frequent culprit. A clean sensor ensures reliable mapping.
-
Gather Supplies
- Soft microfiber cloth
- Isopropyl alcohol (70 %)
- Cotton swabs
-
Power Down
Switch off the vacuum and unplug it from the charging dock. -
Locate the Sensors
The front of the RoboVac 20C houses the camera lens and infrared emitters. They are typically visible as small black or silver pads. -
Dust Removal
Dampen a corner of the microfiber cloth with a drop of isopropyl alcohol. Gently wipe the sensor pads and camera lens. Avoid pressing hard; a light touch is sufficient. -
Swab Hard‑to‑Reach Areas
If there is dust behind the camera lens, use a cotton swab lightly dampened with alcohol. Gently swab the lens surface and the surrounding area. -
Dry Thoroughly
Allow the sensors to air‑dry for a minute or two. Do not use a hair dryer or other heat source. -
Re‑install
Place the vacuum back on its charger and power it on. Run a short test clean to verify sensor operation.
Resetting and Re‑Mapping the Vacuum
If sensors are clean but mapping still fails, resetting the robot’s mapping data may help.
-
Open the App
Launch the Eufy app and select your RoboVac 20C from the device list. -
Access Map Settings
Go to the “Map” tab. If a map exists, tap the three‑dot menu next to the map name. -
Delete Existing Map
Choose “Delete Map” to clear all stored coordinates. -
Start a Fresh Mapping Session
In the main app screen, press the “Start” button to initiate a new clean cycle. The robot will automatically begin building a new map. -
Follow On‑Screen Prompts
The app may ask you to confirm that you want to proceed. Accept and let the vacuum traverse the entire house. -
Monitor Progress
You should see a live map appear in the app as the vacuum cleans. If the map completes successfully, the issue is resolved.
If the mapping process still stops prematurely, proceed to recalibrate sensors or update firmware.
Recalibrating Sensors and Wheels
Wheel encoders provide distance information. When they misbehave, the robot cannot maintain accurate positioning.
-
Locate the Wheel Sensors
The encoder sensors are usually behind the wheels, attached to the wheel housing. -
Inspect for Obstructions
Remove any hair, string, or debris that may be lodged around the wheel shafts. -
Clean with a Brush
Use a small soft brush to gently clean the encoders and the wheel surface. -
Perform a Self‑Calibration
Many models allow a built‑in calibration routine. In the app, go to “Settings” → “Calibration” → “Wheel Calibration.” Follow the on‑screen instructions; the robot will rotate in place and record encoder data. -
Test the Calibration
Run a short cleaning cycle. The map should now reflect more accurate distances.
Updating Firmware
Firmware is the software that controls every aspect of the RoboVac. Out‑of‑date or corrupted firmware can interfere with mapping.
-
Open the Eufy App
Ensure your phone’s internet connection is stable. -
Navigate to Device Settings
Tap the three‑dot menu for your RoboVac 20C. -
Check for Updates
Under “Firmware,” the app will display the current version and any pending updates. -
Install the Update
Tap “Update” and follow the prompts. Do not interrupt the process; the vacuum may pause for a few minutes. -
Verify Success
Once the update completes, the app will display the new firmware version. Restart the robot to ensure the update takes effect. -
Retry Mapping
Start a new clean cycle and observe whether the mapping proceeds without interruption.
Replacing Faulty Hardware
If all software fixes fail, hardware failure is likely. The most common replacements are the camera lens and IR sensors.
Replacing the Camera Lens
-
Power Down
Turn off the vacuum and disconnect it from the charger. -
Unscrew the Front Cover
Using a Phillips screwdriver, remove the screws holding the front cover. Keep the screws organized. -
Remove the Old Lens
Gently pry the lens away from the sensor housing. Note the orientation for correct placement. -
Install the New Lens
Align the replacement lens with the sensor housing and press firmly until it clicks into place. -
Reassemble
Replace the front cover and secure the screws. -
Power On
Reconnect to the charger and test the vacuum.
Replacing IR Emitters
The IR emitters are small pads located on the front bumper.
-
Locate the Pads
They appear as translucent squares. -
Remove Old Pads
Use a plastic pry tool to lift the pad gently. -
Attach New Pads
Position the new pad and press down until it sticks. -
Test
Power on the vacuum and verify that mapping resumes.
If you are uncomfortable performing hardware replacements, consider sending the unit to an authorized service center.
Battery Health Check
A depleted or malfunctioning battery can cut mapping short. Check its health with these steps.
-
Measure Current Capacity
Some smart phone apps can read the battery health of connected devices via the app’s diagnostics. If available, check the battery status. -
Observe Runtime
Start a clean cycle and note how long it runs before returning to the dock. If it stops early, the battery may be at fault. -
Replace If Necessary
The Eufy RoboVac 20C uses a sealed lithium‑ion pack that is not user‑replaceable. If you suspect a battery issue, contact Eufy support for a repair or replacement.
Adjusting App Settings for Optimal Mapping
The Eufy app offers several options that influence mapping behavior.
Zone Management
-
Open the Map Editor
In the app, tap the map and select “Edit Zones.” -
Create New Zones
Draw rectangular areas where you want the vacuum to clean. Avoid overlapping zones that might confuse the robot. -
Enable “Map Mode”
In the main screen, ensure the “Map” toggle is turned on. This forces the robot to build a map on every clean.
Cleaning Frequency
-
Set Routine
In “Schedule,” configure how often the vacuum cleans. Frequent cleaning can help the robot update its map regularly. -
Turn Off “Always Map”
If you do not need a continuous map, disable this to reduce the robot’s mapping load.
When to Contact Eufy Support
After exhausting all troubleshooting steps, you may need professional assistance.
- Frequent Mapping Failures: If the robot stops mapping after several cycles.
- Hardware Replacement Needed: For camera or IR sensor replacements beyond your skill level.
- Warranty Claim: If the unit is still under warranty and exhibits persistent issues.
- Firmware Corruption: When the robot fails to boot after an update.
Reach out via the Eufy support portal or call the customer service line. Have your serial number, purchase date, and a detailed description of the issue ready.
Preventive Maintenance Tips
Regular upkeep keeps your RoboVac 20C in top condition and prevents future mapping problems.
- Weekly Clean Sensors: Wipe the camera and IR pads every week, especially if you have pets or a dusty environment.
- Monthly Filter Check: Remove and clean the filter to maintain suction efficiency.
- Check Wheel Brakes: Ensure brakes release correctly; otherwise, the vacuum may not move properly during mapping.
- Keep the Dock Clear: A cluttered charging station can cause the robot to misjudge its dock position.
- Update Firmware Regularly: Firmware updates often include bug fixes that improve mapping reliability.
Final Thoughts
A RoboVac that stops mapping can feel like a frustrating interruption in your automated cleaning routine. By following this structured guide—cleaning sensors, resetting maps, updating firmware, and checking hardware—you can address most common issues without needing professional help. Remember to keep your unit well maintained and update its software regularly; prevention is often easier than repair. Should the problem persist, professional support is available, and the warranty may cover necessary replacements.
Your home will be clean again soon, and your RoboVac will continue to navigate with confidence, thanks to a complete and accurate map.
Discussion (6)
Join the Discussion
Your comment has been submitted for moderation.
Random Posts

Rebooting Google Nest Hub (3rd Gen) to Resolve App Sync Glitches
Stuck with delayed notifications, unresponsive tiles, or stale smart, home data? A simple reboot of your Nest Hub 3rd Gen clears cache, resets processes, and restores smooth app sync.
3 months ago

Fixing Bluetooth Signal Drops on Apple AirPods Pro
Tired of AirPods Pro disconnecting during walks or workouts? Learn why Bluetooth drops happen, how to spot them, and quick fixes - no coding required - to keep audio flowing.
11 months ago

Fixing the Duplexer Failure on a Brother MFC‑J805DW
Learn how to diagnose and replace a faulty duplexer on your Brother MFC, J805DW, restoring double, sided printing with step, by, step instructions for tech, savvy users.
10 months ago

Solving Apple iPhone 13 Pro Camera Rolling Shutter With External Lens
Stop the slanted look from rolling shutter when adding external lenses to your iPhone 13 Pro by tweaking camera settings, choosing the right lens, and using proper stabilization.
9 months ago

Restoring Bandwidth on Amazon Eero Mesh 6 Pro After a Firmware Update
After an Eero Mesh 6 Pro firmware update, bandwidth often drops. This guide explains why the change occurs and walks you through quick steps to restore full speed and a stable connection for work and play.
8 months ago
Latest Posts

Fixing the Eufy RoboVac 15C Battery Drain Post Firmware Update
Fix the Eufy RoboVac 15C battery drain after firmware update with our quick guide: understand the changes, identify the cause, and follow step by step fixes to restore full runtime.
5 days ago

Solve Reolink Argus 3 Battery Drain When Using PIR Motion Sensor
Learn why the Argus 3 battery drains fast with the PIR sensor on and follow simple steps to fix it, extend runtime, and keep your camera ready without sacrificing motion detection.
5 days ago

Resolving Sound Distortion on Beats Studio3 Wireless Headphones
Learn how to pinpoint and fix common distortion in Beats Studio3 headphones from source issues to Bluetooth glitches so you can enjoy clear audio again.
6 days ago