Replacing Faulty Thermistor on the Dimplex DT-6800 Panel Heater
Understanding the Thermistor in a Dimplex DT‑6800 Panel Heater
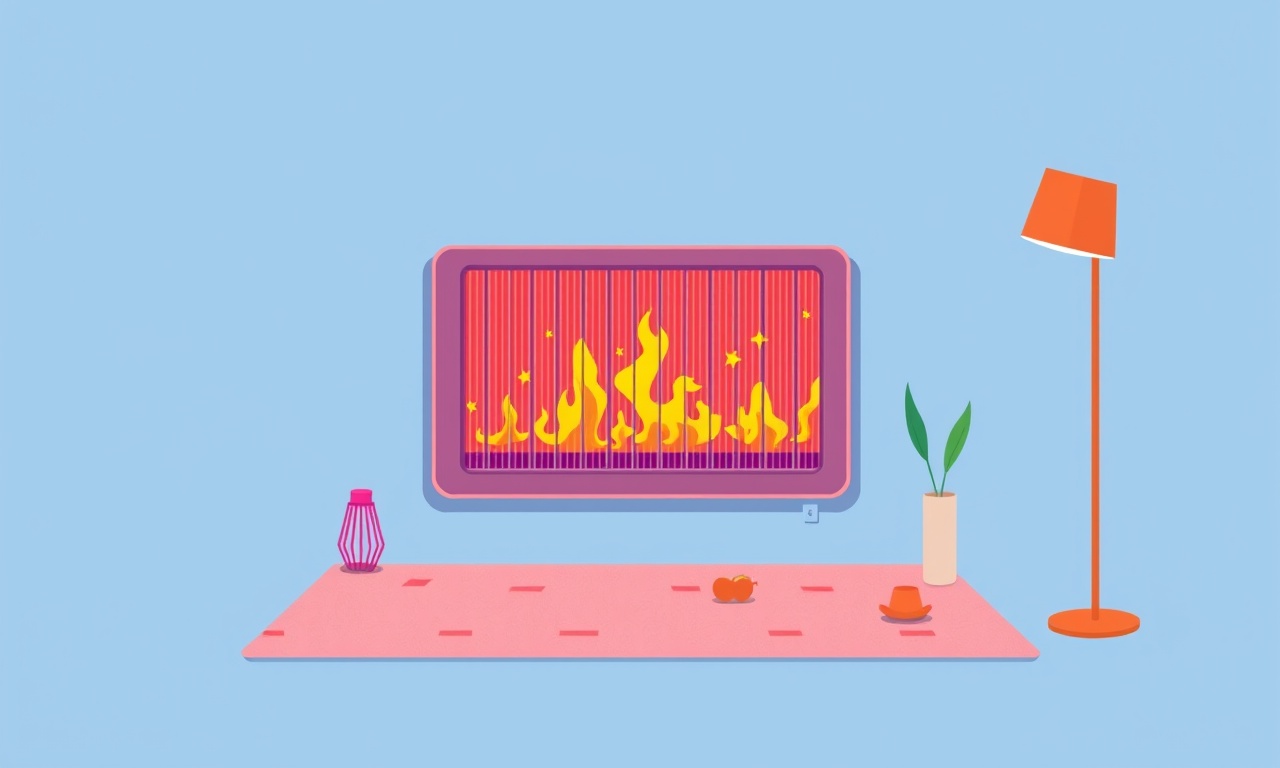
The Dimplex DT‑6800 is a popular wall‑mounted panel heater that relies on a simple yet critical safety component: the thermistor. This small, glass‑encased sensor monitors the temperature inside the heater and signals the control board to cut power when the heater reaches its target temperature. When the thermistor fails, the heater will either overheat, shut down prematurely, or fail to heat at all. Replacing it restores normal operation and prolongs the life of the heater.
Below is a detailed, step‑by‑step guide for safely removing a faulty thermistor and installing a new one. The instructions apply to most DT‑6800 units, but always consult the manufacturer’s service manual or a qualified electrician if you encounter any unusual wiring or safety concerns.
Gather the Right Tools and Materials
| Item | Description |
|---|---|
| Screwdriver set | Phillips and flat‑head for screws on the panel cover |
| Pliers | Needle‑point for wire manipulation |
| Multimeter | To verify continuity and resistance of the new thermistor |
| Replacement thermistor | 3 kΩ or 10 kΩ depending on your unit (see model spec) |
| Heat‑shrink tubing | Small diameter for insulated wire connections |
| Electrical tape | For added insulation, if desired |
| Wire cutters | For trimming excess wire |
| Work gloves | Protect hands from sharp edges |
| Safety glasses | Eye protection while handling the panel |
All tools should be in good condition. If you do not have a multimeter, you can borrow one from a hardware store or friend.
Preparation and Safety First
-
Turn Off Power
Locate the circuit breaker or fuse that supplies the heater. Switch it off to eliminate the risk of electric shock. -
Confirm Power is Out
Use a non‑contact voltage tester or the multimeter to double‑check that no voltage is present at the heater terminals. -
Work in a Well‑Ventilated Area
Even though the heater is off, any small electrical repair should be performed in a clean, dry environment. -
Keep a Clean Work Surface
Lay down a cloth or cardboard to prevent small screws or components from rolling away. -
Mark the Original Wiring
Before disconnecting any wires, take a photo or write down the color and position of each connection. This helps avoid mis‑wiring later.
Step 1 – Remove the Panel Cover
-
Locate the Screws
The front panel of the DT‑6800 is held in place by four screws on the edges. Use the correct screwdriver to remove them. -
Lift the Cover
Carefully lift the panel. Some units have a small gap; gently pry it away using a flathead screwdriver or your fingers. -
Disconnect Any Indicator Lights or Panels
The cover may have an indicator light or a secondary panel that needs to be lifted. Remove it only after the cover is fully removed.
Step 2 – Identify the Thermistor
The thermistor is usually mounted near the heating element and is connected to the control board via a short wire pair.
-
Find the Wiring Harness
Trace the two wires (often a thin red and a thin blue or black) that lead from the heater body to the board. -
Check the Wiring Diagram
Refer to the wiring diagram in the service manual. The thermistor wire pair should be labeled T1 and T2 (or similar). -
Locate the Sensor
The thermistor is typically a small, black, glass‑encased component with two leads. It may be soldered or connected by a quick‑connect connector. -
Note the Position
Take another photo or mark the spot where the thermistor sits for easy reassembly.
Step 3 – Test the Existing Thermistor
Before you start disassembly, verify that the thermistor is indeed the faulty part.
-
Set Multimeter to Resistance Mode
Place the probes on the two terminals of the thermistor. -
Read the Value
A working 3 kΩ thermistor should read approximately 3 000 Ω at room temperature. A reading of “OL” (open loop) or zero indicates a fault. -
Repeat at a Higher Temperature
If possible, use a small heat source (like a hair dryer) to warm the sensor slightly. The resistance should drop. If it stays constant or increases, the sensor is bad.
If the thermistor reads correctly, the problem may lie elsewhere (control board, wiring, or heating element).
Step 4 – Disconnect the Thermistor
-
Loosen Any Connectors
If the thermistor uses a quick‑connect, release the latch or pull the connector gently. -
Untwist Soldered Leads
If soldered, use a soldering iron and desoldering braid to separate the leads. Keep the leads straight to avoid breaking the wire. -
Remove the Sensor
Gently pull the thermistor out of its mounting slot. If it is stuck, a small amount of heat from a soldering iron can soften any adhesive.
Step 5 – Prepare the New Thermistor
-
Verify the Specification
Ensure you have a 3 kΩ thermistor if that matches your model. Check the datasheet if in doubt. -
Trim the Leads
Cut the leads to a manageable length (about 2 cm each). Remove any burrs with a wire cutter. -
Solder the Leads (if needed)
If the new thermistor comes with solder pads, use a fine‑tipped soldering iron to attach the leads. Keep the soldering iron tip clean and use a small amount of solder to avoid bridges. -
Apply Heat‑Shrink Tubing
Slide a piece of heat‑shrink tubing over each lead before soldering, or apply it afterward. Shrink to ensure the joint remains insulated. -
Test the New Thermistor
Use the multimeter again to confirm the resistance is around 3 kΩ at room temperature.
Step 6 – Install the New Thermistor
-
Position the Sensor
Align the thermistor in the original mounting slot. Use gentle pressure to seat it firmly. -
Connect the Leads
If using soldered leads, match the solder pads on the control board. Solder each lead to the appropriate pad, ensuring a solid connection. -
Secure the Connectors
If using a quick‑connect, push the connector back into place until you hear a click. -
Double‑Check Polarity
Ensure that the red (or hot) lead is connected to the correct terminal and the blue/black (or neutral) lead to the other. -
Tidy the Wiring
Use electrical tape or additional heat‑shrink tubing to cover any exposed solder or wire ends.
Step 7 – Reassemble the Heater
-
Replace the Panel Cover
Align the cover back onto the heater body and press it into place. -
Secure the Screws
Tighten all four screws evenly. Avoid over‑tightening, which could damage the panel. -
Reconnect Any Indicator Lights
If you removed a secondary panel or light, reattach it. -
Restore Power
Flip the circuit breaker or replace the fuse. -
Perform a Visual Check
Inspect that no wires are pinched or exposed, and that the panel is firmly seated.
Step 8 – Verify Proper Operation
-
Set a Low Temperature
Use the thermostat to set the heater to a low temperature (e.g., 70 °F). -
Observe the Warm-Up
The heater should turn on, the display should show the set temperature, and the internal heating element should warm. -
Check the Thermistor Function
On most units, the display will indicate when the heater has reached the set temperature. If the heater stops heating at that point, the thermistor is working. -
Run a Full Cycle
Let the heater run until it reaches the set temperature and then turns off automatically. Confirm there is no overheating or immediate shut‑down. -
Monitor for Errors
Some models show error codes on the display. If an error persists, double‑check the wiring and sensor placement.
Troubleshooting Common Issues
| Symptom | Likely Cause | Fix |
|---|---|---|
| Heater never turns on | Faulty wiring or power supply | Verify power and inspect all connections |
| Heater shuts down immediately | Thermistor reads “open” or “closed” | Re‑check the thermistor installation and continuity |
| Heater overheats | Incorrect thermistor resistance | Ensure the new thermistor matches the specified value |
| Display shows error code “E01” | Control board issue | Consult the service manual or call a technician |
If the problem remains after following the above steps, the fault may lie in the control board or heating element, which typically requires professional service.
Safety Reminders
- Never work on a heater that is still connected to power.
- Avoid touching exposed terminals while the unit is powered.
- If you are unsure about any step, seek assistance from a qualified electrician.
- Dispose of old components responsibly.
Final Thoughts
Replacing a faulty thermistor in a Dimplex DT‑6800 panel heater is a straightforward process that can save you the cost of a replacement unit or the time of a professional repair. By following the steps above—starting with a thorough safety check, diagnosing the problem with a multimeter, carefully removing and installing the sensor, and finally verifying correct operation—you can restore reliable heating to your home.
Maintaining the heater’s core components, like the thermistor, not only ensures safety but also extends the overall lifespan of the appliance. Regularly inspecting and cleaning the heater’s panel and vents will keep the unit running efficiently and quietly for years to come.
Discussion (7)
Join the Discussion
Your comment has been submitted for moderation.
Random Posts

Solving a Persistent Stain Release Issue on Whirlpool WFW5620HW
Tired of spots on your clothes? Discover how to diagnose and fix the stubborn stain release problem on your Whirlpool WFW5620HW with our step-by-step guide.
9 months ago

De'Longhi DL150 Steam Iron Water Recirculation Failure Solution
Trouble with your DeLonghi DL150 steam iron? Learn why water recirculation fails, diagnose the issue, and follow our simple step by step solution to restore steady steam and wrinkle free clothes.
3 months ago

Resolving Lenovo Mirage Solo Bluetooth Pairing Issues
Fix Lenovo Mirage Solo Bluetooth glitches fast with this step by step guide. From simple checks to firmware hacks, reconnect your headset, controllers, and peripherals in minutes.
2 months ago
Lenovo SmartEyewear X Eye Tracking Error Troubleshoot
Get your Lenovo SmartEyewear X eye tracking back with our step-by-step guide. Diagnose glitches, reset settings, and restore smooth gaze navigation quickly.
3 months ago

Calibrating Noise‑Cancellation on Beats Studio Buds
Master Beats Studio Buds ANC: learn the science, step, by, step calibration, and troubleshooting to silence distractions and boost your listening experience.
10 months ago
Latest Posts

Fixing the Eufy RoboVac 15C Battery Drain Post Firmware Update
Fix the Eufy RoboVac 15C battery drain after firmware update with our quick guide: understand the changes, identify the cause, and follow step by step fixes to restore full runtime.
5 days ago

Solve Reolink Argus 3 Battery Drain When Using PIR Motion Sensor
Learn why the Argus 3 battery drains fast with the PIR sensor on and follow simple steps to fix it, extend runtime, and keep your camera ready without sacrificing motion detection.
5 days ago

Resolving Sound Distortion on Beats Studio3 Wireless Headphones
Learn how to pinpoint and fix common distortion in Beats Studio3 headphones from source issues to Bluetooth glitches so you can enjoy clear audio again.
6 days ago