Replacing Water Reservoir Seal on Jevity 4-in-1 Steam Master
Replacing the Water Reservoir Seal on a Jevity 4‑in‑1 Steam Master
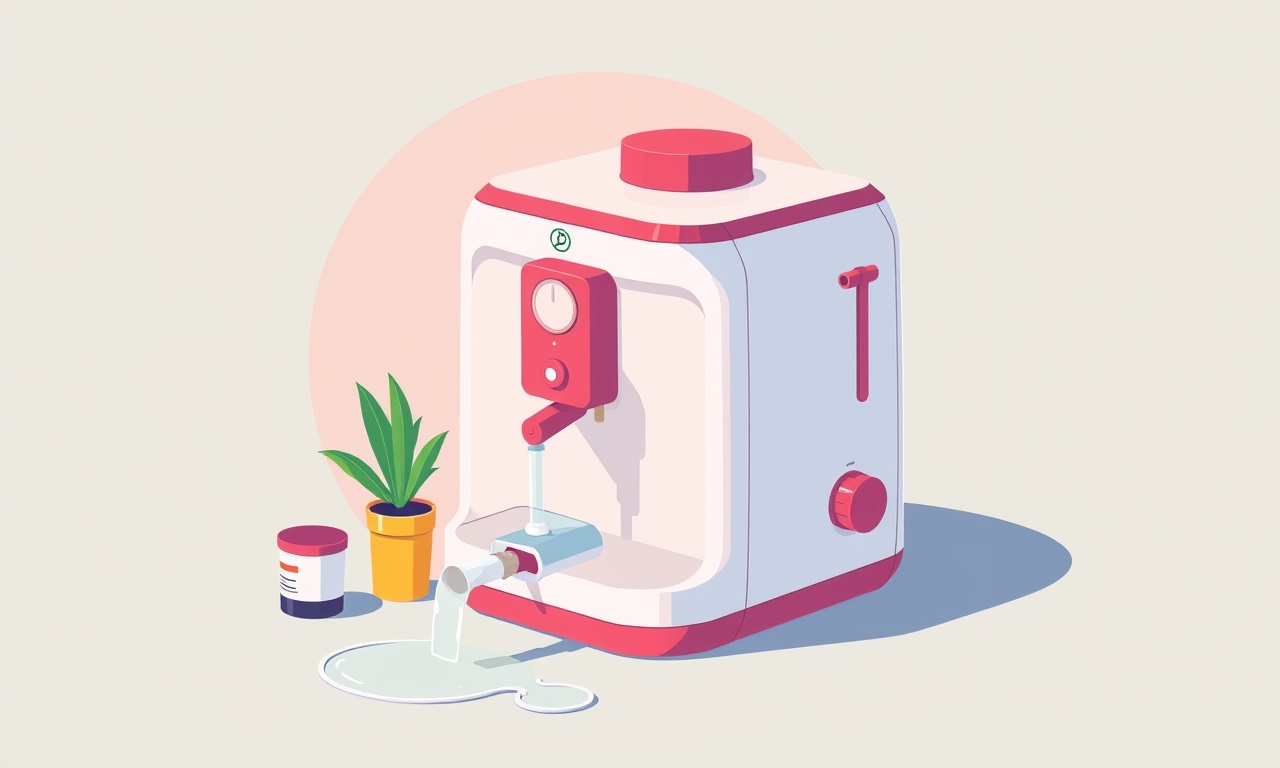
A leak in the water reservoir is a common reason users stop enjoying the convenience of a steam cleaner. The seal that keeps water from escaping is inexpensive, but the process of removing the old seal and installing a new one can be intimidating if you haven’t worked on a household appliance before. This guide takes you through each step in plain language, ensuring your Jevity Steam Master returns to full, leak‑free operation.
Why the Reservoir Seal Matters
The water reservoir sits atop the main body of the steam unit. It holds the water that is heated into steam. A faulty seal creates small gaps that allow water to leak out when the unit is tilted, during operation, or even while the machine sits idle. Even a small leak can ruin your steam‑cleaned surfaces, damage the cabinet, and lead to costly water damage.
Replacing the seal is a quick, inexpensive fix—typically less than a minute if you have the right tools and the parts on hand. By following these steps, you’ll restore the unit’s integrity and extend its useful life.
What You’ll Need
- A replacement water‑reservoir seal that is compatible with the Jevity 4‑in‑1 model (usually a small rubber gasket or O‑ring)
- A clean cloth
- Mild dish soap
- Warm water
- A small flathead screwdriver or a specialized extractor if your model uses a latch
- A pair of gloves (optional but recommended)
- A small bowl or container to catch any residual water
These items are inexpensive and can be found at most hardware stores or online. Having them ready before you start prevents unnecessary interruptions.
Locating the Water Reservoir
- Unplug the unit – safety first. Disconnect the steam cleaner from the wall outlet or remove the battery if it is cordless.
- Identify the reservoir – it is the cylindrical or oval container that sits on top of the main body. In the Jevity 4‑in‑1, the reservoir is designed for easy removal.
- Check for a cap or latch – many Jevity models have a small twist‑on cap or a latch that holds the reservoir in place. If your model uses a latch, it will typically be a plastic lever or a spring‑loaded clasp.
Removing the Reservoir
- Release the latch – if your unit has a latch, pull it gently in the direction indicated by the manufacturer’s instructions. If it’s a twist cap, rotate counter‑clockwise.
- Lift the reservoir – once the latch is released, hold the reservoir by its edges and lift it straight up. The reservoir should slide off the body with minimal force. If it resists, double‑check that the latch is fully disengaged.
- Set aside the reservoir – place it on a clean, dry surface. Keep the container used for the water level markings (usually a small cup or a set of printed lines) nearby; you’ll need it when you reassemble.
Removing the Old Seal
- Inspect the seal area – look for cracks, tears, or residue. A new seal must fit snugly to prevent future leaks.
- Clean the residue – using a cloth dampened with mild soap and warm water, wipe away any leftover gasket material or mineral deposits. This ensures a clean surface for the new seal.
- Remove the old seal – the seal may be a simple O‑ring that sits on a groove, or it could be a flat gasket. If it’s an O‑ring, press it out with a clean thumb or a small flathead screwdriver. For a flat gasket, gently pry it out with a flathead screwdriver. Be careful not to damage the groove or the reservoir’s interior.
- Check for damage – if the groove is worn or the reservoir has scratches, it may be necessary to replace the reservoir altogether or repair the groove with a small amount of epoxy designed for plastic appliances. This is rare but worth noting if the seal is repeatedly failing.
Cleaning the Reservoir
- Rinse thoroughly – remove all soap and debris by rinsing the reservoir with clean water. A small amount of water is enough; you want the interior to be spotless.
- Dry the interior – pat the interior dry with a clean cloth. Even a small amount of moisture can lead to a new leak if it mixes with a new seal.
Installing the New Seal
- Choose the correct seal – confirm that the replacement is the right size and shape. The Jevity manual lists the recommended seal type for each model.
- Position the seal – slide the new seal into the groove, ensuring it sits flush against the reservoir’s interior walls. If it is an O‑ring, make sure it is fully seated in its track.
- Check the fit – press gently around the seal. It should feel firm but not overly tight. A loose seal will leak; an overly tight seal may crack.
Reassembling the Reservoir
- Slide the reservoir back onto the main body – align the edges carefully and lower it until it sits snugly.
- Secure the latch – if your model uses a latch, engage it firmly. For a twist cap, rotate clockwise until it is fully closed. Make sure the latch or cap is fully latched to avoid accidental slippage.
- Verify alignment – gently tilt the unit and check that the reservoir stays in place. If it wobbles, double‑check the latch engagement.
Testing for Leaks
- Fill with water – pour water into the reservoir up to the first line on the water level indicator. Avoid overfilling, as this will cause overflow.
- Let it sit – wait a minute or two. A good seal will keep the water inside without any visible seepage.
- Tilt the unit – incline the steam cleaner at a moderate angle (as you would when using it on a wall or floor). Observe whether any water leaks out. If it does, you may need to readjust the seal or ensure the latch is fully engaged.
- Run a short test – plug the unit in and let it heat up to produce steam. Listen for any bubbling or hissing that could indicate a leak in the reservoir.
If no leaks are visible after these steps, you have successfully replaced the seal.
Maintenance Tips
- Check the seal regularly – especially if you use the steam cleaner frequently. A simple visual inspection can catch cracks before they cause leaks.
- Use distilled or de‑mineralized water – tap water contains minerals that can build up on the seal, reducing its effectiveness.
- Keep the reservoir dry when not in use – moisture can accelerate seal wear and create mold growth.
- Follow the manufacturer’s cleaning schedule – cleaning the entire unit periodically keeps all moving parts lubricated and extends lifespan.
Troubleshooting Common Issues
| Symptom | Likely Cause | Fix |
|---|---|---|
| Water leaks when the unit is tilted | Seal not fully seated | Reinstall the seal, ensuring a snug fit |
| Water seeps even when the unit is upright | Latch not engaged properly | Verify latch engagement and adjust if necessary |
| Seal appears cracked after use | Wear and tear from frequent use | Replace seal immediately |
| Steam leaks from the reservoir opening | Reservoir cap not tight | Tighten the cap or replace it if damaged |
If you encounter a symptom not listed here, refer to the user manual or contact Jevity customer support for guidance.
When to Replace the Reservoir
Occasionally, the reservoir itself may develop cracks or become warped due to repeated heating cycles or accidental drops. If the reservoir shows visible cracks, a warped shape, or if the seal keeps failing despite correct installation, it may be time to replace the entire reservoir. Replacement reservoirs can usually be purchased directly from Jevity or authorized retailers.
Warranty and Customer Support
The Jevity 4‑in‑1 Steam Master typically comes with a one‑year limited warranty covering defects in materials and workmanship. If you are experiencing leaks that you cannot resolve by replacing the seal, you should:
- Document the issue – take photos of the leak and note any steps you have taken.
- Contact Jevity’s support line – provide your model number and serial number.
- Follow their instructions – they may offer a repair or replacement if the unit is still under warranty.
Keep your purchase receipt and any warranty documents in a safe place. A well‑maintained machine, coupled with timely repairs, ensures you get the most out of your investment.
Final Thoughts
Replacing the water reservoir seal on a Jevity 4‑in‑1 Steam Master is a straightforward process that restores the appliance’s performance and prevents water damage. By following these steps carefully, you can keep the machine running efficiently and enjoy clean, spotless surfaces without worry.
Remember: safety first—always unplug the unit before working on it. Keep the area clean and dry, use gentle cleaning agents, and replace parts promptly. With a little maintenance, your steam cleaner will stay in top shape for years.
Discussion (7)
Join the Discussion
Your comment has been submitted for moderation.
Random Posts

Addressing Apple iPhone 14 Pro Max Battery Drain During Gaming Sessions
Learn why iPhone 14 Pro Max batteries drain during gaming, how to diagnose the issue, and practical tweaks to keep you playing longer with less power loss.
5 months ago

Curing iPhone 14 Plus Charging Port Wear After Daily Fast Charge Cycles
Fast charging can loosen your iPhone 14 Plus port. Learn to spot slow charging and loose cables, then fix it with simple home tricks or long, term prevention.
6 months ago
Xiaomi Mi SmartGlasses 3 Eye Tracking Error Fix
Fix the eye, tracking issue on Mi SmartGlasses 3 with this step, by, step guide to diagnose, clear errors, and restore functionality without repair.
1 year ago

Overcoming Sony X900H Color Saturation Drift During HDR Playback
Discover how to spot and fix color saturation drift on your Sony X900H during HDR playback, tune settings, correct HDR metadata, and keep your scenes vivid and natural.
4 months ago

Remediating Signal Dropout on Bowers & Wilkins PX8 Noise Cancelling Headphones
Discover why the Bowers & Wilkins PX8 may drop sound and how to fix it by tackling interference, low battery, outdated firmware, obstacles and Bluetooth settings for uninterrupted audio
1 week ago
Latest Posts

Fixing the Eufy RoboVac 15C Battery Drain Post Firmware Update
Fix the Eufy RoboVac 15C battery drain after firmware update with our quick guide: understand the changes, identify the cause, and follow step by step fixes to restore full runtime.
5 days ago

Solve Reolink Argus 3 Battery Drain When Using PIR Motion Sensor
Learn why the Argus 3 battery drains fast with the PIR sensor on and follow simple steps to fix it, extend runtime, and keep your camera ready without sacrificing motion detection.
5 days ago

Resolving Sound Distortion on Beats Studio3 Wireless Headphones
Learn how to pinpoint and fix common distortion in Beats Studio3 headphones from source issues to Bluetooth glitches so you can enjoy clear audio again.
6 days ago