Resolving a Power Interruption on the Dimplex 7000 Gas Heater
Introduction
A sudden loss of power to a gas heater can be unsettling, especially when it happens in the middle of a cold winter. The Dimplex 7000 is a popular model that many households rely on for reliable heat and comfort. When the power to this unit is interrupted, the first instinct is often to assume a simple electrical fault. Yet, several factors can cause a loss of power, from a tripped breaker to a faulty internal component.
In this article we break down a systematic approach to diagnosing and resolving a power interruption on the Dimplex 7000. The guide covers basic safety precautions, step‑by‑step troubleshooting, advanced testing tools, and when it’s time to call a professional. Whether you’re a homeowner looking to save on service calls or a maintenance technician preparing for field work, the information below is intended to help you restore power safely and efficiently.
Understanding the Dimplex 7000
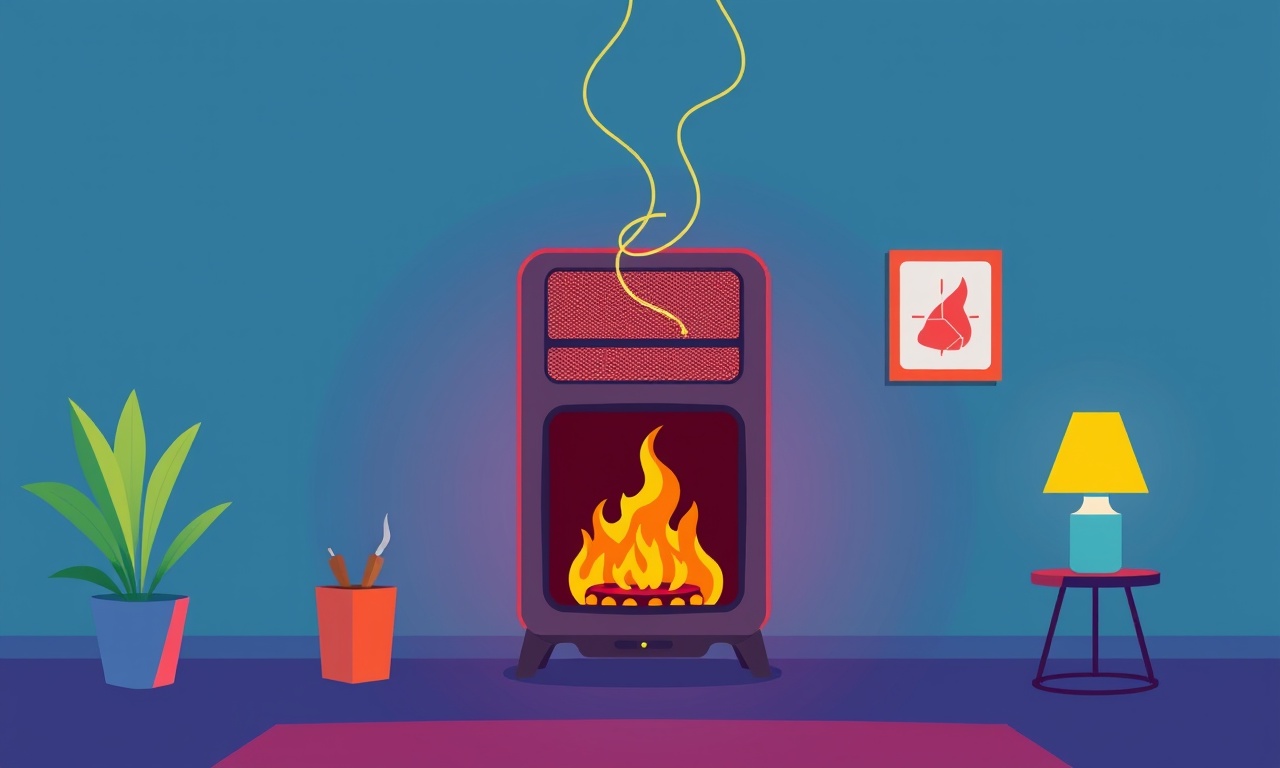
The Dimplex 7000 series is a natural‑gas or propane furnace that operates on a 120‑volt electrical supply. Its electronic control board manages ignition, flame detection, and safety interlocks. Power to the unit is delivered through a dedicated circuit, typically 15 A or 20 A, with a built‑in circuit breaker or fuse. When the power is lost, the heater cannot ignite, and the display panel will show a blank screen or an error code.
The heater’s power system consists of the following key components:
- Power Cord and Plug – Connects the unit to the wall outlet or dedicated breaker.
- Circuit Breaker / Fuse – Protects the wiring from overcurrent.
- Control Board – Houses the microprocessor that governs operation.
- Power Switch – A local on/off switch located near the unit.
- Wiring Harness – Internal connections between the control board, fan, and igniter.
A clear grasp of these parts makes it easier to pinpoint where the interruption originates.
Common Causes of Power Interruptions
Before diving into troubleshooting, it helps to know the most frequent culprits:
- Tripped Circuit Breaker – The most common issue in residential settings.
- Blown Fuse – Older installations may use fuses instead of breakers.
- Loose or Damaged Power Cord – Wear and tear can break connections.
- Faulty Power Switch – A worn switch can fail to provide a continuous connection.
- Internal Control Board Failure – Over time, components can fail, cutting power to the unit.
- Improper Wiring or Grounding – Neglect in wiring standards can lead to intermittent power.
- Remote Control or Wall Switch Issues – If the heater is operated via a remote, a dead battery or broken button can mimic a power loss.
Knowing these possibilities sets a realistic framework for the steps that follow.
Safety First
Work with electrical equipment always requires caution. Before proceeding with any checks, observe the following safety measures:
- Unplug the Heater – Disconnect the power cord from the outlet or breaker.
- Turn Off the Circuit Breaker – Ensure the breaker supplying the heater is in the OFF position.
- Avoid Contact with Moving Parts – Do not touch the fan or combustion chamber during inspection.
- Use Insulated Tools – When testing or touching wiring, use tools with insulated handles.
- Check for Gas Leaks – If the heater was recently serviced, smell for gas. A sweet, chlorine‑like odor may indicate a leak.
When in doubt, seek professional help.
Step‑by‑Step Troubleshooting Guide
Below is a logical progression to identify and resolve the power interruption. Each section provides clear instructions; the use of bullet points ensures readability without numbered headings.
Verify Power Supply
Begin at the source of power:
- Test the Outlet – Use a voltage tester or multimeter to confirm 120 V is present at the outlet.
- Inspect the Power Cord – Look for frayed insulation, kinks, or broken plugs.
- Check the Power Switch – Flip the switch on and off; note any resistance or click.
If the outlet is dead or the cord shows damage, replace or repair accordingly.
Inspect Circuit Breaker and Fuse
Circuit protection often masks power issues:
- Locate the dedicated breaker for the heater.
- Toggle the breaker OFF and ON to reset.
- If the breaker trips again immediately, it may be overloaded or faulty.
- For installations with fuses, open the heater housing and replace any blown fuse with the correct amperage rating.
A simple reset can restore power for many users.
Examine Remote Control and Display
If the heater is operated by a remote or wall switch, confirm it is functioning:
- Replace the batteries in the remote.
- Test the wall switch by toggling it on and off.
- Verify the control panel’s LED indicator shows power.
A dead remote can prevent the heater from powering up.
Inspect Wiring and Connections
Internal wiring issues are less obvious but can cause intermittent power:
- Remove the heater’s front panel to access the wiring harness.
- Look for loose or corroded terminals.
- Tighten any loose connections with a wrench or screwdriver.
- Check for exposed wires that may have been damaged by pets or household items.
Secure connections are critical for stable operation.
Test the Heater’s Power Switch
The local power switch is often overlooked:
- Using a multimeter set to continuity, check if the switch allows current to pass when engaged.
- If the switch shows no continuity in the ON position, replace it.
A faulty switch can create a disconnect between the heater and the power source.
Confirm Gas Supply (Optional)
While this guide focuses on power, gas supply problems can also mimic power loss:
- Ensure the gas valve is open.
- Confirm the regulator is functioning if the heater uses propane.
If gas supply is suspect, address it before further electrical testing.
Check for Error Codes
Some Dimplex models display error codes even when power is absent:
- If the display shows a code after power is restored, refer to the service manual.
- Common codes for power issues include “P0” or “P1.”
Note the code; it can help technicians diagnose deeper problems.
Reset the Heater
A full reset often clears transient faults:
- Disconnect the heater from power for at least 30 seconds.
- Re‑connect the power and power the unit back on.
- Observe if the display lights and the fan starts.
If power remains absent after a reset, proceed to advanced troubleshooting.
Advanced Troubleshooting
When basic checks fail, more in‑depth diagnostics are needed. This section introduces tools and techniques used by experienced technicians.
Use of a Multimeter
A multimeter can verify the presence of voltage at key points:
- Input Voltage – Measure between the live and neutral terminals of the power cord.
- Continuity Tests – Check continuity between the power switch, control board, and outlet.
- Resistance Checks – High resistance readings on the heating element or fan motor may indicate failure.
Always follow the multimeter’s safety instructions and use appropriate settings for the measured voltage range.
Consulting the Service Manual
The Dimplex 7000 service manual contains schematics and fault codes specific to the model:
- Locate the section on electrical troubleshooting.
- Cross‑reference observed symptoms with listed fault causes.
- Use the manual’s wiring diagrams to trace back to the source of the interruption.
If the manual indicates a defective control board, this may necessitate replacement.
When to Call a Professional
Certain situations demand professional intervention:
- Persistent Tripping Breakers – This may signal a wiring fault or overload that requires an electrician.
- Control Board Failure – Replacement involves handling high voltage and specialized components.
- Suspected Gas Leak – Any suspicion of a gas leak warrants immediate professional attention.
- Complex Wiring Issues – If you’re unfamiliar with residential electrical codes, hire a licensed electrician.
Calling a qualified service technician can prevent safety hazards and ensure the heater’s longevity.
Preventive Maintenance Tips
Regular upkeep reduces the likelihood of power interruptions:
- Annual Inspections – Schedule yearly checks with a professional technician.
- Clean the Vents – Dust buildup can cause overheating and trigger safety shut‑offs.
- Test the Thermostat – Ensure it correctly communicates with the heater.
- Inspect the Power Cord – Replace any worn or frayed cords promptly.
- Replace Batteries – If the heater uses a remote or control panel that relies on batteries, replace them at least once a year.
Proactive care keeps the heater operating smoothly and minimizes unexpected outages.
Frequently Asked Questions
Why does my Dimplex 7000 power off after a short period?
A common cause is an overloaded circuit or a fault within the control board that triggers a safety shutdown. Resetting the breaker and inspecting internal wiring can help.
Can I replace the control board myself?
Replacing the control board is a complex task that involves handling high voltage components. It is recommended that a licensed HVAC technician perform this replacement.
Is it safe to run the heater on a circuit that powers other appliances?
Ideally, the heater should have a dedicated circuit to avoid overloading. If you share a circuit, consider adding a dedicated breaker or consult an electrician.
What should I do if the heater displays a “P0” code?
A “P0” code typically indicates a power failure or control board fault. Follow the troubleshooting steps for power interruption and consult the service manual for specific remediation.
Conclusion
Resolving a power interruption on the Dimplex 7000 involves a systematic approach that starts with basic safety and progresses through targeted diagnostics. By verifying the power supply, inspecting the breaker or fuse, examining internal wiring, and employing a multimeter when necessary, many homeowners can restore heat without costly service calls.
However, recognizing the limits of DIY troubleshooting and knowing when to enlist a professional is essential for both safety and appliance longevity. Coupled with regular maintenance and mindful use of the heater’s dedicated circuit, these practices ensure that the Dimplex 7000 remains a reliable source of comfort throughout the heating season.
Discussion (9)
Join the Discussion
Your comment has been submitted for moderation.
Random Posts

Rebooting Google Nest Hub (3rd Gen) to Resolve App Sync Glitches
Stuck with delayed notifications, unresponsive tiles, or stale smart, home data? A simple reboot of your Nest Hub 3rd Gen clears cache, resets processes, and restores smooth app sync.
3 months ago

Fixing Bluetooth Signal Drops on Apple AirPods Pro
Tired of AirPods Pro disconnecting during walks or workouts? Learn why Bluetooth drops happen, how to spot them, and quick fixes - no coding required - to keep audio flowing.
11 months ago

Fixing the Duplexer Failure on a Brother MFC‑J805DW
Learn how to diagnose and replace a faulty duplexer on your Brother MFC, J805DW, restoring double, sided printing with step, by, step instructions for tech, savvy users.
10 months ago

Solving Apple iPhone 13 Pro Camera Rolling Shutter With External Lens
Stop the slanted look from rolling shutter when adding external lenses to your iPhone 13 Pro by tweaking camera settings, choosing the right lens, and using proper stabilization.
9 months ago

Restoring Bandwidth on Amazon Eero Mesh 6 Pro After a Firmware Update
After an Eero Mesh 6 Pro firmware update, bandwidth often drops. This guide explains why the change occurs and walks you through quick steps to restore full speed and a stable connection for work and play.
8 months ago
Latest Posts

Fixing the Eufy RoboVac 15C Battery Drain Post Firmware Update
Fix the Eufy RoboVac 15C battery drain after firmware update with our quick guide: understand the changes, identify the cause, and follow step by step fixes to restore full runtime.
5 days ago

Solve Reolink Argus 3 Battery Drain When Using PIR Motion Sensor
Learn why the Argus 3 battery drains fast with the PIR sensor on and follow simple steps to fix it, extend runtime, and keep your camera ready without sacrificing motion detection.
5 days ago

Resolving Sound Distortion on Beats Studio3 Wireless Headphones
Learn how to pinpoint and fix common distortion in Beats Studio3 headphones from source issues to Bluetooth glitches so you can enjoy clear audio again.
6 days ago