Resolving Room Acoustics Calibration on Vizio SB2950
Introduction
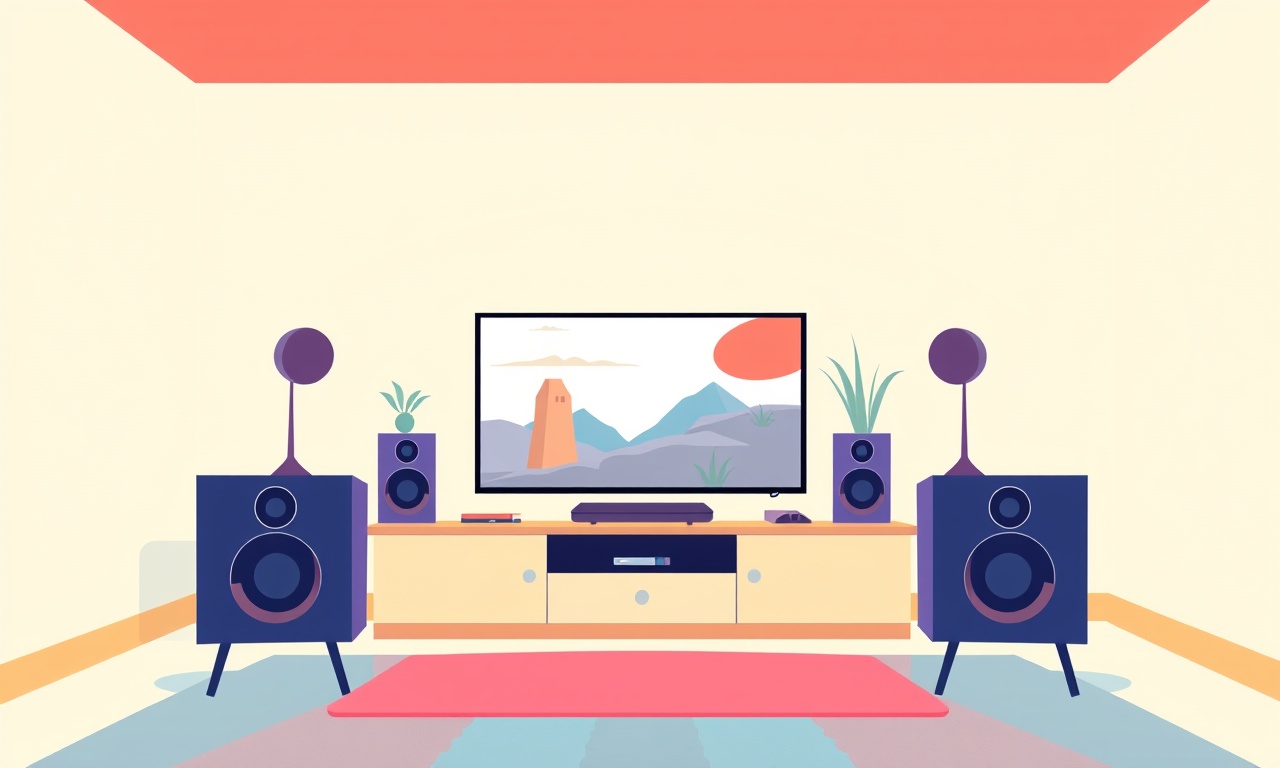
A high‑quality soundbar can transform a living room into a personal theater, but its performance is highly dependent on the acoustic characteristics of the room. The Vizio SB2950 includes a built‑in room‑acoustic calibration feature that, if used correctly, can make a huge difference in clarity, depth and overall listening experience. This guide walks you through every step of the calibration process, from preparing your space to troubleshooting common problems, so you can unlock the full potential of your SB2950.
Understanding the SB2950 Calibration Feature
The SB2950’s calibration system is a simple, on‑board procedure that uses a series of reference tones played through the soundbar and recorded by an external microphone. The microphone captures how the room responds to those tones, and the soundbar’s firmware adjusts its equalization, speaker balance and volume levels accordingly.
Why Calibration Matters
- Room reflections: Walls, floors and ceilings can reflect sound and create comb filtering or phase issues that muddy dialogue and music.
- Speaker placement: Even a small mis‑alignment between the soundbar’s subwoofer and front drivers can lead to phase cancellation.
- Listening position: If the main listening spot is not centered relative to the soundbar, the perceived soundstage can shift.
Calibration corrects for these factors, delivering a balanced sound that matches the room’s unique acoustics.
Preparing Your Space
A successful calibration starts before you even turn on the soundbar. Follow these preparatory steps to ensure accurate results.
1. Arrange the Soundbar Correctly
- Mounting: If you’re wall‑mounting, keep the soundbar at eye level or slightly above when seated.
- Floor distance: Place the SB2950 at least 12 inches from the floor to avoid ground reflections.
- Clearance: Leave at least 18 inches of space on the sides and 24 inches at the back to allow sound to disperse.
2. Choose a Quiet Room
- Turn off background noise: Close doors, windows and appliances that generate hum or fan noise.
- Avoid echo: If possible, use rugs, curtains or wall panels to dampen excessive reflections.
3. Position the External Microphone
The SB2950 calibration routine uses an external microphone. If you do not have a dedicated calibration mic, you can use a high‑quality headset microphone or a smartphone mic (if the SB2950 supports USB or Bluetooth input).
- Location: Place the microphone at the primary listening spot, about 3 feet away from the soundbar.
- Height: Set the mic at ear level for a seated listener.
- Angle: Keep the mic aimed straight ahead, slightly downward if the speaker is on a table.
4. Verify Connection
- Check cable: If you’re using a wired microphone, make sure the cable is securely plugged into the soundbar’s mic input.
- Audio settings: In the soundbar’s on‑screen menu, select the microphone input mode (“External Mic”) before starting calibration.
Performing the Calibration
With your room ready, it’s time to let the SB2950 do its work. Follow these steps in the order presented.
Open the Calibration Menu
- Press the “Home” button on the remote.
- Navigate to “Settings” → “Sound.”
- Scroll to “Room Calibration” and select “Start.”
Step Through the Guided Process
The SB2950 will now play a series of tones while the microphone records the response.
- Tone Sequence: The calibration system alternates between 250 Hz, 500 Hz, 1 kHz, 2 kHz, 4 kHz and 8 kHz tones.
- Duration: Each tone plays for approximately 30 seconds.
- Quiet Periods: Short pauses allow the mic to reset.
Monitor the Feedback
While the calibration runs, the on‑screen display will show a waveform. Ensure that:
- The waveform stays within the green zone—no clipping (too loud) or noise floor (too quiet).
- If the waveform spikes, lower the microphone volume or move the mic closer to the soundbar.
- If the waveform is flat, increase the mic volume or move it farther away.
Complete the Calibration
Once all tones have played, the system will automatically calculate the optimal EQ settings. A confirmation screen will appear:
Calibration Complete
Adjusting settings...
If the screen remains stuck or shows an error, restart the process.
Troubleshooting Common Issues
Even with careful preparation, calibration can still run into problems. Below are common pitfalls and how to fix them.
1. Calibration Skips or Times Out
- Cause: Unplugged or disconnected microphone.
- Fix: Re‑check the mic cable or Bluetooth pairing. Ensure the mic input is selected in the settings.
2. “Signal Too Quiet” Error
- Cause: Mic too far from soundbar or too low gain.
- Fix: Move the mic closer to the speaker. Increase the mic volume setting on the soundbar.
3. “Signal Too Loud” Warning
- Cause: Mic too close or gain set too high.
- Fix: Move the mic slightly farther or reduce the mic gain. Make sure the soundbar volume is not at maximum during calibration.
4. No Response on Screen
- Cause: Software glitch or corrupted firmware.
- Fix: Power cycle the soundbar—turn it off, unplug for 30 seconds, then plug back in. If the problem persists, contact Vizio support for a firmware update.
5. Inconsistent Results After Calibration
- Cause: Changing the room layout (e.g., moving furniture).
- Fix: Re‑run the calibration after any major change. Alternatively, use the “Manual EQ” option to fine‑tune specific frequencies.
Fine‑Tuning and Final Checks
Calibration gives you a great starting point, but a few tweaks can further enhance the listening experience.
Use the “Sound Settings” Menu
After calibration, navigate to:
- “Settings” → “Sound.”
- Select “Audio Settings” → “Sound Modes.”
- Choose the mode that best suits your content (e.g., “Movie,” “Music,” “TV”).
- If needed, enable “Dynamic EQ” or “Bass Boost” for extra punch.
Check the Listening Position
Sit in the main seating spot and listen to a familiar movie clip or audio track. Pay attention to:
- Dialogue clarity: Should be crisp without echo.
- Bass impact: Should feel present but not overwhelming.
- High‑frequency detail: Should be clean, not tinny.
If you notice problems, go back to the “Room Calibration” menu and re‑run the process.
Verify Subwoofer Placement
The SB2950 integrates a dedicated subwoofer. Make sure it is:
- Centered: Aligned with the soundbar’s main drivers.
- At least 6 inches from walls to reduce room modes.
Re‑calibrate if you change subwoofer position.
Tips for Optimal Sound
Beyond calibration, here are additional recommendations to keep your sound system performing at its best.
1. Keep the Soundbar Firmware Updated
- Automatic updates: Enable automatic firmware updates in the settings.
- Manual check: Once a month, run “Check for Updates” to ensure you have the latest bug fixes.
2. Use the Correct Audio Format
- HDMI: Prefer 4K HDR+ audio (Dolby Atmos or DTS:X) for compatible content.
- Optical: Use when HDMI is unavailable; note that some advanced formats may not be supported.
3. Maintain a Clean Environment
Dust accumulation can affect speaker performance. Clean the soundbar’s grille with a soft brush and keep the room’s air quality good.
4. Experiment with “Room Acoustics” Settings
Some versions of the SB2950 offer a “Room Acoustics” toggle. If available:
- Enable: If you have soft furnishings and rugs.
- Disable: If your room is already acoustically treated.
Conclusion
The Vizio SB2950’s built‑in room‑acoustic calibration is a powerful tool that, when used properly, can elevate your audio experience from ordinary to exceptional. By preparing your space, following the guided calibration steps, troubleshooting any hiccups, and fine‑tuning afterwards, you can achieve a balanced, immersive soundstage that feels tailor‑made for your home theater.
Take the time to calibrate, listen critically, and adjust as needed. Your ears will thank you.
Discussion (7)
Join the Discussion
Your comment has been submitted for moderation.
Random Posts

Solving a Persistent Stain Release Issue on Whirlpool WFW5620HW
Tired of spots on your clothes? Discover how to diagnose and fix the stubborn stain release problem on your Whirlpool WFW5620HW with our step-by-step guide.
9 months ago

De'Longhi DL150 Steam Iron Water Recirculation Failure Solution
Trouble with your DeLonghi DL150 steam iron? Learn why water recirculation fails, diagnose the issue, and follow our simple step by step solution to restore steady steam and wrinkle free clothes.
3 months ago

Resolving Lenovo Mirage Solo Bluetooth Pairing Issues
Fix Lenovo Mirage Solo Bluetooth glitches fast with this step by step guide. From simple checks to firmware hacks, reconnect your headset, controllers, and peripherals in minutes.
2 months ago
Lenovo SmartEyewear X Eye Tracking Error Troubleshoot
Get your Lenovo SmartEyewear X eye tracking back with our step-by-step guide. Diagnose glitches, reset settings, and restore smooth gaze navigation quickly.
3 months ago

Calibrating Noise‑Cancellation on Beats Studio Buds
Master Beats Studio Buds ANC: learn the science, step, by, step calibration, and troubleshooting to silence distractions and boost your listening experience.
10 months ago
Latest Posts

Fixing the Eufy RoboVac 15C Battery Drain Post Firmware Update
Fix the Eufy RoboVac 15C battery drain after firmware update with our quick guide: understand the changes, identify the cause, and follow step by step fixes to restore full runtime.
5 days ago

Solve Reolink Argus 3 Battery Drain When Using PIR Motion Sensor
Learn why the Argus 3 battery drains fast with the PIR sensor on and follow simple steps to fix it, extend runtime, and keep your camera ready without sacrificing motion detection.
5 days ago

Resolving Sound Distortion on Beats Studio3 Wireless Headphones
Learn how to pinpoint and fix common distortion in Beats Studio3 headphones from source issues to Bluetooth glitches so you can enjoy clear audio again.
6 days ago