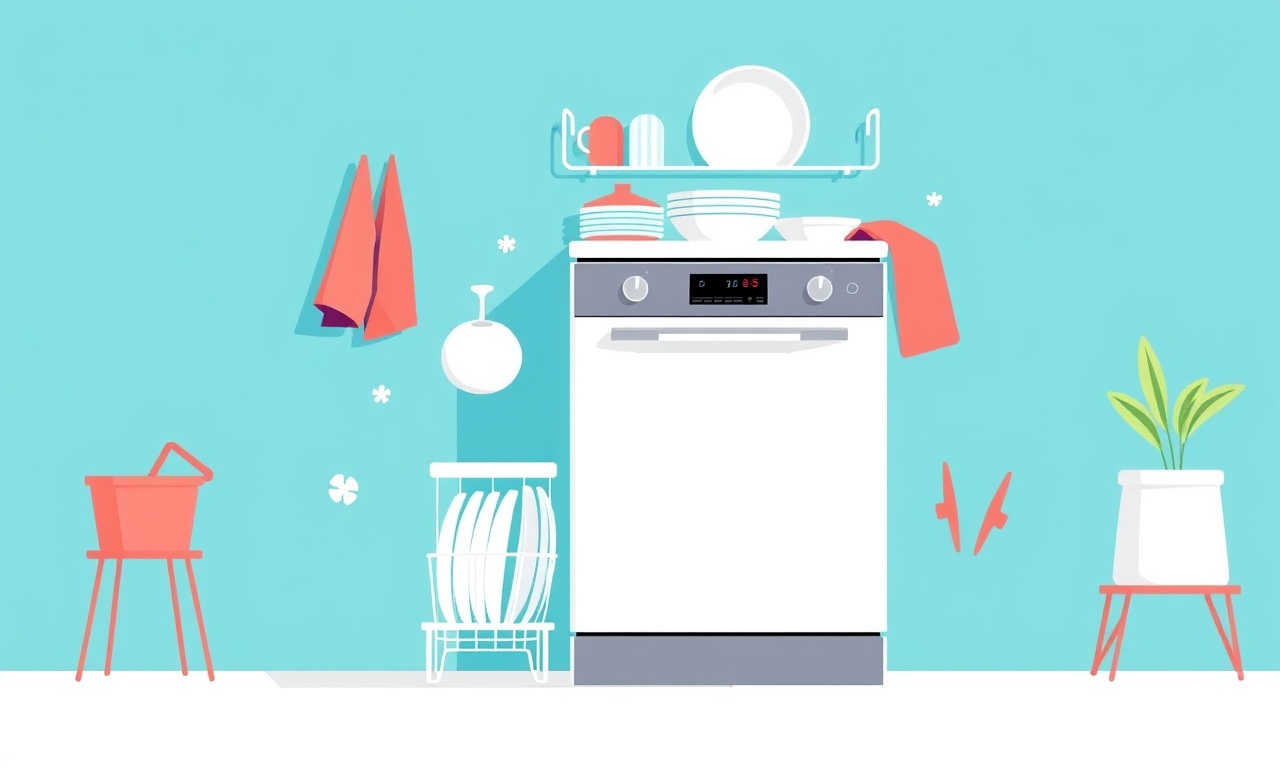
Restoring Wash Performance on a Whirlpool WDT7460DW Dishwasher
Restoring Wash Performance on a Whirlpool WDT7460DW Dishwasher
Dishwashers are the unsung heroes of modern kitchens. They promise clean dishes, sparkling silverware, and the comfort of not having to scrub every last plate. Yet, like any appliance that works with water, detergent, and heat, they can develop performance issues over time. If your Whirlpool WDT7460DW is no longer delivering the rinsing and drying you expect, you are not alone. Below is a comprehensive guide that walks you through diagnosing and restoring full wash performance. The instructions cover everything from simple visual checks to deeper mechanical troubleshooting, and they are written with the average homeowner in mind.
Symptoms of Degraded Wash Performance
Before you dive into repairs, it helps to be clear about what “poor performance” looks like in this particular model.
| Symptom | What It Means |
|---|---|
| Dishes still have a film or residue after the cycle | Usually a detergent or rinse aid problem |
| Water remains visible on plates after the rinse cycle | Indicates a rinse or drainage issue |
| No or weak splash from the jets | Suggests a clogged spray arm or pump failure |
| The dishwasher runs but does not finish all cycles | Could be a timer, control board, or door latch fault |
| Strange noises (grinding, clicking) during operation | May be a clogged filter, motor problem, or foreign object in the pump |
If any of these issues match what you’re seeing, read on. Many of them have straightforward solutions.
Preliminary Safety Checks
- Unplug the Unit – The first rule of appliance repair is to disconnect power. Even a momentary spark can cause injury or fire.
- Check the Door Latch – A faulty latch can prevent the dishwasher from fully engaging. Try opening the door at the end of a cycle; if it’s loose or does not lock, replace the latch seal or the latch assembly.
- Inspect the Water Supply – Ensure the cold water valve is fully open. A partially closed valve limits water flow and reduces wash strength.
- Verify the Drain Hose – Look for kinks, clogs, or disconnections. A bent hose can impede proper draining and reduce rinse quality.
If none of these simple steps resolve the issue, you’re ready to dig deeper.
Common Causes of Reduced Wash Performance
| Cause | How to Detect |
|---|---|
| Clogged Spray Arms | Visually inspect for food particles or mineral buildup. A nozzle that stops spraying indicates a blockage. |
| Dirty or Clogged Filters | Look under the bottom of the dishwasher. A gritty or blocked filter usually causes poor rinsing. |
| Low Detergent or Rinse Aid | Check detergent drawers and rinse aid containers. Empty levels often lead to visible residue. |
| Pump Failure | Listen for unusual sounds. A malfunctioning pump may produce a grinding or humming noise. |
| Faulty Motor | A motor that does not spin the spray arm or circulate water will reduce cleaning power. |
| Water Pressure Issues | Measure the inlet water pressure. Pressure below 20 psi can severely limit performance. |
With these categories in mind, the following sections detail step‑by‑step troubleshooting for each.
Step‑by‑Step Solutions
1. Clean the Spray Arms
- Remove the Lower Rack – Pull it out entirely to expose the spray arm.
- Detach the Spray Arm – Most Whirlpool models release with a simple twist. If it’s stubborn, use a flathead screwdriver to pry gently.
- Rinse Under Hot Water – Use a pipe cleaner or an old toothbrush to clear any obstructions from the holes.
- Reinstall – Place the arm back in position and rotate to ensure it turns freely.
If the spray arm still looks clogged after cleaning, replace it with a new one from a Whirlpool spare parts store or an authorized retailer.
2. Replace or Clean the Filters
- Locate the Filters – They are usually at the bottom of the dishwasher near the drain.
- Remove the Filter Assembly – Twist counterclockwise and lift.
- Scrape Away Debris – Use a brush or your fingers to remove visible food particles.
- Soak in Warm Soapy Water – Let it sit for 15 minutes, then rinse thoroughly.
- Re‑insert – Turn clockwise until it locks back into place.
Filters should be cleaned at least once a month if you run the dishwasher frequently.
3. Verify Detergent and Rinse Aid Levels
- Open the Detergent Drawer – Inspect the compartment for residue buildup.
- Refill with Fresh Detergent – Use a detergent recommended by Whirlpool for the WDT7460DW.
- Check the Rinse Aid – Empty the rinse aid bottle can cause water spotting. Replace it with a full bottle.
If you use a powder detergent, ensure it dissolves fully by using a rinse aid or a small amount of liquid detergent to help break down residue.
4. Test the Water Inlet Valve
- Locate the Valve – It’s typically attached to the back of the dishwasher near the water line.
- Use a Multimeter – Set it to continuity. Touch the probe tips to the valve terminals. No continuity indicates a faulty valve.
- Replace if Necessary – Swap with a new valve from a reputable source.
A failed inlet valve will limit the amount of water entering the machine, weakening the wash.
5. Inspect the Drain Pump
- Access the Pump – Remove the lower spray arm and filter, then lift the front panel of the dishwasher to expose the pump.
- Look for Obstructions – Check for food pieces or foreign objects.
- Spin the Pump Manually – It should turn easily. If it resists or makes a grinding noise, the impeller is likely jammed.
- Replace the Pump – Use a replacement pump that matches the model’s part number.
A clogged or damaged pump compromises both water circulation and drainage.
6. Check the Motor and Wiring
- Visual Inspection – Look for melted insulation or scorch marks on the motor housing and wiring.
- Motor Test – Using a multimeter on the motor terminals, check for continuity.
- Replace Motor if Needed – Motor failures usually require a full replacement, which may be best handled by a professional.
7. Examine the Door Latch and Switch
- Open the Door – Notice if the latch catches or if the door doesn’t fully close.
- Test the Switch – Use a multimeter to check for continuity across the latch switch.
- Replace Seals – If the latch seal is worn, replace it to ensure a proper seal.
- Install a New Switch – If continuity fails, replace the latch switch with a compatible part.
The door latch not only secures the door but also signals the dishwasher to start the cycle. A bad latch may result in a partial cycle.
8. Evaluate the Water Pressure
- Measure Pressure – Attach a pressure gauge to the water supply line.
- Check Results – Pressure below 20 psi indicates insufficient water flow.
- Address Plumbing Issues – If low, consult a plumber to adjust the home water system or add a booster pump.
Low pressure limits the wash system’s ability to deliver water through the spray arms at high velocity, which is crucial for effective cleaning.
Maintenance Tips to Keep Performance High
- Run a Cleaning Cycle Monthly – Many models offer a self‑clean feature. Run it with a dishwasher cleaner or a cup of white vinegar to remove mineral buildup.
- Use Rinse Aid Consistently – Spotting is a common problem; keeping the rinse aid full eliminates this.
- Avoid Overloading – Allow water to circulate freely; overcrowded racks hinder water flow.
- Clean the Filter Regularly – As a rule of thumb, check the filter after every 10 cycles or monthly if you have hard water.
- Inspect Spray Arms Every Three Months – A quick visual scan can catch clogs early.
By following these practices, you reduce the likelihood of encountering the same performance problems again.
When to Call a Professional
- Electrical Issues – If you suspect a problem with the control board or wiring and you are not comfortable working with electricity.
- Motor or Pump Replacement – These parts are typically difficult to install and require precise alignment.
- Water Supply or Plumbing Repairs – If the problem lies in the home plumbing, a licensed plumber should handle it.
- Severe Leak or Damage – Any sign of water leakage that you cannot locate or fix quickly should be addressed by a technician.
A certified Whirlpool service technician can also verify that any replacement parts are OEM and that the warranty, if applicable, remains intact.
Frequently Asked Questions
How long does a typical dishwasher cycle take on this model?
A standard wash cycle on the Whirlpool WDT7460DW usually lasts around 90 minutes. The exact duration varies with the selected option (Eco, Normal, or Rinse).
Is it safe to use any brand of detergent?
While the dishwasher works with many detergents, Whirlpool recommends using detergents that meet the “Whirlpool Certified” standard to guarantee optimal performance and avoid residue.
Can I use bleach to clean my dishwasher?
Bleach is not recommended. It can damage rubber seals and plastic components. Stick to dishwasher‑safe cleaning agents or vinegar.
What is the average lifespan of the WDT7460DW?
With proper maintenance, this model typically lasts 10–12 years. However, the actual lifespan can vary based on usage patterns and maintenance habits.
Final Thoughts
Restoring wash performance on the Whirlpool WDT7460DW is a manageable task if you follow a systematic approach. Start with the simplest checks—door latch, water supply, and rinse aid—then move to more involved steps like cleaning spray arms, filters, and testing mechanical components. Regular maintenance and mindful use can extend the life of the appliance and keep your dishes sparkling. If you encounter any uncertainties or more complex electrical problems, professional help is the safest route.
By keeping this guide handy, you’ll be well‑equipped to troubleshoot and restore the high‑level performance your Whirlpool dishwasher was designed to deliver. Happy cleaning!
Discussion (8)
Join the Discussion
Your comment has been submitted for moderation.
Random Posts

Rebooting Google Nest Hub (3rd Gen) to Resolve App Sync Glitches
Stuck with delayed notifications, unresponsive tiles, or stale smart, home data? A simple reboot of your Nest Hub 3rd Gen clears cache, resets processes, and restores smooth app sync.
3 months ago

Fixing Bluetooth Signal Drops on Apple AirPods Pro
Tired of AirPods Pro disconnecting during walks or workouts? Learn why Bluetooth drops happen, how to spot them, and quick fixes - no coding required - to keep audio flowing.
11 months ago

Fixing the Duplexer Failure on a Brother MFC‑J805DW
Learn how to diagnose and replace a faulty duplexer on your Brother MFC, J805DW, restoring double, sided printing with step, by, step instructions for tech, savvy users.
10 months ago

Solving Apple iPhone 13 Pro Camera Rolling Shutter With External Lens
Stop the slanted look from rolling shutter when adding external lenses to your iPhone 13 Pro by tweaking camera settings, choosing the right lens, and using proper stabilization.
9 months ago

Restoring Bandwidth on Amazon Eero Mesh 6 Pro After a Firmware Update
After an Eero Mesh 6 Pro firmware update, bandwidth often drops. This guide explains why the change occurs and walks you through quick steps to restore full speed and a stable connection for work and play.
8 months ago
Latest Posts

Fixing the Eufy RoboVac 15C Battery Drain Post Firmware Update
Fix the Eufy RoboVac 15C battery drain after firmware update with our quick guide: understand the changes, identify the cause, and follow step by step fixes to restore full runtime.
5 days ago

Solve Reolink Argus 3 Battery Drain When Using PIR Motion Sensor
Learn why the Argus 3 battery drains fast with the PIR sensor on and follow simple steps to fix it, extend runtime, and keep your camera ready without sacrificing motion detection.
5 days ago

Resolving Sound Distortion on Beats Studio3 Wireless Headphones
Learn how to pinpoint and fix common distortion in Beats Studio3 headphones from source issues to Bluetooth glitches so you can enjoy clear audio again.
6 days ago