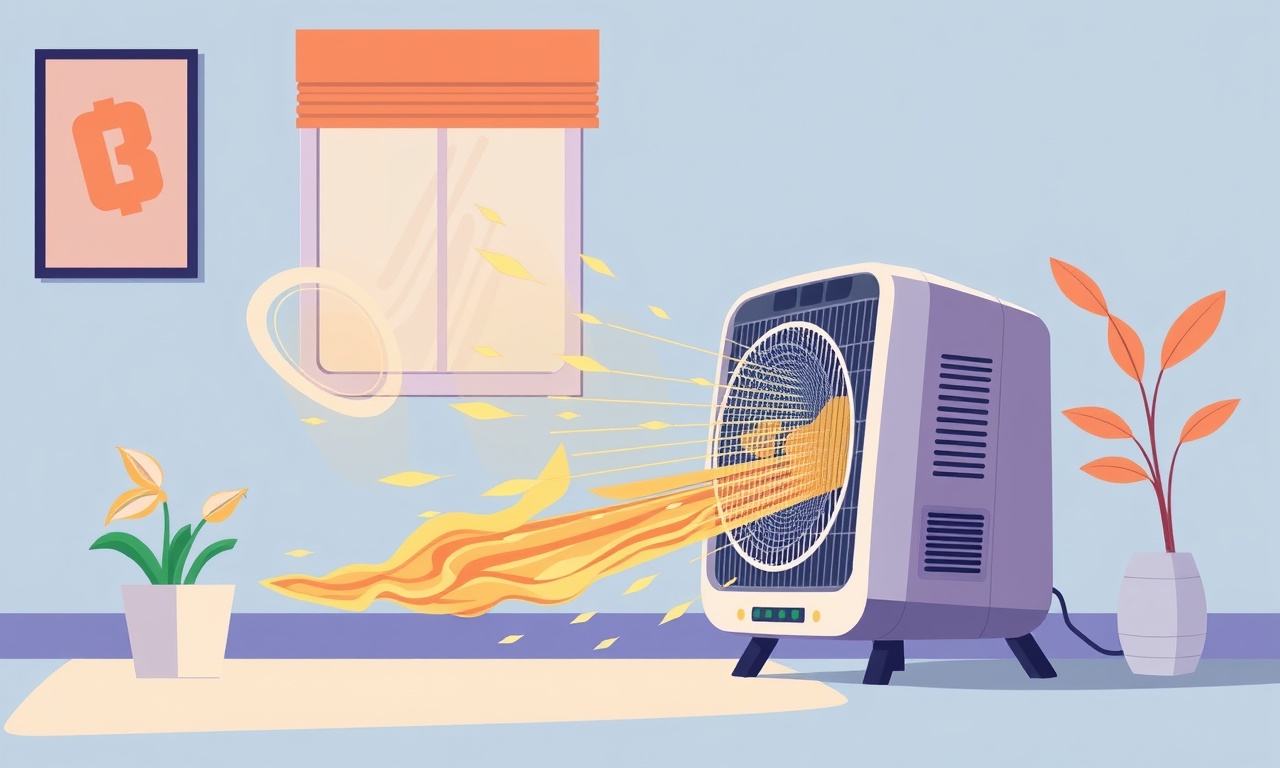
Reviving Faulty Fan Motor on the Panasonic HB-4000 Space Heater
The Panasonic HB‑4000 is a popular space heater that offers quick warmth and energy efficiency. Over time, the fan motor can become sluggish, squeaky or stop turning altogether. Rather than ordering a new unit, most users can revive the heater by troubleshooting and replacing the motor. This guide walks you through each stage of the repair, from diagnosis to final testing, and gives you the knowledge you need to keep the heater running smoothly for years.
Understanding the Fan Motor Problem
The fan motor is the heart of the heater’s airflow system. It pulls air through the heating element, distributing warm air across the room. A faulty motor can manifest in several ways:
- Reduced airflow: The heater feels hot, but the fan barely spins.
- No airflow: The fan is completely silent, and no air circulates.
- Unusual noises: A grinding, whining or rattling sound often points to worn bearings or a jammed shaft.
- Electrical issues: The heater may turn on but the fan never starts, indicating a short or a burned-out component.
Because the fan motor is located inside a sealed housing, you need to open the unit to inspect it. Even if the heater still works, it is worth checking the motor regularly for early signs of failure.
Safety First
Any electrical appliance repair carries risk. Before you start, follow these precautions:
- Disconnect the unit from power. Unplug the heater from the wall outlet and, if possible, remove the battery or fuse that powers the motor.
- Use insulated tools. This protects you from accidental shorts.
- Work in a dry, well‑ventilated area. Moisture and heat can create hazards.
- Check for overheating. If the heater feels hot to the touch, let it cool completely before proceeding.
If you are unsure about any step or uncomfortable with electrical work, seek assistance from a qualified technician.
Tools You Need
You won’t need a heavy toolbox to revive the motor. Gather these items first:
- Phillips head screwdriver
- Flat‑head screwdriver
- Needle‑point pliers
- Small Phillips head or flat‑head screwdriver set
- Multimeter (for continuity testing)
- Replacement fan motor compatible with the HB‑4000 (usually 12 V DC)
- Contact cleaner or compressed air can
- Clean, lint‑free cloths
Having the right tools ready saves time and reduces the risk of damage.
Disassembling the Heater
- Remove the outer shell. The HB‑4000’s housing is held together with a series of screws along the back and bottom. Use the Phillips screwdriver to loosen each screw and lift the shell carefully.
- Locate the fan motor. It sits just above the heating element, attached to the plastic fan blades.
- Note the wiring. The motor receives power from a small DC circuit. Carefully trace the wires to the connector or terminal block.
- Unplug the motor. If the motor is wired through a connector, detach it. If the wires are soldered, you will need to cut them with a pair of insulated wire cutters.
- Remove the motor from its housing. The motor is usually held by a single screw or a set of small screws. Once the screws are removed, lift the motor free.
At this point, you should have a clean view of the motor’s internal components and the fan blades. If the fan appears dusty or coated with lint, wipe it with a cloth. If the blades are warped, you may need to replace them.
Inspecting the Motor
When you open the motor, look for:
- Burn marks on the windings or insulation.
- Damaged brushes (if the motor is brushed).
- Loose or corroded connections.
- Bearing wear: A smooth, low‑friction bearing is essential for quiet operation.
If the motor shows visible damage, it is best to replace it entirely rather than attempt repairs.
Testing the Motor
Use a multimeter to check continuity across the motor terminals:
- Set the meter to resistance (Ω).
- Measure between the terminals. A healthy motor will show a resistance value typically between 1 Ω and 3 Ω, depending on the model.
- Look for an infinite reading (no continuity). This indicates a broken winding and means the motor must be replaced.
- Check for short circuits by measuring resistance between each terminal and the motor’s chassis. A low resistance reading indicates a short.
If the motor passes these tests, it may still be noisy or sluggish due to bearing wear or insufficient cleaning. If it fails, proceed with a replacement.
Cleaning the Motor
Even a functional motor can become noisy if dust builds up. To clean:
- Remove the motor’s cover. Many models have a small plastic cap that protects the windings.
- Use compressed air to blow out dust from the windings and bearings.
- Wipe the motor housing with a clean cloth to remove any accumulated grime.
- Check the bearings. If they are still loose or squeaking, lubricate them with a small amount of light machine oil, but only if the manufacturer’s instructions permit.
After cleaning, reassemble the motor cover and test it again by powering the heater briefly (with the safety precautions in place). If the motor runs quietly and at proper speed, you may be done.
Replacing the Motor
If cleaning does not resolve the issue, replace the motor. Follow these steps:
- Choose the correct replacement. The HB‑4000 uses a 12 V DC motor, typically rated at 35 W. Make sure the replacement motor matches the physical dimensions and terminal arrangement.
- Attach the new motor. Screw it into the motor housing just as the old one was.
- Reconnect the wiring. If you used a connector, plug it back in. If you cut the wires, solder them to the new motor terminals, then secure with electrical tape.
- Check alignment. The motor’s shaft should line up with the fan blades without obstruction.
After the motor is installed, close the housing and tighten all screws.
Reassembly
Reattach the outer shell of the heater. Make sure all screws are snug but not over‑tightened. Once the shell is back in place, check that the fan blades can spin freely by turning them manually. The blades should move without resistance or wobble.
Final Checks
With the heater back together, it’s time to test its performance:
- Plug the heater back into a grounded outlet.
- Turn on the heater using the control panel.
- Observe the fan. It should start smoothly, spin at the correct speed, and deliver a steady stream of warm air.
- Listen for noise. Any persistent whining or rattling indicates a mechanical problem that may need further inspection.
- Check for overheating. Feel the metal housing after a few minutes of operation. It should not become excessively hot.
If everything works as expected, you have successfully revived the fan motor. If the heater still misbehaves, double‑check your wiring connections, test the motor again, or consult the manufacturer’s service manual.
Common Mistakes to Avoid
- Forgetting to unplug the heater before opening it.
- Using excessive force to remove the motor, which can crack the plastic housing.
- Over‑tightening screws, which can strip threads or break the motor mount.
- Installing a motor with wrong polarity. Some motors require correct orientation of the wiring; reverse polarity can damage the motor or the heater’s control circuitry.
- Neglecting to check the fan blades for warping or misalignment after reassembly.
Preventive Maintenance
Keeping the heater in good shape reduces the chance of future motor problems:
- Clean the fan and housing monthly. Use a brush or vacuum to remove dust.
- Inspect the motor once a year. A quick visual check can catch early signs of wear.
- Replace worn brushes (if the motor uses them) after the manufacturer’s recommended cycle.
- Keep the heater in a dry area. Moisture accelerates electrical component failure.
By following these simple habits, you’ll extend the life of your Panasonic HB‑4000 and enjoy consistent, efficient heating.
Conclusion
A faulty fan motor does not have to mean the end of your Panasonic HB‑4000. With the right tools, a little patience, and a methodical approach, you can diagnose the problem, clean or replace the motor, and restore the heater to full functionality. This guide provides the step‑by‑step instructions to help you perform the repair safely and effectively. After you complete the procedure, your heater should deliver reliable warmth, and you will have gained valuable troubleshooting skills that apply to many household appliances.
Discussion (8)
Join the Discussion
Your comment has been submitted for moderation.
Random Posts

Addressing Apple iPhone 14 Pro Max Battery Drain During Gaming Sessions
Learn why iPhone 14 Pro Max batteries drain during gaming, how to diagnose the issue, and practical tweaks to keep you playing longer with less power loss.
5 months ago

Curing iPhone 14 Plus Charging Port Wear After Daily Fast Charge Cycles
Fast charging can loosen your iPhone 14 Plus port. Learn to spot slow charging and loose cables, then fix it with simple home tricks or long, term prevention.
6 months ago
Xiaomi Mi SmartGlasses 3 Eye Tracking Error Fix
Fix the eye, tracking issue on Mi SmartGlasses 3 with this step, by, step guide to diagnose, clear errors, and restore functionality without repair.
1 year ago

Overcoming Sony X900H Color Saturation Drift During HDR Playback
Discover how to spot and fix color saturation drift on your Sony X900H during HDR playback, tune settings, correct HDR metadata, and keep your scenes vivid and natural.
4 months ago

Remediating Signal Dropout on Bowers & Wilkins PX8 Noise Cancelling Headphones
Discover why the Bowers & Wilkins PX8 may drop sound and how to fix it by tackling interference, low battery, outdated firmware, obstacles and Bluetooth settings for uninterrupted audio
1 week ago
Latest Posts

Fixing the Eufy RoboVac 15C Battery Drain Post Firmware Update
Fix the Eufy RoboVac 15C battery drain after firmware update with our quick guide: understand the changes, identify the cause, and follow step by step fixes to restore full runtime.
5 days ago

Solve Reolink Argus 3 Battery Drain When Using PIR Motion Sensor
Learn why the Argus 3 battery drains fast with the PIR sensor on and follow simple steps to fix it, extend runtime, and keep your camera ready without sacrificing motion detection.
5 days ago

Resolving Sound Distortion on Beats Studio3 Wireless Headphones
Learn how to pinpoint and fix common distortion in Beats Studio3 headphones from source issues to Bluetooth glitches so you can enjoy clear audio again.
6 days ago