Samsung DWB45 Dryer Door Sensor Keeps Tripping Alerts
Understanding the Samsung DWB45 Dryer Door Sensor Alert
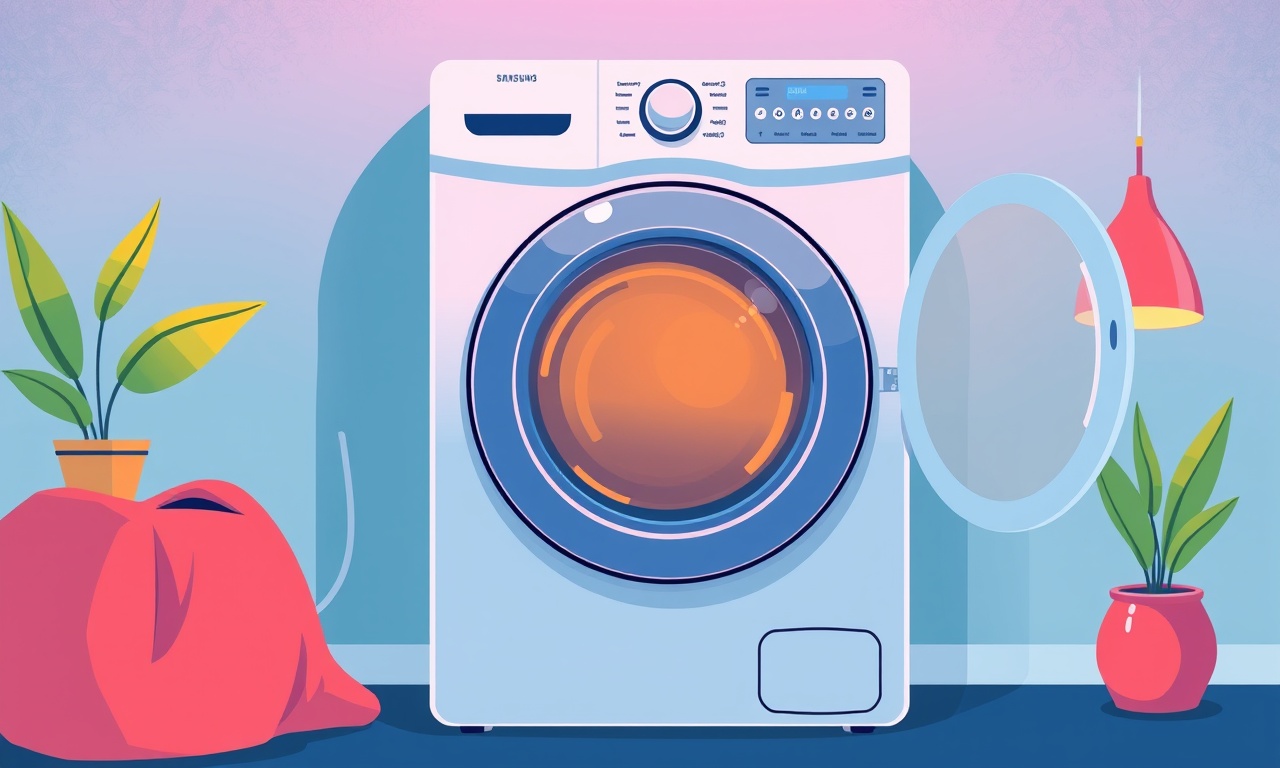
The Samsung DWB45 dryer is a popular choice for many households because of its efficient drying cycles and smart features. However, a recurring issue that has been reported by some users is the door sensor repeatedly tripping and generating alerts. When the sensor activates, the dryer will pause or shut off, displaying a warning message on the control panel. This interruption not only delays the drying process but can also lead to frustration and wasted time. In this article, we will dive deep into the reasons behind this malfunction, how to diagnose it, and the best steps to fix or prevent it from happening again.
What Is the Door Sensor and Why Does It Matter?
The door sensor is a safety mechanism that ensures the dryer door is fully closed before the appliance starts or continues to run. If the door is open or not properly latched, the dryer will refuse to operate to protect users from potential heat or fire hazards. When the sensor is triggered erroneously, the dryer will display an alert such as “Door Sensor Tripping” or “Please Check Door”. Understanding the sensor’s role is the first step to troubleshooting the problem.
Common Signs That the Door Sensor Is Acting Up
| Symptom | Possible Cause |
|---|---|
| The dryer stops mid‑cycle and displays a door sensor error | Misaligned door latch, debris blocking sensor, faulty sensor |
| The sensor alert appears even though the door is firmly closed | Sensor miscalibration, dirty or damaged sensor |
| The sensor repeatedly activates after each cycle | Wear and tear on the sensor components, a loose connection |
| The dryer will not start at all | Sensor is stuck in the “open” position due to a physical obstruction |
If you notice any of these signs, it’s time to dig deeper.
How the Door Sensor Works in the Samsung DWB45
The Samsung DWB45 dryer’s door sensor is typically a magnetic reed switch located near the door frame. The door latch contains a magnet that aligns with the sensor when the door is fully closed. When the magnet is aligned, the sensor completes an electrical circuit, signaling the dryer’s control board that it is safe to run. If the magnet is out of alignment, the circuit remains open, and the dryer stops or refuses to start.
Because the sensor relies on a simple magnetic field, it can be affected by several external factors:
- Physical misalignment – The door latch or frame can shift over time, especially if the dryer is moved or subjected to vibrations.
- Foreign objects – Small metal items or lint can obstruct the magnetic path.
- Electrical noise – Power fluctuations or faulty wiring may interfere with the sensor’s signal.
- Wear and tear – The reed switch’s contacts can degrade, leading to intermittent readings.
Step‑by‑Step Troubleshooting Guide
Below is a systematic approach to diagnosing and fixing a constantly tripping door sensor on the Samsung DWB45. Follow each step carefully; skipping steps may lead to incomplete resolution.
1. Verify the Door Is Fully Closed
The simplest check is to ensure the door is latched properly. Open the door, check for any visible obstructions, and close it firmly. Listen for the click of the latch. If the click is missing, the latch may be broken or misaligned.
2. Inspect the Door Latch and Frame
- Check for damage: Look for cracks, bent parts, or warped metal in the latch or frame.
- Ensure alignment: The latch should sit flush against the frame. If it is slightly offset, it may fail to trigger the sensor.
- Clean the area: Remove lint or debris that could block the latch or the sensor’s magnetic path.
3. Locate the Door Sensor
On the DWB45, the door sensor is usually found on the interior of the dryer near the door. Refer to the user manual for exact placement. Once located, examine it for:
- Physical damage: Broken or cracked sensor housing.
- Foreign objects: Lint, small screws, or metal pieces lodged inside.
- Moisture: Any water intrusion could affect the sensor’s performance.
4. Test the Sensor’s Electrical Function
Tools required: A multimeter or a simple continuity tester.
- Unplug the dryer for safety before working on any electrical components.
- Disconnect the sensor’s wires from the control board. Keep track of the connection order; use labels if necessary.
- Set the multimeter to continuity mode. Touch the probes to the sensor terminals.
- Apply a magnet (e.g., a strong magnetic screwdriver) close to the sensor. A functioning sensor should produce a beep or a low resistance reading when the magnet is near.
- Remove the magnet and observe the change. The sensor should return to a high resistance or no beep state.
If the sensor fails to react to the magnet, it is likely defective and needs replacement.
5. Clean or Replace the Magnetic Latch
Even if the sensor works, a dirty or misaligned latch can still cause problems. Clean the latch with a mild detergent and a cloth. If the latch is corroded or broken, replace it with a compatible part from Samsung or a reputable appliance parts supplier.
6. Examine the Wiring and Connections
Loose or frayed wires can create intermittent signals. Check the following:
- Connection points: Ensure all wires are seated firmly in their sockets on the control board and the sensor.
- Cable integrity: Inspect for cuts, abrasions, or fraying.
- Connector pins: Look for bent or broken pins that may prevent a good electrical contact.
If you find any damaged wiring, replace the cable with an OEM (original equipment manufacturer) part.
7. Reset the Dryer
After completing the above steps, reset the dryer:
- Plug the dryer back in.
- Turn the power switch on and press the “Power” button on the control panel.
- Select a quick dry cycle and observe if the sensor alert still appears.
A successful reset indicates the issue has been resolved. If the alert persists, move to the next step.
8. Check for Software/Firmware Issues
Modern Samsung dryers run on a microcontroller that interprets sensor inputs. Occasionally, a software glitch can misread the sensor. To address this:
- Enter the service menu by following the instructions in the user manual (often involves pressing a specific button combination).
- Perform a software update if one is available. Check Samsung’s official website or contact customer support for instructions.
- Reset the control board: Some models allow a soft reset by holding the power button for a specific duration.
If you are uncomfortable performing firmware updates, skip this step and proceed to professional service.
When the Sensor Is Stubbornly Faulty
Sometimes, despite all efforts, the door sensor may still trigger incorrectly. At this point, consider the following options:
1. Replace the Door Sensor
Purchase a genuine Samsung DWB45 door sensor or a compatible third‑party part. The replacement process typically involves:
- Disconnecting the old sensor from the control board.
- Removing the old sensor from the dryer’s interior housing.
- Installing the new sensor in the exact spot.
- Reconnecting all wiring.
If you are unsure, refer to a service manual or watch a tutorial video specific to the DWB45.
2. Upgrade to a New Dryer
If your dryer is older than five to seven years, frequent sensor problems may indicate overall wear. Upgrading to a newer model can provide better reliability, newer safety features, and more energy efficiency.
3. Contact Samsung Support
If your dryer is still under warranty or you have a maintenance plan, call Samsung customer support. They can dispatch a technician to inspect the unit, replace faulty parts, and ensure everything is functioning correctly.
Preventive Measures to Avoid Future Sensor Alerts
Even after fixing the sensor issue, adopting preventive practices can keep your dryer running smoothly.
- Regular cleaning: Every month, remove lint from the lint filter, dryer vent, and the area around the door latch.
- Inspect door alignment: Every few months, check that the door latches properly. Tighten any loose screws or fasteners.
- Avoid overloading: Overloaded dryers put extra strain on the door latch and the sensor.
- Check the dryer’s environment: Keep the dryer on a level surface. Excess vibration can shift the door latch over time.
- Keep liquids away: Spills near the door area can seep into the latch or sensor housing.
By staying proactive, you reduce the likelihood of sensor-related interruptions.
Frequently Asked Questions
| Question | Answer |
|---|---|
| Can I ignore the door sensor alert? | No. Ignoring it can lead to safety hazards and potential damage to the dryer’s components. |
| Is the door sensor the same as the door lock? | The sensor detects if the door is closed; the lock physically secures the door. They work together but are distinct components. |
| Will a door sensor replacement be covered under warranty? | If your dryer is still under warranty and the issue is due to a manufacturing defect, it may be covered. Check the terms of your warranty. |
| How long does it take to replace a door sensor? | Typically 15–30 minutes for a skilled technician. DIY replacement can take similar time if you have the right tools. |
| Can a dirty vent cause door sensor alerts? | Not directly. However, a clogged vent can cause overheating, which may trigger other safety sensors. |
Conclusion
A constantly tripping door sensor on the Samsung DWB45 dryer can be frustrating, but it is usually a solvable issue. By understanding how the sensor works, inspecting the latch and sensor, testing electrical continuity, and cleaning or replacing faulty parts, you can restore reliable operation to your dryer. If the problem persists after thorough troubleshooting, consider professional service or a replacement unit. Maintaining regular cleaning habits and monitoring the dryer’s mechanical and electrical components will help keep your appliance safe and efficient for years to come.
Discussion (10)
Join the Discussion
Your comment has been submitted for moderation.
Random Posts

Analyzing iPhone 13 Pro Max Apple Pay Transaction Declines After Software Update
After the latest iOS update, iPhone 13 Pro Max users see more Apple Pay declines. This guide explains the technical cause, how to diagnose the issue, and steps to fix payment reliability.
2 months ago

Dyson AM15 Mist Not Spreading What Causes It And How To Repair
Find out why your Dyson AM15 Mist isn’t misting, learn the common causes, and follow our step, by, step guide to restore full misting performance quickly.
2 months ago

Adjusting the Neato Botvac D6 for Unexpected Cleaning Pause
Learn why your Neato Botvac D6 pauses, diagnose the issue, and tweak settings for smooth, uninterrupted cleaning.
11 months ago

Quelling LG OLED G1 Picture Loop at Startup
Stop the LG OLED G1 picture loop that stutters at startup, follow these clear steps to diagnose software glitches, adjust settings, and restore a smooth launch every time.
4 months ago

Resolving Room Acoustics Calibration on Samsung HW Q990T
Calibrate your Samsung HW, Q990T to your room's acoustics and unlock true cinema-quality sound, every dialogue and subtle score becomes crystal clear.
1 month ago
Latest Posts

Fixing the Eufy RoboVac 15C Battery Drain Post Firmware Update
Fix the Eufy RoboVac 15C battery drain after firmware update with our quick guide: understand the changes, identify the cause, and follow step by step fixes to restore full runtime.
5 days ago

Solve Reolink Argus 3 Battery Drain When Using PIR Motion Sensor
Learn why the Argus 3 battery drains fast with the PIR sensor on and follow simple steps to fix it, extend runtime, and keep your camera ready without sacrificing motion detection.
5 days ago

Resolving Sound Distortion on Beats Studio3 Wireless Headphones
Learn how to pinpoint and fix common distortion in Beats Studio3 headphones from source issues to Bluetooth glitches so you can enjoy clear audio again.
6 days ago