Sharp 3000 Steam Iron Noisy Water Dispenser Problem Fix
Sharp 3000 Steam Iron – Noisy Water Dispenser Problem Fix
When the water dispenser on your Sharp 3000 steam iron starts to make a clattering, hissing, or rattling sound, it can be frustrating and even alarming. A noisy dispenser may indicate a simple blockage, a worn‑out component, or an issue that requires professional attention. This guide walks you through every step you can take to diagnose, troubleshoot, and fix the problem safely and effectively.
Understanding the Issue
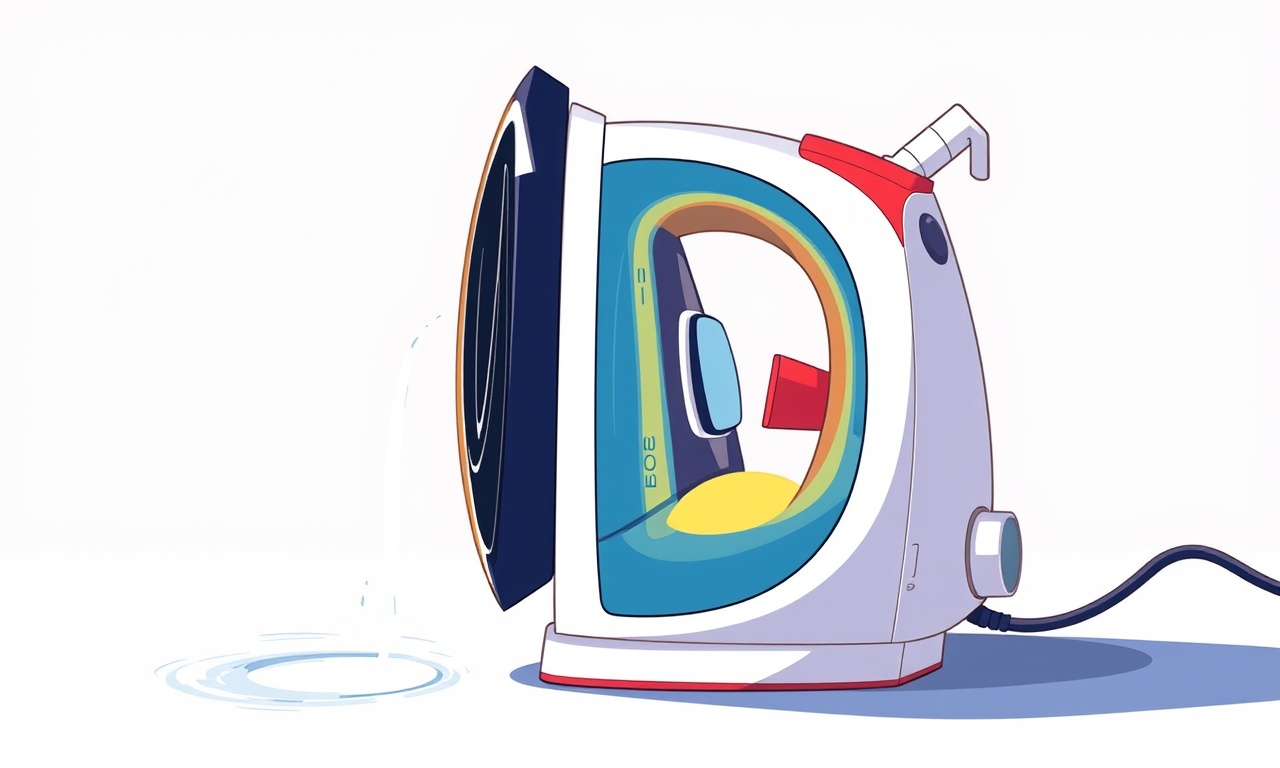
The water dispenser on a steam iron is the part that delivers hot water into the steam chamber. In a Sharp 3000 model, it consists of a water reservoir, a valve, a heating element, and a small nozzle. When the system functions normally, the water flows smoothly and quietly. A noise can be caused by:
- Air trapped inside the water line
- Sediment or mineral buildup obstructing the flow
- A damaged or loose valve seal
- Excessive pressure from the heating element
- A misaligned or warped nozzle
Before you begin, remember that a steam iron contains a heating element that can reach temperatures above 300 °F (150 °C). Always exercise caution to avoid burns or electric shock.
Safety Precautions
-
Unplug the Iron
Disconnect the appliance from the wall outlet before performing any inspection or cleaning. -
Allow the Iron to Cool
Wait until the iron has reached room temperature. Hot water can still be present in the reservoir, and the heating element may retain heat for several minutes after unplugging. -
Use Proper Tools
For cleaning, a soft cloth, a mild detergent, and a plastic brush are sufficient. Avoid metal scrapers that could damage internal components. -
Check for Water Residue
Once the iron has cooled, inspect the reservoir for any remaining water. If you suspect leaks, do not use the iron until the issue is resolved. -
Ventilate the Area
If you use a mild detergent or cleaning solution, ensure adequate ventilation to avoid inhalation of fumes.
Common Causes of Noise
Air Bubbles
When air enters the water line, it can escape through the nozzle as bubbles, creating a hissing or clattering sound. Air may enter due to a faulty valve or a simple leak in the seal.
Mineral Buildup
Hard water can leave calcium and magnesium deposits inside the dispenser and nozzle. Over time, these deposits restrict flow and create turbulence, which produces noise.
Loose or Worn Seals
The valve that controls water flow relies on rubber or silicone seals. When these seals deteriorate, the valve may move slightly during operation, leading to rattling.
Misaligned Nozzle
If the nozzle is bent or has become misaligned, the hot water can strike the interior walls unevenly, causing a metallic clang.
Heating Element Issues
If the heating element inside the dispenser overheats or has a fault, it may expand and push against the surrounding housing, resulting in a squeaking or banging noise.
Step‑by‑Step Fix
1. Inspect the Reservoir and Nozzle
-
Open the Reservoir
Remove the lid and carefully tilt the iron so the water reservoir faces up. Inspect the inner walls for any visible deposits or debris. -
Check the Nozzle
Look for cracks, dents, or misalignment. Use a flashlight if necessary to see small imperfections.
2. Clean the Water Pathway
-
Prepare a Vinegar Solution
Mix equal parts distilled water and white vinegar in a bowl. -
Pour Into the Reservoir
Fill the reservoir with the solution, making sure to cover all interior surfaces. -
Let Sit
Allow the mixture to sit for 30 minutes to dissolve mineral deposits. -
Flush with Clean Water
Empty the reservoir, then refill it with fresh distilled water. Repeat until the water runs clear. -
Dry the Components
Use a lint‑free cloth to wipe the reservoir and nozzle, removing any remaining liquid.
3. Examine and Replace Seals
-
Access the Valve
Depending on the design, you may need to unscrew the upper part of the iron to reach the valve assembly. -
Remove Old Seals
Use a flathead screwdriver or a plastic pry tool to carefully pry out the worn seals. Take note of their orientation for reassembly. -
Install New Seals
Place new silicone or rubber seals in the exact position. Press gently to ensure a tight fit. -
Reassemble
Reinstall the valve assembly and tighten any screws securely.
4. Tighten or Adjust the Nozzle
-
Locate the Nozzle Mount
Identify the screw or clip that holds the nozzle in place. -
Adjust Alignment
Rotate the nozzle slightly to center it. If it’s bent, use a pair of needle‑nose pliers to straighten it gently. -
Secure
Tighten the mounting screw to lock the nozzle in place. Avoid overtightening, which can crack the plastic.
5. Test for Noise
-
Refill the Reservoir
Add clean water up to the recommended level. -
Plug In
Connect the iron to a grounded outlet. -
Turn on
Power the iron on and observe the water dispenser for the first few cycles. Look for any remaining hissing, rattling, or banging. -
Adjust if Needed
If noise persists, repeat the cleaning steps or check for hidden blockages.
6. Replace the Heating Element (If Necessary)
If after all cleaning and seal replacement the noise is still audible, the heating element may be damaged.
-
Consult the Manual
Locate the heating element’s serial number and part number in the user guide. -
Order Replacement
Purchase the correct part from an authorized Sharp parts supplier. -
Install
Follow the manufacturer’s instructions for removing the old element and installing the new one. This step often requires unscrewing the iron’s main housing and disconnecting the power cable. -
Safety Check
After installation, verify all connections are secure and that there are no exposed wires.
Preventive Maintenance
Regular upkeep can prevent many of the issues that cause a noisy water dispenser.
-
Use Distilled Water – Hard tap water is a primary cause of mineral buildup. Distilled or de‑mineralized water reduces scale formation.
-
Descale Periodically – Every 3–6 months, perform the vinegar descaling routine described above.
-
Check for Leaks – Inspect the reservoir lid and valve after each use. Tighten any loose screws.
-
Avoid Overfilling – Never exceed the maximum fill line. Excess water can cause spillage and increase pressure inside the dispenser.
-
Store Properly – Keep the iron in a dry place with the lid open slightly to prevent condensation buildup.
Troubleshooting Quick Guide
- Clanging Sound – Likely a loose nozzle or valve. Tighten the nozzle or replace seals.
- Hissing or Bubbling – Air trapped in the line. Flush with clean water and ensure no leaks.
- Persistent Noise After Cleaning – Check the heating element or consider professional service.
- Water Not Dispenser – Inspect for blockages, check the valve’s operation, and ensure the reservoir is properly seated.
When to Call a Professional
-
Electrical Issues – If you notice sparks, scorch marks, or unusual smells, discontinue use immediately and contact a certified appliance repair technician.
-
Severe Damage – Cracked housing, broken heating element, or exposed wiring requires professional expertise.
-
Warranty Claims – If the iron is still under warranty, contact Sharp customer service for a repair or replacement.
-
Uncertainty – If any step feels beyond your comfort level, seek professional assistance. Attempting complex repairs on your own may void warranties and pose safety risks.
Final Thoughts
A noisy water dispenser on a Sharp 3000 steam iron does not have to be a permanent problem. With a systematic approach—inspecting for blockages, cleaning mineral deposits, replacing worn seals, and ensuring proper alignment—you can restore quiet operation and prolong the life of your appliance. Regular preventive maintenance, especially using distilled water and periodic descaling, will keep your iron running smoothly for years.
By following the steps outlined above, you’ll be able to diagnose the root cause, perform effective repairs, and enjoy a quiet, efficient ironing experience.
Discussion (10)
Join the Discussion
Your comment has been submitted for moderation.
Random Posts

Reassessing the Audio Jack Dropout on LG Velvet 2
Explore why the LG Velvet 2's 3.5mm jack glitches, what triggers audio dropouts, user fixes, and LG's stance: essential insight for current and future Android phones.
1 year ago

Philips HP700 Fan Stalls Quietly Even At Low Speed Why This Happens And What To Do
Discover why your Philips HP700 quietly stalls at low speed, spot early signs, and fix the issue to keep steady airflow.
2 weeks ago

How to Stop Sharp LC-40M from Producing Audio Sync Issues While Gaming
Fix your Sharp LC-40M so game audio stays in sync. Learn quick settings tweaks, cable checks, and audio-output fixes that keep sound matching action for a flawless gaming experience.
6 months ago

Solve Arlo Pro 4 Wireless Connection Problems
Discover quick fixes for offline Arlo Pro 4 cameras. Check power, Wi, Fi, firmware, reset steps, and more get your live feed back up fast.
4 months ago

Panasonic D45 Dryer Timer Skips Final Drying Cycle
Discover why your Panasonic D45 dryer skips its final cycle, learn the symptoms, root causes, and easy fixes to keep clothes dry, save energy, and avoid extra runs.
5 months ago
Latest Posts

Fixing the Eufy RoboVac 15C Battery Drain Post Firmware Update
Fix the Eufy RoboVac 15C battery drain after firmware update with our quick guide: understand the changes, identify the cause, and follow step by step fixes to restore full runtime.
5 days ago

Solve Reolink Argus 3 Battery Drain When Using PIR Motion Sensor
Learn why the Argus 3 battery drains fast with the PIR sensor on and follow simple steps to fix it, extend runtime, and keep your camera ready without sacrificing motion detection.
5 days ago

Resolving Sound Distortion on Beats Studio3 Wireless Headphones
Learn how to pinpoint and fix common distortion in Beats Studio3 headphones from source issues to Bluetooth glitches so you can enjoy clear audio again.
6 days ago