Solving the Miele Blizzard CX1 Vacuum Stuck in Door
Understanding the Problem
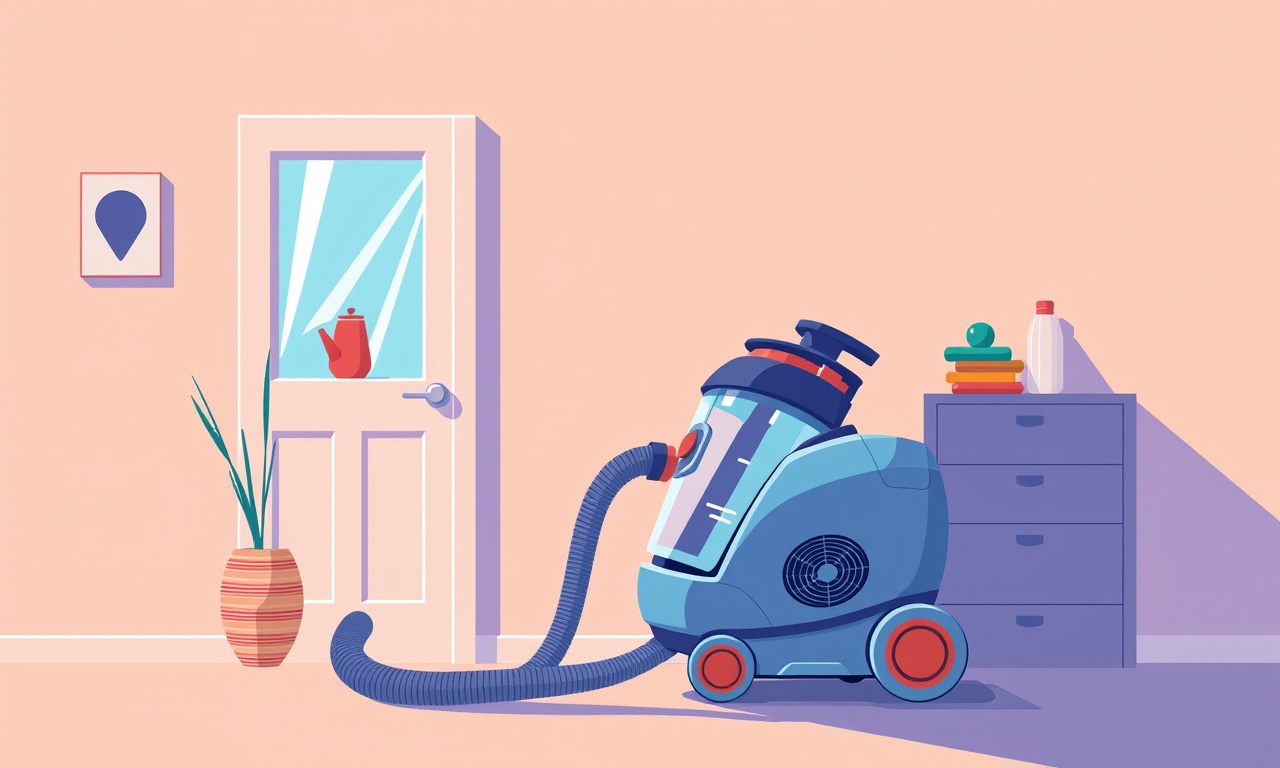
A Miele Blizzard CX1 robot vacuum is designed to glide effortlessly across floors, avoiding obstacles and walls by using its sensor array and built‑in navigation algorithms. Occasionally, however, users find that the robot is stuck on the door jamb, refusing to move or return to the charging dock. When this happens it can be frustrating, especially if the vacuum has just finished a deep clean and you are ready to relax.
The first thing to know is that a vacuum getting stuck on a door is usually caused by one of a handful of common issues:
- A low‑friction door seal that creates a temporary “trap”
- A misaligned charging dock or docking station
- A sensor that is blocked or damaged
- An accumulation of debris or pet hair in the wheel or brush area
- A software glitch that misinterprets the door as an obstacle
Below is a comprehensive guide that explains each of these scenarios, shows you how to safely diagnose and fix the problem, and offers tips to keep the Blizzard CX1 from getting stuck again.
Safety First
Before you attempt any repair or troubleshooting, follow these safety precautions:
- Turn off the unit: If the vacuum is still running, press and hold the power button until the indicator lights turn off.
- Unplug the charging dock: Disconnect the dock from the mains power to avoid accidental re‑activation.
- Use a soft brush or vacuum attachment: Do not use sharp tools that could damage the robot’s delicate components.
- Avoid touching moving parts while the robot is powered on or while the dock is re‑plugged in.
- Keep liquids away: The robot is not waterproof. Any liquid can short‑circuit electronics.
Inspecting the Door and Its Surroundings
The most common culprit is the interaction between the door and the robot’s wheels. A tight door seal, especially on modern “soft‑close” or “weather‑strip” doors, can hold the vacuum in place.
Step 1 – Check the Door Seal
- Look for rubber or foam strips around the edges.
- If the strip is very tight or slightly warped, it may be pulling the robot against the frame.
- Gently widen the gap with a flathead screwdriver or a wooden pry bar.
- Test the vacuum again. It should be able to move past the door without resistance.
Step 2 – Look for Obstructions
- Small objects, like a stray toy or a piece of string, can get caught between the robot’s wheels and the door jamb.
- Remove any debris with a pair of tweezers or a small brush.
- Inspect the door frame for nail heads or protrusions that could snag the wheels.
Checking the Docking Station
A misaligned dock can send the robot back to a spot it cannot clear. This is especially true if the dock’s charging contacts are not making proper contact because of a warped base or dust accumulation.
Step 3 – Realign the Dock
- Place the docking station on a flat, level surface.
- Ensure that the floor is clean and free of hair or lint.
- Adjust the dock so that the robot can approach it from any angle.
- Re‑plug the dock into a power outlet and let it re‑pair with the vacuum.
If the robot still cannot get past the door, proceed to the next section.
Cleaning the Wheels and Brush Assembly
The Blizzard CX1 uses two small rubber wheels and a rotating brush to navigate. If these components become clogged, the vacuum can lose traction and stall against a door.
Step 4 – Remove the Wheel Cover
- Turn the robot over and locate the wheel covers.
- Gently lift the cover by gripping the tab.
- Use a small brush or a cotton swab to remove any hair or debris that has accumulated around the wheel hub.
- Re‑attach the cover securely.
Step 5 – Clean the Brush and Brush Guard
- Unscrew the brush guard.
- Remove the brush, which is typically a silicone‑rubber roll.
- Wash it with warm soapy water and a soft brush. Let it dry completely before re‑installing.
- Inspect the brush guard for cracks or missing parts that could affect traction.
Checking the Sensor Array
The Miele Blizzard CX1 is equipped with optical sensors that detect edges, obstacles, and the charging dock. A sensor that is dirty or partially covered can misinterpret a door as an obstacle.
Step 6 – Clean the Sensors
- Locate the sensor pads on the underside of the robot.
- Use a microfiber cloth lightly dampened with water to wipe each sensor.
- Avoid using harsh chemicals or abrasive materials.
- Check for scratches or dents; if any are present, contact Miele support.
Step 7 – Verify the Sensor Alignment
- Place the vacuum on a flat surface and let it roam.
- Observe the sensor lines (if visible) to ensure they are straight.
- If a sensor appears misaligned, carefully adjust its position by sliding it into the correct slot.
Software Reset and Firmware Update
Sometimes the issue is purely software‑related. A minor glitch in the navigation algorithm can cause the robot to freeze at a door.
Step 8 – Perform a Soft Reset
- Place the vacuum on the charging dock.
- Wait until the robot completes its charging cycle.
- Remove the robot from the dock and allow it to power down automatically.
- Press and hold the “start/stop” button for five seconds to initiate a reset.
Step 9 – Update the Firmware
- Connect the robot to the Miele Home app on your smartphone or tablet.
- Check for any available firmware updates.
- If an update is present, follow the on‑screen instructions to install it.
- After the update, re‑run a test clean to confirm the issue is resolved.
Re‑testing the Vacuum
Once you have completed all of the above steps, it is essential to test the robot in an environment that simulates real use.
- Place a door in the robot’s path.
- Watch how the vacuum approaches and passes the door.
- Ensure that the robot does not stop or reverse unexpectedly.
- If the robot still struggles, consider repeating the cleaning steps or contacting Miele support for deeper diagnostics.
Preventing Future Stuck Situations
Even after you have fixed the problem, certain habits can reduce the likelihood of recurrence.
Keep Door Seals in Good Condition
- Periodically inspect the door seals for wear.
- Replace any that are cracked, warped, or overly tight.
Maintain a Clean Environment
- Sweep or vacuum hair and debris from floors and door jambs at least twice a week.
- Use a lint roller on upholstery and curtains to reduce the amount of hair that can accumulate.
Schedule Regular Firmware Checks
- Enable automatic firmware updates in the Miele Home app.
- Miele frequently releases patches that improve navigation and obstacle detection.
Use a Robot‑Friendly Door Design
- If possible, install a door with a slightly wider frame or a softer seal.
- Consider adding a small door mat to reduce friction against the robot’s wheels.
Frequently Asked Questions
What if the vacuum keeps getting stuck on a different door?
Repeat the steps for each door. Different doors can have unique seal materials or shapes that interact differently with the robot.
Should I replace the entire vacuum if it frequently gets stuck?
If the vacuum consistently fails to clear doors after thorough cleaning, the issue may be deeper in the navigation hardware. Contact Miele customer support for a professional inspection.
Is it safe to use a vacuum cleaner or broom to remove hair from the robot’s wheels?
No. Use a small brush or cotton swab. Large cleaning tools can damage the wheels or sensor array.
Can I disable the door detection feature?
The Blizzard CX1’s door detection is built into its navigation system and cannot be turned off. It is designed to protect the robot from falling off edges.
Final Thoughts
A Miele Blizzard CX1 stuck on a door can often be traced back to a simple cause—tight seals, dust on sensors, or misaligned docking. By carefully inspecting the door, cleaning the wheels and sensors, and ensuring the firmware is up to date, most users can restore their robot’s smooth navigation. The key is patience and a systematic approach. Once the robot is free, maintaining a clean environment and keeping the firmware current will keep future mishaps at bay.
Happy cleaning!
Discussion (10)
Join the Discussion
Your comment has been submitted for moderation.
Random Posts

Rebooting Google Nest Hub (3rd Gen) to Resolve App Sync Glitches
Stuck with delayed notifications, unresponsive tiles, or stale smart, home data? A simple reboot of your Nest Hub 3rd Gen clears cache, resets processes, and restores smooth app sync.
3 months ago

Fixing Bluetooth Signal Drops on Apple AirPods Pro
Tired of AirPods Pro disconnecting during walks or workouts? Learn why Bluetooth drops happen, how to spot them, and quick fixes - no coding required - to keep audio flowing.
11 months ago

Fixing the Duplexer Failure on a Brother MFC‑J805DW
Learn how to diagnose and replace a faulty duplexer on your Brother MFC, J805DW, restoring double, sided printing with step, by, step instructions for tech, savvy users.
10 months ago

Solving Apple iPhone 13 Pro Camera Rolling Shutter With External Lens
Stop the slanted look from rolling shutter when adding external lenses to your iPhone 13 Pro by tweaking camera settings, choosing the right lens, and using proper stabilization.
9 months ago

Restoring Bandwidth on Amazon Eero Mesh 6 Pro After a Firmware Update
After an Eero Mesh 6 Pro firmware update, bandwidth often drops. This guide explains why the change occurs and walks you through quick steps to restore full speed and a stable connection for work and play.
8 months ago
Latest Posts

Fixing the Eufy RoboVac 15C Battery Drain Post Firmware Update
Fix the Eufy RoboVac 15C battery drain after firmware update with our quick guide: understand the changes, identify the cause, and follow step by step fixes to restore full runtime.
5 days ago

Solve Reolink Argus 3 Battery Drain When Using PIR Motion Sensor
Learn why the Argus 3 battery drains fast with the PIR sensor on and follow simple steps to fix it, extend runtime, and keep your camera ready without sacrificing motion detection.
5 days ago

Resolving Sound Distortion on Beats Studio3 Wireless Headphones
Learn how to pinpoint and fix common distortion in Beats Studio3 headphones from source issues to Bluetooth glitches so you can enjoy clear audio again.
6 days ago