Solving the No Steam Output Problem on Dupray Neat Steam Cleaner
Introduction
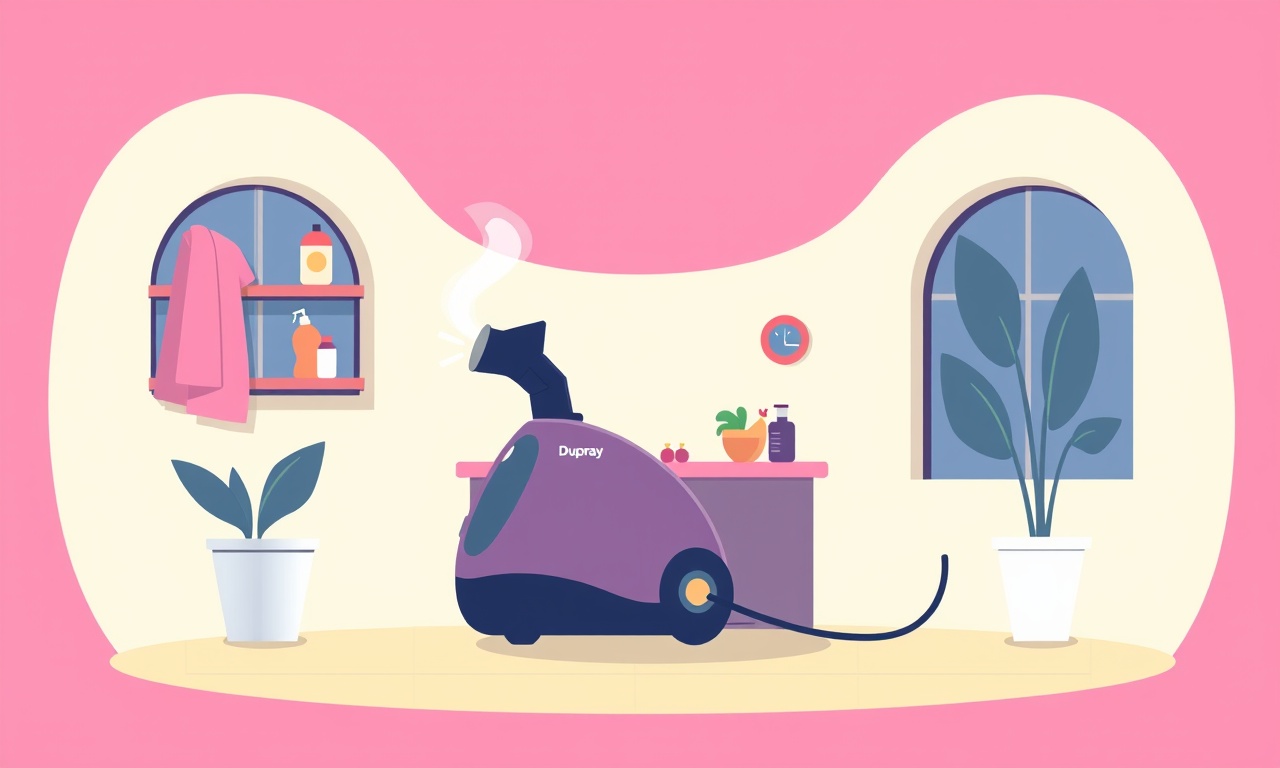
The Dupray Neat Steam Cleaner is celebrated for its powerful steam output and versatile attachments, making it a favorite for deep‑cleaning kitchens, bathrooms, carpets, and upholstery. Yet, even the most reliable appliances can experience hiccups. A common frustration among users is the sudden loss of steam output, often described as “no steam” or “steam stops mid‑cycle.” This issue can be caused by a range of factors—from simple maintenance oversights to more serious mechanical faults.
This guide offers a comprehensive, step‑by‑step approach to diagnosing and resolving the no‑steam problem. By following the troubleshooting flow, you can quickly pinpoint the root cause, apply the appropriate fix, and get your cleaner back to full performance. The instructions are written in plain language, with safety tips and preventive advice included to keep the unit in optimal condition.
Safety First
Before diving into any inspection or repair, always:
- Unplug the unit: Disconnect the power cord from the outlet to eliminate electrical hazards.
- Allow the unit to cool: Steam cleaners retain heat for a while after use; wait at least 30 minutes before touching the reservoir or steam head.
- Use protective gloves: Handle hot components with care to prevent burns.
- Keep the area dry: Avoid slipping on spilled water or steam.
Adhering to these precautions protects you and preserves the longevity of your steam cleaner.
Understanding the Steam Output Cycle
A Dupray Neat Steam Cleaner operates by heating water in a sealed reservoir until it turns into high‑pressure steam. The steam is then directed through a nozzle or attachment. When steam suddenly ceases, it usually signals a disruption in the heating element, water supply, or steam release pathway. Knowing the normal cycle helps in isolating the malfunction:
- Filling: The reservoir is filled with clean, preferably distilled water.
- Sealing: The reservoir cap is tightened, ensuring an airtight seal.
- Heating: The heating element raises the water to 100 °C, creating steam.
- Pressurizing: The steam builds pressure until the release valve engages.
- Steaming: The valve opens, directing steam through the nozzle.
- Recycling: Once the cycle ends, the steam condenses and drains back into the reservoir.
If any of these stages fails, the unit may stop producing steam.
Common Causes of No Steam Output
1. Insufficient or Incorrect Water Level
If the reservoir contains too little water or is filled with tap water containing minerals, the heater may shut down to protect itself.
2. Clogged or Frozen Steam Valve
The valve that opens to release steam can become clogged with mineral deposits or freeze in cold conditions.
3. Faulty Heating Element or Thermostat
A malfunctioning heating element or thermostat prevents water from reaching the necessary temperature.
4. Blocked Steam Nozzle or Attachment
Obstructions in the nozzle or attachment can impede steam flow, causing the valve to stay closed.
5. Air Leaks in the Reservoir Seal
If the reservoir seal is compromised, steam can escape before it reaches the nozzle.
6. Low Power Supply or Faulty Power Cord
Electrical issues such as a faulty plug, damaged cord, or inadequate voltage can prevent the heater from operating.
7. Software or Internal Fault
Although rare, internal control board faults may disable steam production.
Step‑by‑Step Troubleshooting
Below is a systematic approach to isolate and resolve the no‑steam issue. Work through the steps in order, testing after each change.
1. Verify Water Level and Quality
- Check the water level: Ensure the reservoir is at least half full. The user manual recommends filling it at least 80 % to prevent the heater from cycling on and off too frequently.
- Use clean water: If you use tap water, consider boiling it first or use distilled water to reduce mineral buildup.
After adjusting the water level, plug the unit in and attempt a short test run. If steam returns, the issue was water level or quality.
2. Inspect the Steam Valve
- Open the reservoir cap and visually inspect the valve for visible mineral deposits or dirt.
- Clean the valve: Use a soft brush or a cotton swab dampened with vinegar or a commercial descaling solution. Gently wipe the valve opening and surrounding area.
- Reassemble and test again. If the valve remains clogged, it may need replacement—contact Dupray support for a spare part.
If the valve had been blocked, the system will now allow steam to flow, resolving the problem.
3. Test the Heating Element
- Check the heating element’s visual condition: Look for discoloration, burns, or visible cracks.
- Use a multimeter to test continuity between the heating element’s terminals. A broken circuit indicates a faulty element requiring replacement.
- Check the thermostat: If you suspect a thermostat failure, consult a qualified electrician or the manufacturer. Replacement parts can usually be ordered online.
Once a new heating element or thermostat is installed, restart the unit to confirm steam production.
4. Examine the Steam Nozzle and Attachments
- Detach the nozzle: Unscrew the nozzle or attachment from the unit.
- Inspect for obstructions: Look for lint, grime, or mineral deposits. Clean with a soft brush or a small pipe cleaner.
- Reattach and test. A clear path ensures steam flows unimpeded.
5. Check the Reservoir Seal
- Look for cracks or wear in the rubber gasket surrounding the reservoir cap.
- Replace the gasket if any damage is found. The gasket is inexpensive and easy to swap.
- Reassemble the unit and run a test cycle.
A secure seal prevents steam from leaking into the housing, which would otherwise reduce output.
6. Verify Electrical Supply
- Inspect the power cord for frays, cuts, or exposed wires. Replace if damaged.
- Confirm the outlet voltage matches the unit’s specifications (typically 230 V with a 10‑A rating). Use a multimeter or voltage tester.
- Plug the unit into a different outlet to rule out outlet issues.
If the power supply is the culprit, fixing the outlet or replacing the cord will restore function.
7. Reset the Unit
Some Dupray Neat models have a built‑in reset feature:
- Locate the reset button (usually a small recessed button on the front panel).
- Press and hold for 5–10 seconds.
- Release and attempt a short test run.
A reset may clear internal error codes that temporarily disable steam production.
8. Use a Different Water Source
If mineral buildup is persistent, try using a high‑quality water filter or purchasing a water descaler:
- Add a water filter cartridge to the reservoir input.
- Run a cleaning cycle with the filter in place to flush out deposits.
This long‑term solution reduces the frequency of cleaning the steam valve.
9. Contact Customer Support
If all troubleshooting steps fail, it may be time to seek professional help. Contact Dupray customer support:
- Provide details: Model number, serial number, symptoms, steps already taken, and any error messages displayed.
- Ask for service options: Many units are covered under warranty; repair or replacement may be covered.
- Follow any diagnostic instructions the support team gives you.
Preventive Maintenance Tips
Even if the no‑steam problem is resolved, maintaining the unit will prevent future occurrences.
- Regularly descale the steam valve and nozzle using a vinegar solution once every two months.
- Use distilled water for all cleaning sessions, especially if you have hard tap water.
- Check the seal and gasket every six months; replace them if they show signs of wear.
- Keep the unit in a dry, temperature‑controlled environment to avoid condensation or freezing in the valve.
- Follow the cleaning attachment schedule as outlined in the user manual; overloading attachments can cause clogs.
These simple habits keep the system clean and efficient.
Frequently Asked Questions
Q: My Dupray Neat starts but never reaches high temperature. What could cause this?
A: A faulty heating element, broken thermostat, or insufficient water volume can prevent the unit from heating properly. Check the heating element continuity and ensure the reservoir is adequately filled.
Q: The steam seems weak but not entirely absent. How do I improve steam output?
A: Clean the steam valve, nozzle, and attachments. Make sure the reservoir is at least 80 % full, and use distilled water to reduce mineral buildup.
Q: Can I use tap water in the long term?
A: Tap water contains minerals that can accumulate quickly. If you must use tap water, boil it first and use a water descaler to keep deposits at bay.
Q: How often should I replace the reservoir gasket?
A: Inspect it monthly. Replace it immediately if you notice cracks, brittleness, or reduced sealing ability.
Conclusion
A Dupray Neat Steam Cleaner that suddenly produces no steam can be a major inconvenience, but the problem is usually solvable with systematic troubleshooting. By checking the water level, cleaning the steam valve, inspecting the heating element and thermostat, verifying electrical supply, and ensuring a tight reservoir seal, most users can restore full functionality. For persistent issues, professional support and preventive maintenance are key to keeping the unit in top shape.
Remember: safety first, patience in inspection, and regular maintenance are the pillars of a long‑lasting, efficient steam cleaner.
Discussion (9)
Join the Discussion
Your comment has been submitted for moderation.
Random Posts

Reassessing the Audio Jack Dropout on LG Velvet 2
Explore why the LG Velvet 2's 3.5mm jack glitches, what triggers audio dropouts, user fixes, and LG's stance: essential insight for current and future Android phones.
1 year ago

Philips HP700 Fan Stalls Quietly Even At Low Speed Why This Happens And What To Do
Discover why your Philips HP700 quietly stalls at low speed, spot early signs, and fix the issue to keep steady airflow.
2 weeks ago

How to Stop Sharp LC-40M from Producing Audio Sync Issues While Gaming
Fix your Sharp LC-40M so game audio stays in sync. Learn quick settings tweaks, cable checks, and audio-output fixes that keep sound matching action for a flawless gaming experience.
6 months ago

Solve Arlo Pro 4 Wireless Connection Problems
Discover quick fixes for offline Arlo Pro 4 cameras. Check power, Wi, Fi, firmware, reset steps, and more get your live feed back up fast.
4 months ago

Panasonic D45 Dryer Timer Skips Final Drying Cycle
Discover why your Panasonic D45 dryer skips its final cycle, learn the symptoms, root causes, and easy fixes to keep clothes dry, save energy, and avoid extra runs.
5 months ago
Latest Posts

Fixing the Eufy RoboVac 15C Battery Drain Post Firmware Update
Fix the Eufy RoboVac 15C battery drain after firmware update with our quick guide: understand the changes, identify the cause, and follow step by step fixes to restore full runtime.
5 days ago

Solve Reolink Argus 3 Battery Drain When Using PIR Motion Sensor
Learn why the Argus 3 battery drains fast with the PIR sensor on and follow simple steps to fix it, extend runtime, and keep your camera ready without sacrificing motion detection.
5 days ago

Resolving Sound Distortion on Beats Studio3 Wireless Headphones
Learn how to pinpoint and fix common distortion in Beats Studio3 headphones from source issues to Bluetooth glitches so you can enjoy clear audio again.
6 days ago