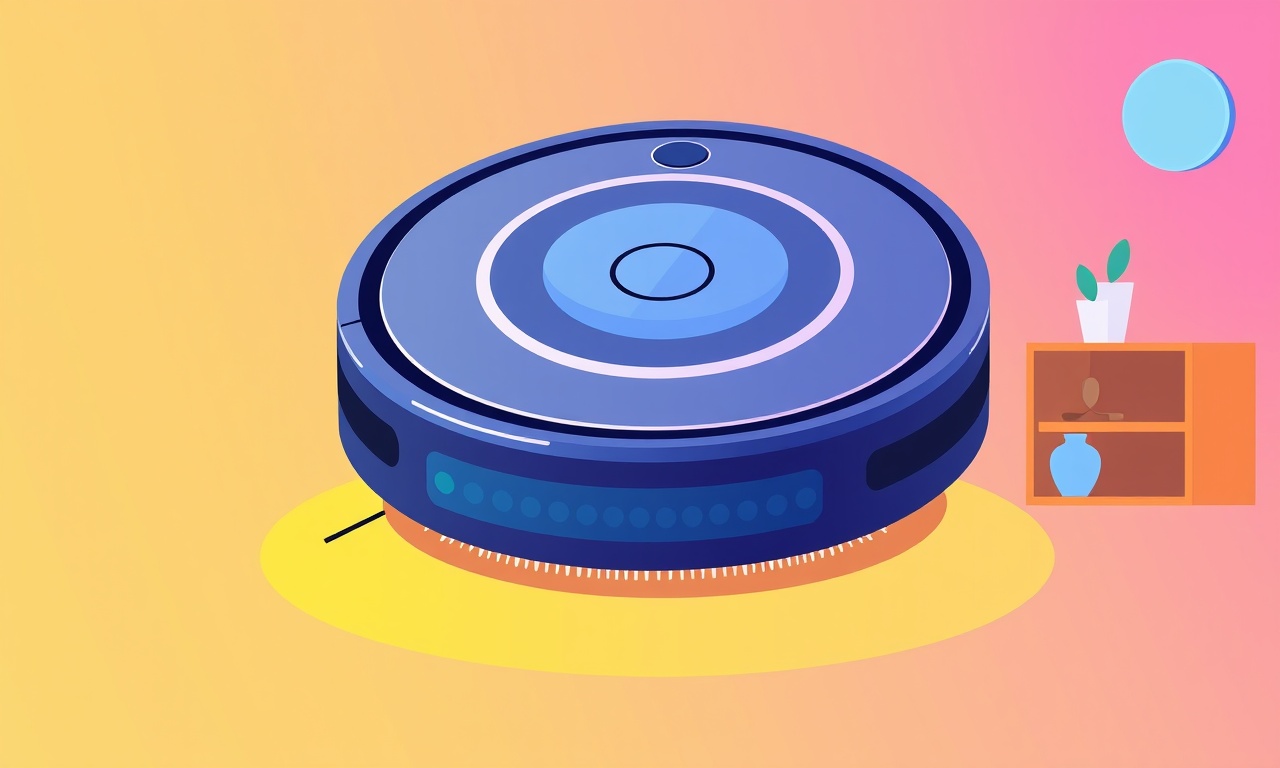
Solving the Roomba 675 Sticky Brush Issue
Understanding the Sticky Brush Problem
The Roomba 675 is praised for its quiet operation and ease of use, but many owners report a recurring issue: the main brush sticks to the rollers and stops spinning. This sticky brush can reduce cleaning performance, cause uneven floor coverage, and even damage the device if left untreated.
When a brush becomes sticky, the Roomba’s sensors detect an abnormal load on the brush motor and automatically shut down the brush to prevent further damage. The result is a noticeable drop in suction and a less efficient cleaning cycle.
Solving this problem is straightforward once you know what to look for. In this guide we walk through the most common causes of stickiness, show you how to disassemble, clean, and re‑assemble the brush assembly, and give you preventive tips so that the issue does not recur.
Common Causes of a Sticky Brush
Several factors can cause the main brush to become jammed. Understanding these will help you spot potential problems early and take corrective action.
-
Thread‑tied hair and pet fur
Hair, lint, and pet hair can weave into the brush’s spokes or between the brush and the roller, creating a tight mass that prevents rotation. -
Thread‑tied carpet fibers
Thick or tangled carpet fibers can become entrapped in the brush or the brush‑roller interface, especially on high‑pile rugs. -
Foreign objects
Coins, buttons, hairpins, or small toys that fall into the brush can become lodged and create a mechanical block. -
Dirt buildup
Grime, dust, and dried cleaning fluid can accumulate around the brush motor bearings, making the brush harder to spin. -
Worn or damaged brush bearings
Over time, the small bearings that support the brush can wear out or become loose, causing the brush to wobble and bind. -
Improper brush insertion
A brush that is not seated correctly can contact the wheel or the rim, causing friction that stops rotation.
Tools You’ll Need
Gathering the right tools before you start will save time and prevent accidental damage.
- A small Phillips‑head screwdriver
- A flat‑head screwdriver or a flat plastic opening tool
- A pair of needle‑nosed tweezers
- A cotton swab or a small brush (like a makeup brush)
- Isopropyl alcohol or a mild soap solution
- A clean microfiber cloth
- A flashlight or a small lamp (optional but helpful)
Make sure your Roomba is powered off and disconnected from any charging station. Place the device on a flat, stable surface and keep the cleaning area free of pets or children.
Step‑by‑Step Repair Guide
Follow these steps carefully to free the sticky brush and restore full cleaning performance.
1. Power Off and Prepare the Device
- Unplug the Roomba from the charging dock.
If you encounter an unexpected dock lock, see how to clear it here: Clearing the iRobot Roomba 899 from Unexpected Dock Lock. - Flip the device upside down so the underside is facing up.
- Inspect the base for any obvious foreign objects and remove them with tweezers.
2. Remove the Brush Guard
- Locate the small screw on the side of the brush guard.
- Using the Phillips screwdriver, loosen and remove the screw.
- Slide the brush guard away from the brush housing, keeping the guard in a safe spot.
3. Extract the Main Brush
- The brush will be held in place by a rubber rim and a metal clip.
- Press the clip with your fingers or a flat tool and gently pull the brush out.
- If the brush feels stuck, gently twist it while pulling. Do not force it; if resistance persists, double‑check for hidden debris.
4. Disassemble the Brush Assembly
- Once the brush is out, locate the small clip that secures the brush’s side arm to the main shaft.
- Remove the clip using tweezers or a small screwdriver.
- Carefully pull the side arm away to expose the internal spokes and the brush’s central hub.
5. Clean the Brush and Spokes
- Inspect the spokes for hair or pet fur. Use tweezers to pull out any strands.
- If the spokes are tangled, gently unwind them with your fingers.
- Dip a cotton swab in isopropyl alcohol and wipe around the brush hub and the motor shaft to remove dried grime.
- Use a small brush to clean around the bearings and the edge of the rubber rim.
6. Check the Brush Motor
- Rotate the brush by hand. It should spin smoothly without resistance.
- If the brush feels heavy or sluggish, the bearings may be worn.
- If you suspect bearing damage, contact a professional or consider replacing the brush assembly entirely.
If your brush gets jammed similarly to what can happen on a Shark Ion robot, read how to overcome brushing jams here: Overcoming the Shark Ion Robot Brushing Jam.
7. Re‑assemble the Brush
- Reattach the side arm to the main shaft, ensuring the clip snaps firmly into place.
- Slide the brush back into the housing, aligning the rubber rim with the groove.
- Push the brush until it clicks into place, indicating it is secure.
8. Re‑install the Brush Guard
- Slide the guard back over the brush housing.
- Tighten the screw on the side of the guard until it is snug but not overtightened.
9. Final Test
- Place the Roomba back on its charging dock and power it on.
- Observe the main brush; it should spin freely and the Roomba should resume normal cleaning cycles.
- Run a quick test cycle in a small area to confirm performance.
Preventive Maintenance Tips
Once you’ve fixed the sticky brush, keep it from happening again by following these simple habits.
-
Schedule regular brush cleaning
Remove the brush every 2‑3 months for a thorough clean, even if you haven’t noticed a problem. -
Use pet‑friendly floor mats
Place mats under high‑traffic pet areas to reduce hair tangles. -
Avoid clutter
Keep small objects and loose threads off the floor; even a single hair can cause a jam. -
Check the brush regularly
Periodically pull the brush guard and glance inside for debris. -
Replace the brush when worn
The Roomba 675’s brush is designed for a 12‑month lifespan. Replace it when you notice uneven wear or reduced performance. -
Clean the charging dock
Dust and debris can get trapped under the dock, which may inadvertently push objects into the brush area.
If firmware updates seem to increase battery drain, compare troubleshooting with Dyson 360 Eye battery drain fixes: Fixing the Dyson 360 Eye Battery Drain After Updates.
By incorporating these habits, you’ll reduce the likelihood of the brush sticking and keep your Roomba 675 running efficiently for years.
When to Seek Professional Support
If after following the above steps the brush remains stuck, or if you notice unusual noises or motor failures, it is time to contact the manufacturer or a certified repair service.
-
Motor failure
A malfunctioning motor may require replacement parts or professional calibration. -
Electrical issues
Signs such as blinking lights or erratic behavior indicate a deeper problem beyond mechanical blockage. -
Warranty coverage
If your Roomba is still under warranty, reach out to customer support for a replacement or repair kit.
Contact information and troubleshooting resources can be found on the official Roomba website or through the support center on your device’s app.
If you also notice a low battery alarm during operation, you can follow the steps to resolve it on a Roomba 694 here: Resolving the iRobot Roomba 694 Low Battery Alarm.
Closing Thoughts
A sticky brush on the Roomba 675 is a common but solvable issue. By understanding the root causes, equipping yourself with the right tools, and following a systematic approach to disassembly, cleaning, and re‑assembly, you can restore your robot vacuum’s performance quickly and easily. Regular maintenance and preventive care will keep the brush free of tangles, ensuring that your floors stay clean with minimal effort.
Remember: a little routine upkeep goes a long way in keeping your Roomba 675 happy and efficient.
Discussion (7)
Join the Discussion
Your comment has been submitted for moderation.
Random Posts

Addressing Apple iPhone 14 Pro Max Battery Drain During Gaming Sessions
Learn why iPhone 14 Pro Max batteries drain during gaming, how to diagnose the issue, and practical tweaks to keep you playing longer with less power loss.
5 months ago

Curing iPhone 14 Plus Charging Port Wear After Daily Fast Charge Cycles
Fast charging can loosen your iPhone 14 Plus port. Learn to spot slow charging and loose cables, then fix it with simple home tricks or long, term prevention.
6 months ago
Xiaomi Mi SmartGlasses 3 Eye Tracking Error Fix
Fix the eye, tracking issue on Mi SmartGlasses 3 with this step, by, step guide to diagnose, clear errors, and restore functionality without repair.
1 year ago

Overcoming Sony X900H Color Saturation Drift During HDR Playback
Discover how to spot and fix color saturation drift on your Sony X900H during HDR playback, tune settings, correct HDR metadata, and keep your scenes vivid and natural.
4 months ago

Remediating Signal Dropout on Bowers & Wilkins PX8 Noise Cancelling Headphones
Discover why the Bowers & Wilkins PX8 may drop sound and how to fix it by tackling interference, low battery, outdated firmware, obstacles and Bluetooth settings for uninterrupted audio
1 week ago
Latest Posts

Fixing the Eufy RoboVac 15C Battery Drain Post Firmware Update
Fix the Eufy RoboVac 15C battery drain after firmware update with our quick guide: understand the changes, identify the cause, and follow step by step fixes to restore full runtime.
5 days ago

Solve Reolink Argus 3 Battery Drain When Using PIR Motion Sensor
Learn why the Argus 3 battery drains fast with the PIR sensor on and follow simple steps to fix it, extend runtime, and keep your camera ready without sacrificing motion detection.
5 days ago

Resolving Sound Distortion on Beats Studio3 Wireless Headphones
Learn how to pinpoint and fix common distortion in Beats Studio3 headphones from source issues to Bluetooth glitches so you can enjoy clear audio again.
6 days ago