Tackling an Unstable Thermostat Calibration on the Vornado VHR752 Floor Heater
Understanding the Vornado VHR752 Floor Heater
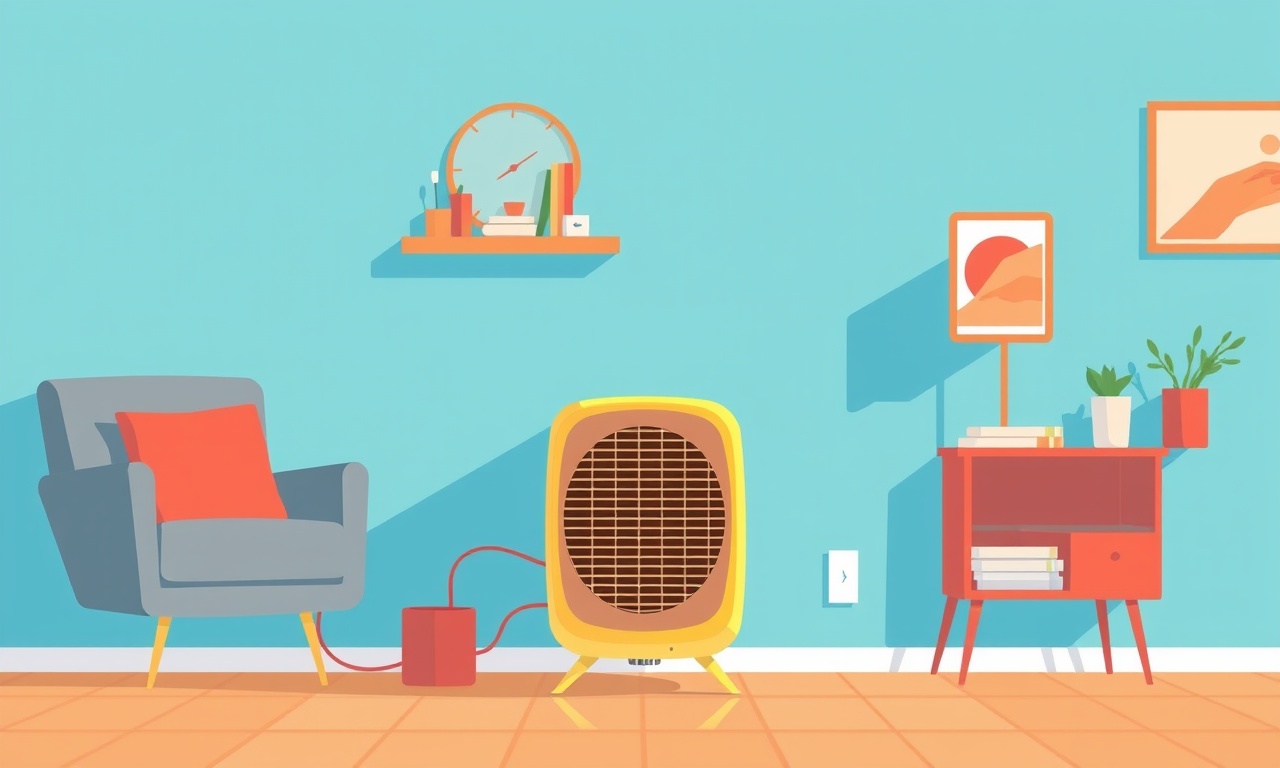
The Vornado VHR752 is a popular electric floor heater that combines a sleek design with a powerful heating element. Its built‑in thermostat is designed to maintain a steady room temperature, but like any electronic device, it can develop calibration drift over time. When the thermostat becomes unstable, the heater may cycle on and off erratically, produce uneven heat, or fail to reach the set temperature. This guide walks you through diagnosing the problem, safely adjusting the calibration, and preventing future issues.
Why Calibration Drift Happens
Before diving into the fix, it helps to know the typical causes of an unstable thermostat on the VHR752:
- Dust and debris can settle on the internal temperature sensor, insulating it from the surrounding air.
- Aging components such as the thermistor or micro‑controller may change resistance, leading to inaccurate readings.
- Electrical noise from nearby appliances or a fluctuating power supply can interfere with the sensor’s signal.
- Physical movement of the heater (e.g., being moved from room to room) may shift the sensor slightly out of its optimal position.
Understanding these factors will guide you toward a more permanent solution rather than a quick, temporary reset.
Safety First
Any work on an electric heater requires caution:
- Unplug the heater from the wall outlet before opening the housing or handling internal parts.
- Allow the unit to cool completely; the heating element can retain heat for several minutes after power is removed.
- Use a static‑free work surface and consider wearing gloves to avoid accidental cuts from the metal casing.
- If you are uncomfortable with electrical components, consider contacting a qualified service technician.
Tools and Materials You’ll Need
- Small Phillips‑head screwdriver set
- Flat‑head screwdriver (optional for prying open the case)
- Soft brush or canned compressed air
- Isopropyl alcohol (≥70%) and lint‑free cloth
- Multimeter with resistance (Ω) measurement capability
- Calibration adjustment screwdriver (often a flat‑head screwdriver that fits the internal trim screw)
- Optional: Replacement thermistor (part number VHR752‑T01) if the sensor is defective
Step‑by‑Step Calibration Procedure
1. Verify the Symptom
- Set the thermostat to a moderate temperature, such as 68 °F (20 °C), and allow the heater to run for 15‑20 minutes.
- Use an independent room thermometer to compare the actual ambient temperature with the heater’s displayed setting.
- If the heater’s reading deviates by more than 3 °F (2 °C) or if the unit cycles irregularly, proceed with calibration.
2. Access the Internal Sensor
- With the unit unplugged, lay it face down on a soft surface.
- Remove the four screws that secure the lower panel. Keep the screws in a small dish to avoid loss.
- Gently lift the bottom cover. You will see the heating element, fan assembly, and a small metal probe attached to the circuit board – this is the temperature sensor (thermistor).
3. Clean the Sensor Area
- Use a soft brush or a can of compressed air to remove dust from around the thermistor. Be careful not to bend the tiny leads.
- Dampen a lint‑free cloth with isopropyl alcohol and lightly wipe the sensor’s exposed surface. This removes any oily residues that could affect thermal conduction.
- Allow the sensor to dry completely (a few minutes) before proceeding.
4. Check Sensor Resistance
- Set your multimeter to the resistance (Ω) mode.
- Disconnect the sensor leads from the circuit board by gently pulling the connector tab. This prevents reading the entire circuit’s resistance.
- Touch the multimeter probes to the sensor’s two leads. At room temperature (about 68 °F or 20 °C), a typical VHR752 thermistor should read around 10 kΩ. Refer to the service manual for exact values.
- If the reading is far outside the expected range (e.g., below 5 kΩ or above 20 kΩ), the sensor may be damaged and should be replaced.
5. Adjust the Calibration Screw
- Reconnect the sensor leads to the board.
- Locate the tiny calibration screw near the sensor. It is often a flat‑head screw with a plastic or metal cap.
- Using the calibration adjustment screwdriver, turn the screw clockwise in small increments (¼ turn at a time). Clockwise adjustment typically raises the sensed temperature, causing the heater to turn off earlier.
- After each adjustment, plug the heater back in, set the thermostat to 68 °F, and observe how long it takes for the heater to shut off. Use the independent room thermometer to confirm the actual temperature.
- If the heater turns off too early, turn the screw counter‑clockwise slightly and repeat the test.
- Continue this iterative process until the heater’s shutdown temperature matches the set temperature within a 2 °F (1 °C) margin.
6. Reassemble the Heater
- Once calibration is satisfactory, replace the bottom cover and secure the four screws.
- Ensure the heater sits level on the floor; an uneven base can cause the sensor to sit too close to a surface, skewing readings.
- Plug the unit back in and run a final test for 30 minutes to confirm stable operation.
Troubleshooting Common Issues
Heater Continues Running After Reaching Set Temperature
- Possible cause: Calibration screw set too far counter‑clockwise.
- Fix: Reduce the adjustment incrementally as described in step 5.
Heater Shuts Off Instantly After Turning On
- Possible cause: Calibration screw turned too far clockwise, making the controller think the room is hotter than it actually is.
- Fix: Turn the screw slightly counter‑clockwise and retest.
Flickering Display or Unresponsive Controls
- Possible cause: Loose connection between the control board and the thermostat module.
- Fix: Open the housing, locate the ribbon cable or plug, and reseat it firmly. Check for any broken pins.
Unusual Noise From the Fan
- Possible cause: Dust buildup on fan blades or motor shaft.
- Fix: Clean the fan with compressed air and a soft brush. Lubricate the motor bearing with a few drops of lightweight oil if recommended by the manufacturer.
When to Replace the Thermistor
Even after cleaning and adjusting, the thermistor may continue to give inconsistent readings. Replace it if:
- Resistance measurements are outside the spec range by more than 20 %.
- The sensor shows physical damage such as cracks or corrosion.
- Calibration adjustments have no effect on heater behavior after multiple attempts.
Replacement is straightforward:
- Purchase the OEM part number VHR752‑T01.
- Unscrew the sensor’s mounting screw, lift the thermistor, and disconnect the leads.
- Install the new sensor, reconnect the leads, and resecure the mounting screw.
- Perform the calibration steps again.
Preventive Maintenance for Long‑Term Stability
- Monthly dusting: Use a vacuum with a brush attachment to remove surface dust from the heater’s vents and exterior.
- Quarterly deep clean: Follow the disassembly steps to access the sensor and fan, cleaning them thoroughly each season.
- Stable power supply: Plug the heater into a surge‑protected outlet to reduce electrical noise.
- Location considerations: Avoid placing the heater directly against walls or furniture that could block airflow and cause uneven heating.
Frequently Asked Questions
Can I calibrate the thermostat without opening the unit?
The VHR752 does not provide an external calibration interface. Accessing the internal calibration screw requires opening the housing.
Is it safe to use compressed air inside the heater?
Yes, as long as the unit is unplugged and you use short bursts to avoid moisture buildup from the propellant.
Will cleaning the sensor improve energy efficiency?
A properly calibrated and clean sensor allows the heater to shut off at the correct temperature, preventing unnecessary runtime and saving electricity.
How often should I inspect the calibration?
If you notice temperature drift, perform a quick check. Otherwise, an annual inspection during routine cleaning is sufficient.
Summary
An unstable thermostat on the Vornado VHR752 can be traced to sensor contamination, component aging, or mis‑adjusted calibration. By following a systematic approach—verifying symptoms, cleaning the sensor, measuring resistance, fine‑tuning the calibration screw, and reassembling the unit—you can restore accurate temperature control and extend the heater’s lifespan. Regular maintenance and mindful placement further protect the thermostat from drifting again. With these steps, your VHR752 will once more provide reliable, comfortable heat throughout the colder months.
Discussion (9)
Join the Discussion
Your comment has been submitted for moderation.
Random Posts

Analyzing iPhone 13 Pro Max Apple Pay Transaction Declines After Software Update
After the latest iOS update, iPhone 13 Pro Max users see more Apple Pay declines. This guide explains the technical cause, how to diagnose the issue, and steps to fix payment reliability.
2 months ago

Dyson AM15 Mist Not Spreading What Causes It And How To Repair
Find out why your Dyson AM15 Mist isn’t misting, learn the common causes, and follow our step, by, step guide to restore full misting performance quickly.
2 months ago

Adjusting the Neato Botvac D6 for Unexpected Cleaning Pause
Learn why your Neato Botvac D6 pauses, diagnose the issue, and tweak settings for smooth, uninterrupted cleaning.
11 months ago

Quelling LG OLED G1 Picture Loop at Startup
Stop the LG OLED G1 picture loop that stutters at startup, follow these clear steps to diagnose software glitches, adjust settings, and restore a smooth launch every time.
4 months ago

Resolving Room Acoustics Calibration on Samsung HW Q990T
Calibrate your Samsung HW, Q990T to your room's acoustics and unlock true cinema-quality sound, every dialogue and subtle score becomes crystal clear.
1 month ago
Latest Posts

Fixing the Eufy RoboVac 15C Battery Drain Post Firmware Update
Fix the Eufy RoboVac 15C battery drain after firmware update with our quick guide: understand the changes, identify the cause, and follow step by step fixes to restore full runtime.
5 days ago

Solve Reolink Argus 3 Battery Drain When Using PIR Motion Sensor
Learn why the Argus 3 battery drains fast with the PIR sensor on and follow simple steps to fix it, extend runtime, and keep your camera ready without sacrificing motion detection.
5 days ago

Resolving Sound Distortion on Beats Studio3 Wireless Headphones
Learn how to pinpoint and fix common distortion in Beats Studio3 headphones from source issues to Bluetooth glitches so you can enjoy clear audio again.
6 days ago