Tefal FV5201 Steam Iron Flat Steam Drop Troubleshooting Tips
Understanding the Tefal FV5201 Flat Steam Iron
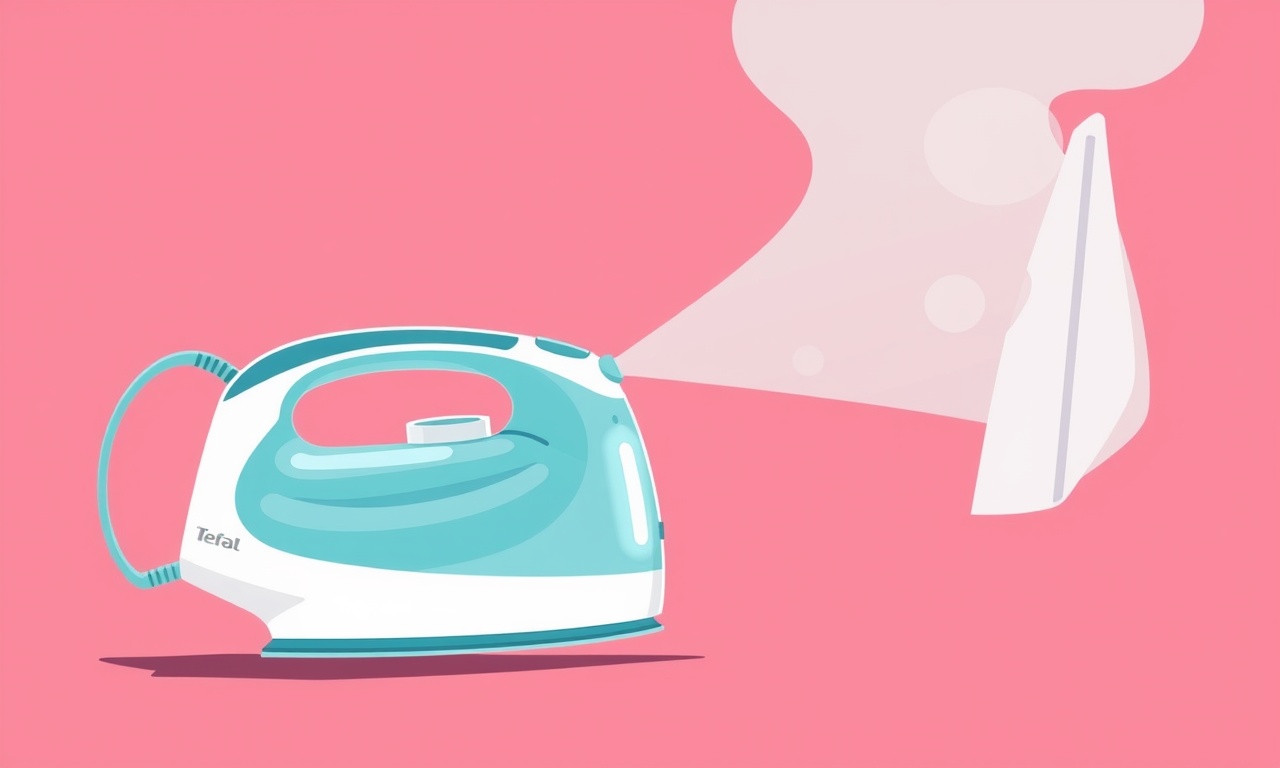
The Tefal FV5201 Flat Steam Iron is known for its efficient flat‑steam technology, which delivers a powerful, continuous steam flow for quick and wrinkle‑free results. Like any electrical appliance, it can occasionally encounter issues that interrupt the steam supply. When the iron stops producing steam or the steam flow drops suddenly, it can be frustrating, especially when you’re in the middle of a pressing job.
This guide breaks down the most common reasons for steam drops in the FV5201 and provides clear, step‑by‑step troubleshooting tips to help you restore a consistent steam flow. It covers everything from simple maintenance to deeper mechanical checks, so you can keep your iron functioning like new.
Common Causes of Steam Drop
Before diving into fixes, it’s useful to understand what typically leads to a sudden or gradual loss of steam. The main culprits are:
- Mineral Build‑up in the Steam Generator – Hard water deposits can block steam vents and restrict airflow.
- Clogged or Partially Blocked Steam Path – Dust or fabric fibers may accumulate inside the nozzle or the internal plumbing.
- Faulty or Damaged Heating Element – The element may fail to reach the temperature needed for steam production.
- Low Water Level or Leakage – A low reservoir or leak can reduce the amount of water available for steam.
- Electrical Issues – Loose wiring or a defective thermostat can interrupt the heating cycle.
- Wear‑and‑tear of the Flat‑Steam Assembly – Repeated use can cause small cracks or misalignments that reduce steam output.
Recognizing the symptom pattern is the first step in selecting the right repair method.
Safety Precautions
- Unplug the iron before performing any inspection or maintenance.
- Allow the iron to cool completely before handling.
- Use a clean, dry cloth to wipe down the exterior—never submerge the iron in water.
- If you suspect electrical problems, consider professional assistance rather than attempting a fix yourself.
Step‑by‑Step Troubleshooting Guide
1. Check the Water Level
The most frequent cause of a sudden drop in steam is a low water level.
- Open the water reservoir and examine the water line. The indicator should show at least 70 % of the capacity.
- Fill the reservoir with fresh, tap water or distilled water, especially if you live in an area with hard water.
- Secure the reservoir in place and allow the iron to heat to its normal operating temperature.
If steam returns, you may have experienced a temporary water depletion.
2. Inspect for Leaks
Leaks can reduce the amount of water that reaches the heating element.
- Look under the iron for wet patches or dripping.
- Check the seal around the reservoir; replace it if it’s cracked or worn.
- Inspect the steam nozzle for water pooling or a wet base—this may indicate a cracked housing.
A visible leak usually points to a damaged seal or nozzle, requiring replacement of the affected part.
3. Clean the Steam Nozzle
Even a modest buildup of lint or mineral deposits can choke the nozzle.
- Turn off the iron and allow it to cool.
- Remove the nozzle by loosening the screws that hold it in place.
- Use a soft brush or a pin to clear any debris from the vent holes.
- Rinse the nozzle with warm water and dry thoroughly.
Reattach the nozzle securely, and test the steam output.
4. Descale the Steam Generator
If you’ve used tap water frequently, mineral scale may have accumulated inside the steam chamber.
- Fill the reservoir with a 1:1 mixture of white vinegar and water.
- Heat the iron until steam starts to flow.
- Turn off the iron and let the vinegar solution sit for 20–30 minutes.
- Drain the reservoir and refill it with clean water.
- Repeat the heating cycle to rinse out any remaining vinegar taste.
Descaling clears the steam path, restoring a full steam flow.
5. Test the Heating Element
A failing heating element is less common but can cause intermittent steam loss.
- Use a multimeter to check for continuity across the element’s contacts.
- Look for visible damage or discoloration on the element’s surface.
- If the element fails the continuity test, it will need replacement.
Replacing a heating element requires a service manual or professional assistance, as it involves disassembling the baseplate.
6. Verify the Thermostat and Temperature Settings
Incorrect thermostat settings can prevent the iron from reaching the required temperature for steam production.
- Set the iron to the “steam” setting (usually the highest).
- Check the temperature indicator to confirm it reaches the correct level.
- If the indicator stays low, the thermostat may be faulty.
Replacing the thermostat usually involves opening the iron’s base and swapping the old unit with a new one.
7. Examine the Flat‑Steam Assembly
The flat‑steam technology relies on precise alignment between the iron’s core and the steam nozzle.
- Open the back panel of the iron.
- Look for cracks or gaps in the flat‑steam housing.
- Check the screws that hold the assembly together; tighten any loose ones.
- Replace the housing if it shows signs of cracking or excessive wear.
8. Perform a Full Re‑assembly Check
After performing any of the above steps, reassemble the iron carefully:
- Reattach the reservoir firmly and ensure all seals are tight.
- Secure the steam nozzle with its screws.
- Close the back panel and tighten all screws evenly.
Plug the iron back in, let it heat to the desired temperature, and test the steam output.
When DIY Fixes Are Not Enough
If the iron still fails to produce consistent steam after following all these steps, consider the following:
- Manufacturing defect: If your iron is still under warranty, contact Tefal customer service.
- Electrical fault: A deeper issue in the wiring or controller board may require a professional technician.
- Component cost: Evaluate the cost of replacement parts versus purchasing a new iron.
Maintenance Tips to Avoid Future Steam Drops
- Use distilled water whenever possible to reduce mineral buildup.
- Clean the nozzle after every use with a soft brush.
- Empty the reservoir and dry the baseplate after each session.
- Descale monthly if you use tap water.
- Check the iron’s temperature before each use to ensure the thermostat is functioning correctly.
Regular preventive care can significantly extend the life of your Tefal FV5201 and keep the steam flow steady.
Troubleshooting Quick Reference
| Symptom | Likely Cause | Quick Fix |
|---|---|---|
| No steam at all | Low water level, seal leak, damaged nozzle | Refill reservoir, replace seal/nozzle |
| Intermittent steam | Mineral scale, clogged nozzle | Descale, clean nozzle |
| Steam drop after a while | Heating element failure | Test continuity, replace element |
| Steam too weak | Thermostat misreading | Verify temperature, replace thermostat |
| Steam smells like vinegar | Residual vinegar from descaling | Rinse thoroughly, test again |
Use this table as a fast check before diving into deeper repairs.
Common Questions
How often should I descale the iron?
If you use tap water regularly, descale once a month. In hard‑water areas, consider doing it every two weeks.
Can I use dish soap to clean the nozzle?
Dish soap can help remove stubborn residue, but it should be rinsed thoroughly. Avoid using abrasive cleaners that might damage the nozzle’s internal finish.
What if the iron is still under warranty but I’ve performed some DIY fixes?
Tefal warranties typically cover manufacturing defects, not user‑performed repairs. If you want to keep the warranty, avoid disassembling the iron. Instead, contact customer service for professional assistance.
Final Thoughts
The Tefal FV5201 Flat Steam Iron is a powerful appliance that can deliver professional‑grade results in a home setting. A sudden drop in steam can be frustrating, but most issues are straightforward to diagnose and fix. By following the steps above—checking the water level, inspecting for leaks, cleaning the nozzle, descaling, and verifying key components—you can restore consistent steam flow and get back to a smooth, wrinkle‑free ironing experience.
Maintaining a clean, well‑functioning iron not only saves time but also protects your clothes from unnecessary heat damage. Regular preventive care, combined with a quick troubleshooting routine, will keep your FV5201 in peak condition for years to come.
Discussion (8)
Join the Discussion
Your comment has been submitted for moderation.
Random Posts

Addressing Apple iPhone 14 Pro Max Battery Drain During Gaming Sessions
Learn why iPhone 14 Pro Max batteries drain during gaming, how to diagnose the issue, and practical tweaks to keep you playing longer with less power loss.
5 months ago

Curing iPhone 14 Plus Charging Port Wear After Daily Fast Charge Cycles
Fast charging can loosen your iPhone 14 Plus port. Learn to spot slow charging and loose cables, then fix it with simple home tricks or long, term prevention.
6 months ago
Xiaomi Mi SmartGlasses 3 Eye Tracking Error Fix
Fix the eye, tracking issue on Mi SmartGlasses 3 with this step, by, step guide to diagnose, clear errors, and restore functionality without repair.
1 year ago

Overcoming Sony X900H Color Saturation Drift During HDR Playback
Discover how to spot and fix color saturation drift on your Sony X900H during HDR playback, tune settings, correct HDR metadata, and keep your scenes vivid and natural.
4 months ago

Remediating Signal Dropout on Bowers & Wilkins PX8 Noise Cancelling Headphones
Discover why the Bowers & Wilkins PX8 may drop sound and how to fix it by tackling interference, low battery, outdated firmware, obstacles and Bluetooth settings for uninterrupted audio
1 week ago
Latest Posts

Fixing the Eufy RoboVac 15C Battery Drain Post Firmware Update
Fix the Eufy RoboVac 15C battery drain after firmware update with our quick guide: understand the changes, identify the cause, and follow step by step fixes to restore full runtime.
5 days ago

Solve Reolink Argus 3 Battery Drain When Using PIR Motion Sensor
Learn why the Argus 3 battery drains fast with the PIR sensor on and follow simple steps to fix it, extend runtime, and keep your camera ready without sacrificing motion detection.
5 days ago

Resolving Sound Distortion on Beats Studio3 Wireless Headphones
Learn how to pinpoint and fix common distortion in Beats Studio3 headphones from source issues to Bluetooth glitches so you can enjoy clear audio again.
6 days ago