Troubleshoot a No Milk Feature on a De'Longhi Magnifica
Introduction
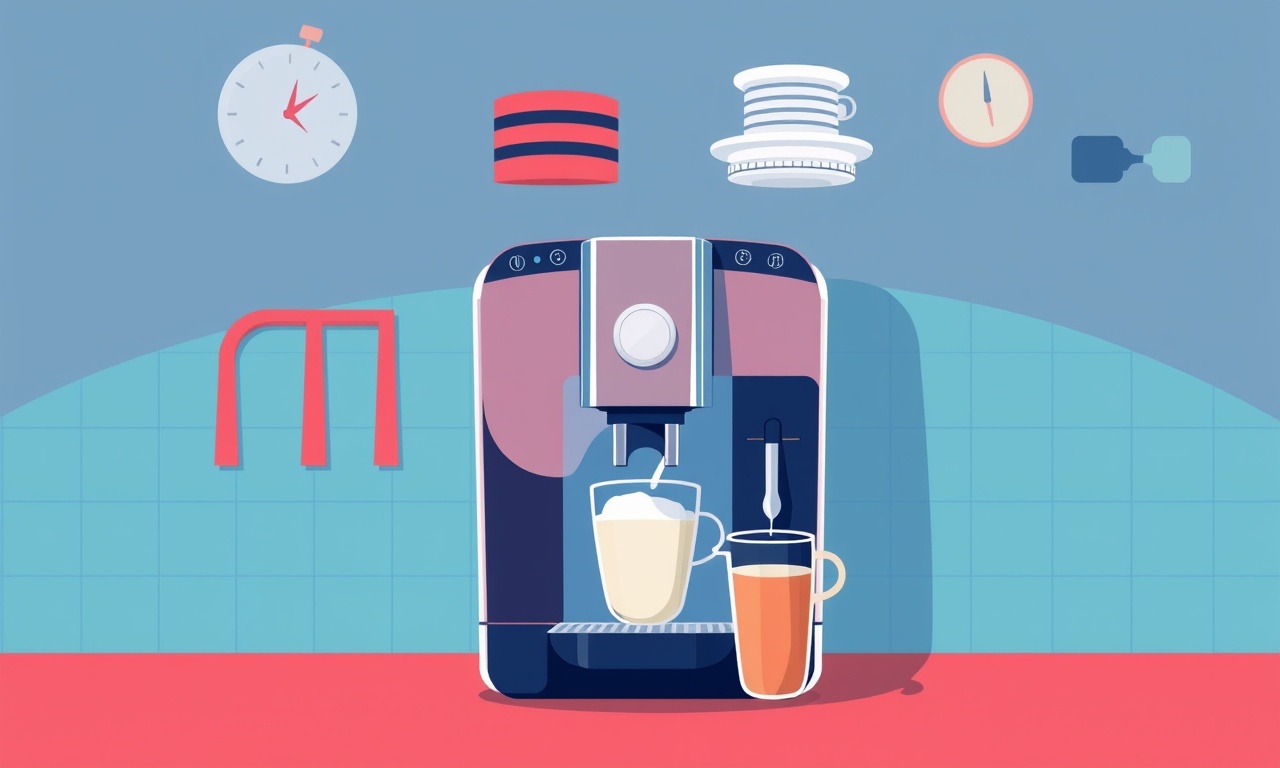
The De’Longhi Magnifica is celebrated for its ability to deliver barista‑level espresso and cappuccino with a single button. Many users, however, have reported that the machine will brew a shot but the milk frother will not dispense any milk. This “no milk” problem can be frustrating, especially when you’ve already prepared your favorite latte or cappuccino. The good news is that most of the causes are simple to diagnose and fix. This guide walks you through a thorough, step‑by‑step troubleshooting process that covers everything from the milk tank to the internal valves and firmware.
Common Symptoms
Before diving into solutions, recognize the key indicators that the milk system is at fault:
- A perfectly brewed espresso shot but a dry, flat milk stream.
- The milk frother icon remains highlighted or flashes repeatedly.
- The machine displays a milk‑related error message, such as “milk error” or “no milk”.
- The milk tank is full, yet the machine refuses to pour.
These symptoms can be caused by mechanical blockages, sensor issues, or software glitches. The following sections will help you identify the exact cause and guide you toward the appropriate fix.
Preliminary Checks
Even before opening the machine, perform these quick checks. They can save you time and prevent unnecessary disassembly.
Check the Power and Reset
- Make sure the power cord is firmly plugged into both the outlet and the machine.
- Verify that the outlet is functional by plugging in another appliance.
- Press the power button for at least 10 seconds to see if the display turns on.
Verify Milk Tank Placement
The De’Longhi Magnifica requires the milk tank to be in its correct position for the internal sensors to detect milk level.
- Remove the milk tank from its tray.
- Inspect the tray for any signs of damage or misalignment.
- Re‑insert the tank firmly into the tray.
Turn on the machine and observe whether the milk icon on the display lights up. If it does, proceed to the next section.
Milk Tank Inspection
An empty or improperly sealed milk tank can trigger a milk‑error state.
Open the Milk Tank
- Lift the cover of the milk tank.
- Check the milk level; it should be at least 60 ml for the machine to recognize the presence of milk.
- Look for visible spills, lumps, or foreign objects.
Clean the Milk Tank
Even a clean tank can have residues that block the dispenser.
- Remove any remaining milk from the tank and allow it to dry.
- Wipe the interior with a damp cloth and a mild detergent.
- Rinse thoroughly and let it dry completely before reinserting.
Re‑insert the Milk Tank
- Ensure the tank is seated correctly and the lid is closed.
- Check for the “milk tank in place” indicator on the machine’s display.
If the machine still shows no milk, the issue likely lies elsewhere.
Milk Dispenser Clogging
The milk dispenser is the component that actually pushes milk into the cup. A blockage here can be caused by hardened milk, foam, or foreign particles.
Remove the Milk Dispenser
- Carefully lift the milk dispenser off the machine’s housing.
- Inspect the nozzle for visible obstructions.
Clean the Nozzle
- Use a small, soft brush or a needle to gently remove any blockages.
- Rinse with warm water and dry completely.
Flush the Milk Pathway
- Re‑insert the dispenser and fill the milk tank with water.
- Run a water-only cycle through the milk system to flush out any remaining debris.
- Once the cycle finishes, run a second water-only cycle without milk to clear the system.
Check for Mechanical Damage
If cleaning does not resolve the problem, inspect the dispenser for cracks, warped edges, or damaged seals. Damaged parts should be replaced with De’Longhi‑approved replacements.
Milk Frother Valve and Steam Wand
The frother and steam wand share a common valve that directs milk flow.
Inspect the Valve
- Remove the foam head from the frother.
- Look for visible blockages or buildup around the valve.
Clean the Valve
- Use a small brush to scrub the valve and surrounding area.
- Rinse with warm water and ensure no debris remains.
Check the Steam Wand
- Remove any visible milk residue from the steam wand.
- Steam a small amount of water through the wand to clear any blockages.
If the wand still refuses to dispense milk, the valve may need replacement.
Sensor and Firmware Check
The De’Longhi Magnifica’s control board uses sensors to detect milk level, temperature, and flow. Firmware glitches can misinterpret sensor data.
Perform a Soft Reset
- Turn the machine off.
- Unplug it from the power source.
- Wait 30 seconds.
- Plug it back in and turn it on.
If the problem persists, run the self‑diagnosis routine.
- Press and hold the “milk” button for 5 seconds.
- The machine will cycle through diagnostic tests.
- Pay attention to any error codes that appear.
Common Error Codes and Meanings
- E03 – Milk tank not detected.
- E04 – Milk flow blocked.
- E05 – Milk temperature sensor error.
Refer to the user manual for detailed error code explanations and recommended actions.
Recalibrate the Milk Level Sensor
If the machine misreads the milk level, recalibration may help.
- Fill the milk tank to its maximum level.
- Place the tank in the tray.
- Run a diagnostic cycle with the milk button pressed until the display shows “milk level calibrating”.
- Follow on‑screen prompts to complete the process.
If the calibration fails or the display shows an error, consider contacting De’Longhi support for further assistance.
Clean the Milk Tubes
Milk tubes inside the machine can become coated with milk residue, forming a blockage that is not easily visible from the outside.
Open the Access Panel
- Carefully remove the access panel on the side of the machine (consult the manual for exact location).
- Locate the milk tubes leading from the tank to the dispenser.
Use a Thin, Flexible Cleaning Tool
- Insert a flexible cleaning wand or a length of thin tubing.
- Gently push through each tube, ensuring milk does not get trapped.
- Repeat on all tubes until no residue remains.
Dry the Tubes
- Use a dry cloth or allow them to air dry completely before reassembling.
Reassemble the Machine
- Replace the access panel.
- Verify all screws and fittings are secure.
Check the Milk Temperature Sensor
Incorrect milk temperature can trigger a “no milk” error.
- Run a water-only cycle through the milk system.
- If the machine indicates a temperature error, the sensor may be faulty.
Replace the Sensor
- Remove the old sensor according to the service manual.
- Install a new sensor from an authorized De’Longhi supplier.
When to Contact Support
If, after completing all the above steps, the machine still does not dispense milk, the issue may be deeper within the machine’s internal plumbing or electronics. At this point, it is safest to contact De’Longhi customer support or a qualified service technician. Provide them with a detailed description of the steps you have already performed and any error codes you observed.
Maintenance Tips to Avoid Future Milk Problems
- Regular Cleaning: Clean the milk tank, dispenser, and frother at least once a week.
- Use Filtered Water: Hard water accelerates mineral buildup inside the milk system.
- Descale Regularly: Follow the descaling schedule in the user manual to prevent mineral deposits.
- Check for Leaks: Inspect the milk tank seal after each use.
- Store Properly: Keep the machine in a dry place to avoid moisture buildup in the milk components.
FAQs
Q: Why does my latte come out flat even though the machine shows “milk” on the display?
A: This often indicates a partial blockage in the milk dispenser or frother. Cleaning the nozzle and flushing the milk path with water typically resolves it.
Q: Can I use any brand of milk, or does the machine only work with whole milk?
A: The machine works with all dairy and non‑dairy milks. However, low‑fat or plant‑based milks may produce less foam.
Q: The machine shows “milk error” after a power outage. What should I do?
A: Perform a soft reset by unplugging for 30 seconds, then plug back in and run the self‑diagnosis routine.
Q: Is it safe to run a water-only cycle to clean the milk system?
A: Yes, it is safe and recommended for removing milk residue and preventing blockages.
Q: My milk tank is full, but the machine still says “no milk.”
A: Ensure the tank is seated correctly and that the seal is intact. If the tank is properly in place, try cleaning the dispenser and tubes.
Conclusion
The “no milk” issue on a De’Longhi Magnifica can stem from a variety of sources—from simple misalignments to deeper sensor faults. By methodically checking each component—milk tank, dispenser, valve, tubes, and sensors—you can usually pinpoint the problem and restore milk flow. Regular maintenance and attentive cleaning will keep your machine running smoothly and help you enjoy the perfect cup of coffee every day.
If all else fails, contact De’Longhi support for professional assistance. A well‑maintained machine not only delivers great coffee but also lasts longer, making it a worthwhile investment for any kitchen.
Discussion (11)
Join the Discussion
Your comment has been submitted for moderation.
Random Posts

Solving a Persistent Stain Release Issue on Whirlpool WFW5620HW
Tired of spots on your clothes? Discover how to diagnose and fix the stubborn stain release problem on your Whirlpool WFW5620HW with our step-by-step guide.
9 months ago

De'Longhi DL150 Steam Iron Water Recirculation Failure Solution
Trouble with your DeLonghi DL150 steam iron? Learn why water recirculation fails, diagnose the issue, and follow our simple step by step solution to restore steady steam and wrinkle free clothes.
3 months ago

Resolving Lenovo Mirage Solo Bluetooth Pairing Issues
Fix Lenovo Mirage Solo Bluetooth glitches fast with this step by step guide. From simple checks to firmware hacks, reconnect your headset, controllers, and peripherals in minutes.
2 months ago
Lenovo SmartEyewear X Eye Tracking Error Troubleshoot
Get your Lenovo SmartEyewear X eye tracking back with our step-by-step guide. Diagnose glitches, reset settings, and restore smooth gaze navigation quickly.
3 months ago

Calibrating Noise‑Cancellation on Beats Studio Buds
Master Beats Studio Buds ANC: learn the science, step, by, step calibration, and troubleshooting to silence distractions and boost your listening experience.
10 months ago
Latest Posts

Fixing the Eufy RoboVac 15C Battery Drain Post Firmware Update
Fix the Eufy RoboVac 15C battery drain after firmware update with our quick guide: understand the changes, identify the cause, and follow step by step fixes to restore full runtime.
5 days ago

Solve Reolink Argus 3 Battery Drain When Using PIR Motion Sensor
Learn why the Argus 3 battery drains fast with the PIR sensor on and follow simple steps to fix it, extend runtime, and keep your camera ready without sacrificing motion detection.
5 days ago

Resolving Sound Distortion on Beats Studio3 Wireless Headphones
Learn how to pinpoint and fix common distortion in Beats Studio3 headphones from source issues to Bluetooth glitches so you can enjoy clear audio again.
6 days ago