Viking 8500 Steam Iron Loose Soleplate Noise Fix Guide
Understanding the Problem
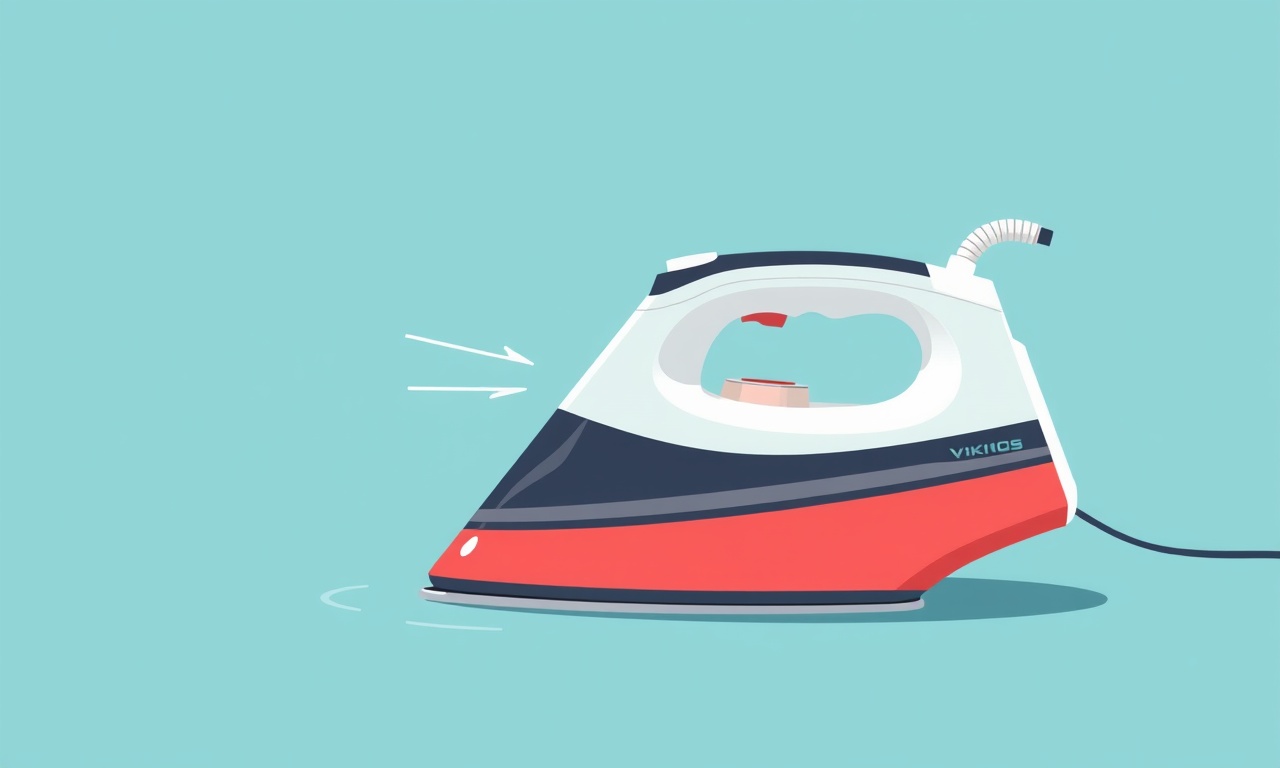
When a Viking 8500 steam iron produces a rattling or clanking noise during use, the most common culprit is a loose soleplate. The soleplate is the metal sheet that contacts fabric; it is attached to the iron body by a series of screws and sometimes a locking ring. Over time, vibrations, repeated use, or accidental bumps can loosen these fasteners, causing the plate to move slightly. The movement creates noise that is annoying and can potentially lead to uneven ironing or even damage to the iron’s internal components.
This guide walks you through the process of diagnosing the noise, safely disassembling the iron, tightening the soleplate, and performing a few preventive maintenance steps to keep your Viking 8500 running silently for years.
Safety First
Before touching any part of your steam iron, make sure it is completely unplugged and has cooled down. Even after the heating element turns off, residual heat can remain for several minutes. If the iron was recently used, wait at least 30 minutes.
- Unplug the iron from the electrical outlet.
- Cool down: Leave the iron on a heat‑resistant surface until the metal feels warm to the touch.
- Remove the iron from the power strip if it is connected to one.
- Keep the iron away from children and pets while you work.
By following these precautions you prevent electric shock, burns, or accidental damage to the iron.
What You Will Need
| Tool | Description |
|---|---|
| Small Phillips screwdriver (1.5 mm) | Standard for the Viking 8500 screws. |
| Flat‑head screwdriver or plastic spudger | For removing small plastic tabs without scratching. |
| Allen wrench set (1.5 mm) | Some models use an Allen key for the soleplate latch. |
| Isopropyl alcohol (70 % or higher) | To clean the screw heads and contact surfaces. |
| Soft cloth or microfiber towel | For wiping and polishing. |
| Optional: small brush | To clear dust from screw threads. |
If your iron’s manual lists specific tools, it’s best to use those. The sizes above work with the standard Viking 8500 model.
Locating the Loose Soleplate
The Viking 8500’s soleplate is held in place by:
- Four corner screws – usually located at the back of the iron.
- A central locking ring – often found at the front or side of the soleplate.
- Two side screws – positioned near the front edge of the iron.
When the iron is in the “cleaning” or “standby” mode, you may hear a low thud or a clank. If the noise intensifies during ironing, the soleplate is likely moving as the heat expands the metal.
Quick Check
- Place the iron flat on a table.
- Hold a small object (e.g., a coin) on the soleplate while gently tapping the iron’s body.
- Listen for any movement that coincides with the noise.
If you detect movement, proceed to the disassembly steps.
Disassembling the Iron
1. Remove the Back Cover
The back cover is secured by a set of small screws. They are often hidden under a decorative trim or a plastic cover.
- Locate the screws around the perimeter of the back panel.
- Insert the Phillips screwdriver and turn counter‑clockwise to loosen.
- Lift the cover carefully, keeping the screws in a separate container.
Tip: Keep a small piece of masking tape on the screws to prevent them from rolling away.
2. Detach the Soleplate
Once the back cover is off, you’ll see the metal soleplate attached to the iron body.
- Unscrew the four corner screws. They may have small rubber washers on the underside.
- Loosen the central locking ring if present.
- Remove any side screws that hold the soleplate to the side frame.
After removing all fasteners, gently lift the soleplate. It should slide off without resistance. If you feel resistance, double‑check that all screws and the locking ring are fully unscrewed.
3. Inspect for Wear
With the soleplate removed:
- Look at the screw heads for signs of stripping or wear.
- Check the threads of the screws and the holes on the iron body for damage.
- Clean the surface of the soleplate and the mounting area with a dry cloth to remove dust.
If you spot significant wear or corrosion, consider replacing the affected screws with brand‑new ones from a reputable appliance parts supplier.
Tightening the Soleplate
1. Clean Contact Surfaces
Before reassembling:
- Spray a small amount of isopropyl alcohol on the screw heads and the holes.
- Wipe with a microfiber cloth to remove any oils or residues.
- Dry completely – any leftover moisture can cause short circuits.
2. Re‑install the Soleplate
- Place the soleplate onto the iron body, aligning the screw holes.
- Insert the corner screws by hand first to ensure they seat properly.
- Tighten clockwise with the Phillips screwdriver until snug.
- Check the central locking ring (if applicable). Tighten it with an Allen wrench.
- Secure the side screws as needed.
3. Test the Tightness
After reassembling:
- Press the iron’s foot lightly against a hard surface.
- Feel for any play in the soleplate.
- If there is still slight movement, tighten the screws a bit more.
- Avoid overtightening – too much torque can strip the threads.
Reassembling the Iron
Once the soleplate is firmly attached:
- Replace the side screws on the front or side of the iron.
- Align the back cover and slide it into place.
- Secure all screws clockwise until firm.
- Verify that the cover sits evenly – a misaligned cover can cause uneven pressure on the soleplate, leading to noise.
At this point, the iron is fully reassembled but still not ready to use. Additional preventive steps will help maintain quiet operation.
Preventive Maintenance
Even after tightening the soleplate, occasional noise can arise if dust or debris accumulates in the screw threads or if the iron’s internal components shift slightly. Perform these checks regularly:
| Frequency | Action | Why It Helps |
|---|---|---|
| Monthly | Clean the soleplate surface and screw heads | Prevents grime buildup that can loosen screws |
| Every 6 months | Inspect screw threads for wear | Ensures they remain smooth and can hold torque |
| Annually | Let the iron cool and check for loose components | Early detection of any loose parts before they cause noise |
Common Issues and How to Fix Them
1. Noise Persists After Tightening
- Re‑check screw tightness: Sometimes a screw may be snug at first but loosen due to vibration.
- Look for hidden screws: Some models have additional screws under the footplate.
- Inspect the iron body: If the frame has bent or warped, the soleplate may not sit properly. In this case, contact a professional for repair.
2. Screws Fail to Tighten
- Thread damage: If the screw threads are stripped, use a new screw or consider a thread‑locking compound.
- Use a higher torque setting: If you have a drill with adjustable torque, set it slightly higher.
- Check screw length: An undersized screw may not reach all the way, preventing a firm lock.
3. Loose Soleplate During Use
- Re‑tighten the screws after each cycle of ironing.
- Use a rubber mat under the iron to reduce vibration.
- Ensure the iron is on a stable surface: A wobbly ironing board can transfer motion to the iron.
When to Seek Professional Help
If after following all these steps the noise continues, it could indicate a more serious problem such as a warped soleplate, a broken locking mechanism, or an issue with the internal heating element. In these situations:
- Do not attempt further disassembly beyond the points covered here.
- Contact Viking customer support or a certified appliance repair technician.
- Keep your warranty documentation handy; many repair services require proof of purchase.
Final Thoughts
A noisy Viking 8500 steam iron can be frustrating, but most of the time the solution is simple: tighten a few screws and clean the contact surfaces. By taking a systematic approach—understanding the problem, gathering the right tools, carefully disassembling, and applying preventive maintenance—you can restore your iron’s smooth operation.
Remember, regular upkeep keeps your appliance efficient, safe, and quiet. Keep this guide handy for future reference and enjoy a noiseless ironing experience for years to come.
Discussion (8)
Join the Discussion
Your comment has been submitted for moderation.
Random Posts

Analyzing iPhone 13 Pro Max Apple Pay Transaction Declines After Software Update
After the latest iOS update, iPhone 13 Pro Max users see more Apple Pay declines. This guide explains the technical cause, how to diagnose the issue, and steps to fix payment reliability.
2 months ago

Dyson AM15 Mist Not Spreading What Causes It And How To Repair
Find out why your Dyson AM15 Mist isn’t misting, learn the common causes, and follow our step, by, step guide to restore full misting performance quickly.
2 months ago

Adjusting the Neato Botvac D6 for Unexpected Cleaning Pause
Learn why your Neato Botvac D6 pauses, diagnose the issue, and tweak settings for smooth, uninterrupted cleaning.
11 months ago

Quelling LG OLED G1 Picture Loop at Startup
Stop the LG OLED G1 picture loop that stutters at startup, follow these clear steps to diagnose software glitches, adjust settings, and restore a smooth launch every time.
4 months ago

Resolving Room Acoustics Calibration on Samsung HW Q990T
Calibrate your Samsung HW, Q990T to your room's acoustics and unlock true cinema-quality sound, every dialogue and subtle score becomes crystal clear.
1 month ago
Latest Posts

Fixing the Eufy RoboVac 15C Battery Drain Post Firmware Update
Fix the Eufy RoboVac 15C battery drain after firmware update with our quick guide: understand the changes, identify the cause, and follow step by step fixes to restore full runtime.
5 days ago

Solve Reolink Argus 3 Battery Drain When Using PIR Motion Sensor
Learn why the Argus 3 battery drains fast with the PIR sensor on and follow simple steps to fix it, extend runtime, and keep your camera ready without sacrificing motion detection.
5 days ago

Resolving Sound Distortion on Beats Studio3 Wireless Headphones
Learn how to pinpoint and fix common distortion in Beats Studio3 headphones from source issues to Bluetooth glitches so you can enjoy clear audio again.
6 days ago