Whirlpool WUD140 Dryer Sensor Malfunction Prevents Cycle Completion
Introduction
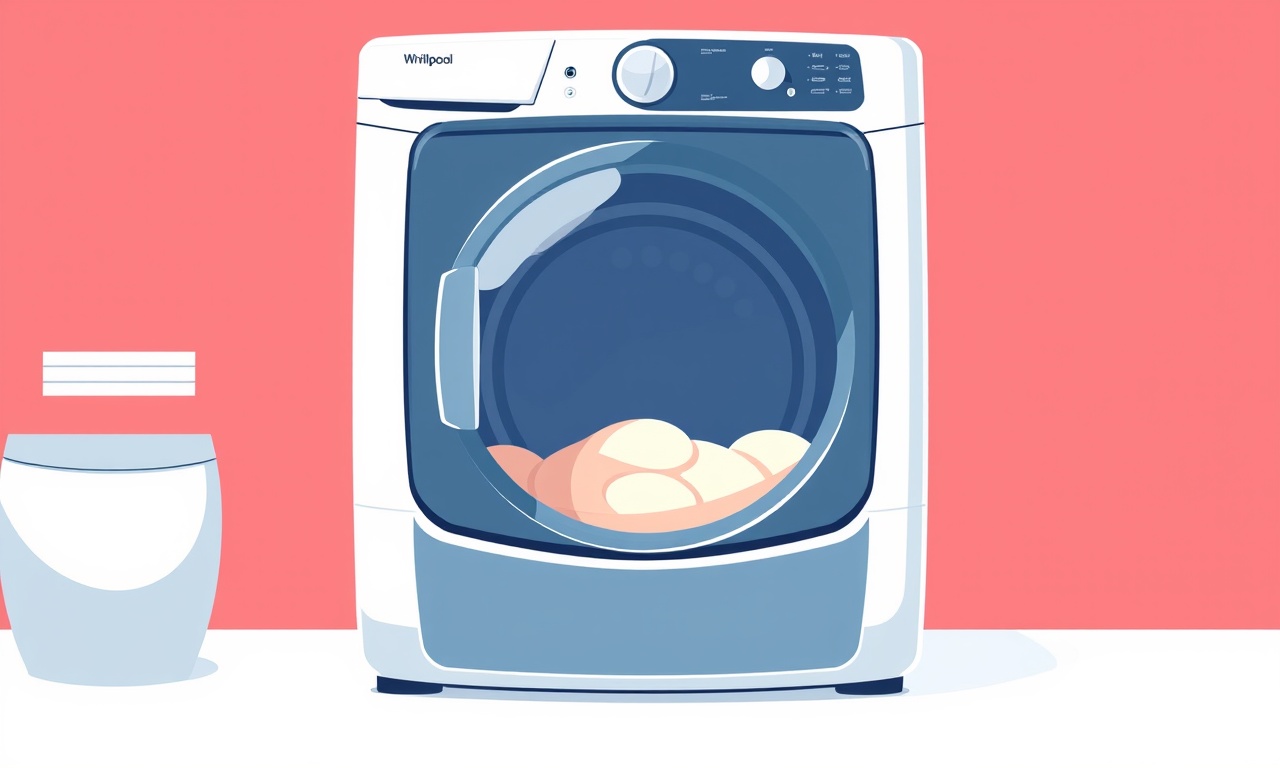
A Whirlpool WUD140 dryer is a staple in many homes, offering a convenient way to finish a laundry load without stepping out. When it works correctly, the dryer completes its cycle in a predictable amount of time and releases clean, dry clothes. However, a problem that can leave both washer and dryer out of sync is a malfunctioning sensor that stops the cycle from finishing.
In this article we will explore what the sensor does, why it can fail, how to spot the signs, the diagnostic steps you can take, and practical solutions to get your dryer back to full operation.
What the Dryer Sensor Is and Why It Matters
The sensor in a Whirlpool WUD140 dryer is an electronic moisture detector. It sits in the drum and constantly measures the amount of moisture remaining in your laundry.
- Function: The sensor sends real‑time data to the dryer’s control board.
- Decision Making: If the sensor reports that clothes are still damp, the dryer keeps running until the moisture level drops below a preset threshold.
- Energy Efficiency: By stopping the cycle early when clothes are dry, the sensor helps reduce energy consumption and wear on the motor.
If the sensor fails or sends incorrect data, the dryer may think the clothes are still wet and run for a prolonged period or, in some cases, stop prematurely and not complete the cycle at all.
Recognizing a Sensor Malfunction
Because the sensor influences the entire drying process, its failure can show up in several subtle or obvious ways. Below are the most common symptoms.
1. Cycle Stops Before Completion
You may notice the dryer stops with the door still locked and the cycle indicator flashing or remaining on. The dryer does not finish the dry cycle even though it has been running for a long time.
2. Excessive Runtime with No Results
A malfunctioning sensor may cause the dryer to run for many hours, yet the clothes still come out damp.
3. Error Codes or Lights Flashing
Some models display a sensor‑related error code or flash lights on the control panel.
4. The Dryer Doesn’t Heat at All
In certain cases, the sensor may trip and shut off the heating element, leaving the dryer running but not heating.
5. Strange Odors or Smoke
If the sensor triggers a safety shut‑off, the dryer might produce a faint odor or smoke due to overheating.
If you experience any of the above issues, it is worth investigating whether the sensor is at fault.
How to Diagnose the Problem
Before you replace any parts, you can run a series of checks that are quick and inexpensive.
Inspect the Sensor Physically
The sensor is usually located in the lower part of the dryer drum, near the back wall.
- Look for Visible Damage: Cracks, discoloration, or a buildup of lint or detergent residue.
- Check for Moisture: A wet or damp sensor is a sign of a leak somewhere in the system.
Clean the Sensor
Even a small amount of lint can block the sensor’s ability to read moisture levels.
- Unplug the dryer.
- Remove the rear panel or front drum cover, depending on the model.
- Gently wipe the sensor with a soft cloth or a cotton swab.
After cleaning, reassemble the dryer and test a short cycle.
Use a Multimeter to Test Sensor Resistance
A faulty sensor often has an abnormal resistance value.
- Set the Multimeter to Ohms.
- Disconnect the Sensor Leads (consult the service manual for exact wiring).
- Measure the Resistance. The typical reading for a working sensor on a WUD140 is between 2,000 and 5,000 ohms.
If the reading is zero, infinite, or far outside this range, the sensor is defective.
Examine the Control Board
Sometimes the sensor is fine, but the control board misinterprets its signals.
- Look for burnt marks, corrosion, or loose connections on the board.
- If you notice any damage, consider replacing the board.
Common Causes of Sensor Failure
Understanding why the sensor fails can help you decide on the most cost‑effective solution.
- Heat Exposure: Prolonged exposure to high temperatures can damage the sensor’s electronic components.
- Water Ingress: A leak from the washing machine or a clogged vent can cause moisture to reach the sensor.
- Dust and Lint Accumulation: Over time, lint and detergent residues build up, obstructing the sensor’s surface.
- Electrical Issues: Power surges or faulty wiring can corrupt the sensor’s signals.
- Manufacturing Defects: Occasionally, a batch of sensors may be defective from the factory.
Step‑by‑Step Troubleshooting Guide
Below is a practical, systematic approach you can follow to get your dryer working again.
Step 1: Safety First
- Unplug the dryer from the wall outlet.
- Allow it to cool completely before working on it.
Step 2: Visual Inspection and Cleaning
- Remove the back or front panel as needed.
- Inspect the sensor for lint, residue, or visible damage.
- Clean the sensor gently with a dry cloth or cotton swab.
Step 3: Check the Lint Filter and Vent
- Pull out the lint filter and remove any blockage.
- Inspect the vent hose for kinks or clogs.
- Flush the vent system with a vacuum or vent cleaner if necessary.
Step 4: Test the Sensor with a Multimeter
- Disconnect the sensor leads.
- Measure resistance as described above.
- Note the value.
Step 5: Observe the Dryer During a Short Cycle
- Plug the dryer back in.
- Run a short cycle (10–15 minutes).
- Watch for error codes or unusual behavior.
Step 6: Replace the Sensor If Needed
- Turn off the power again.
- Disconnect the old sensor from the wiring harness.
- Attach the new sensor and secure it in place.
- Reassemble all panels.
Step 7: Test the Dryer Again
- Run a full cycle to confirm that the dryer completes the drying process normally.
If the problem persists after sensor replacement, you may need to investigate the control board or other internal components.
Resetting the Dryer After a Sensor Fix
Sometimes the dryer’s internal memory may still hold an error flag even after the sensor has been replaced. A simple reset can clear these flags.
- Disconnect the Power for at least 60 seconds.
- Reconnect the dryer to the outlet.
- Press the Start button to ensure the dryer recognizes the new state.
If error lights continue to flash, consult the user manual or a professional technician.
Replacing the Dryer Sensor
If you have decided to replace the sensor, follow these key points.
Choosing the Right Part
- Purchase a genuine Whirlpool replacement sensor or a reputable OEM part.
- Verify the part number matches your model (e.g., WUD140S01).
Tools You’ll Need
- Phillips head screwdriver
- Flathead screwdriver
- Multimeter (optional, for verification)
Installation Steps
- Open the Dryer: Remove the rear or front panel depending on model.
- Locate the Sensor: It is typically a small rectangular metal piece attached to the drum wall.
- Detach the Wires: Gently pull the wire connectors away from the sensor terminals.
- Remove the Old Sensor: Use a screwdriver if it is screwed in; otherwise, it may just slide out.
- Insert the New Sensor: Align it with the mounting holes and secure it.
- Reconnect the Wires: Snap the connectors back onto the new sensor terminals.
- Reassemble the Dryer: Replace all panels and secure them with screws.
Once installed, follow the reset procedure and run a test cycle.
Preventive Maintenance to Avoid Future Sensor Issues
Regular upkeep can help keep the sensor functioning correctly for many years.
- Clean the Lint Filter Daily: This reduces overall lint accumulation in the system.
- Inspect the Vent Hose Monthly: Pull out any debris and check for kinks.
- Use Quality Detergents: Avoid over‑sudsing or using excessive fabric softener that can leave residues.
- Check the Drainage: Ensure that the washing machine’s drain hose is not kinked and that the dryer’s vent pipe is clear.
- Run a Short Cycle Periodically: A quick cycle can help detect early sensor issues before they become severe.
By incorporating these habits into your routine, you’ll minimize the chance of sensor failure.
Frequently Asked Questions
Is it safe to keep using the dryer if the sensor is not working?
No. A malfunctioning sensor can cause the dryer to overheat or run for an excessive amount of time, which may be hazardous.
How long does a sensor replacement typically take?
Most owners can complete the replacement in 20–30 minutes with the proper tools.
Can I buy a replacement sensor from a non‑Whirlpool brand?
It is possible, but OEM or high‑quality aftermarket parts are recommended to ensure compatibility and reliability.
Will a new sensor fix my dryer’s overheating problem?
If overheating is due to a sensor misreading, a new sensor may solve it. However, overheating can also stem from vent blockage or motor issues, so further diagnosis may be needed.
What if the dryer still won’t start after replacing the sensor?
If the dryer fails to start, the problem may lie with the power supply, a faulty control board, or the heating element. Professional service may be required.
Final Thoughts
A Whirlpool WUD140 dryer’s sensor is a small component that plays a critical role in ensuring efficient and safe operation. When it malfunctions, the dryer may halt prematurely, run endlessly, or fail to heat, leading to frustration and potential safety risks.
By learning to recognize the symptoms, performing a basic diagnostic test, and following a systematic troubleshooting and replacement guide, homeowners can often resolve sensor issues without expensive professional repairs.
Regular maintenance—especially lint filter and vent cleaning—will keep the sensor and the dryer’s overall system in good health, extending the life of your appliance and maintaining optimal performance.
With the knowledge and steps provided in this article, you are now equipped to diagnose, repair, and prevent sensor malfunctions in your Whirlpool WUD140 dryer.
Discussion (8)
Join the Discussion
Your comment has been submitted for moderation.
Random Posts

Addressing Apple iPhone 14 Pro Max Battery Drain During Gaming Sessions
Learn why iPhone 14 Pro Max batteries drain during gaming, how to diagnose the issue, and practical tweaks to keep you playing longer with less power loss.
5 months ago

Curing iPhone 14 Plus Charging Port Wear After Daily Fast Charge Cycles
Fast charging can loosen your iPhone 14 Plus port. Learn to spot slow charging and loose cables, then fix it with simple home tricks or long, term prevention.
6 months ago
Xiaomi Mi SmartGlasses 3 Eye Tracking Error Fix
Fix the eye, tracking issue on Mi SmartGlasses 3 with this step, by, step guide to diagnose, clear errors, and restore functionality without repair.
1 year ago

Overcoming Sony X900H Color Saturation Drift During HDR Playback
Discover how to spot and fix color saturation drift on your Sony X900H during HDR playback, tune settings, correct HDR metadata, and keep your scenes vivid and natural.
4 months ago

Remediating Signal Dropout on Bowers & Wilkins PX8 Noise Cancelling Headphones
Discover why the Bowers & Wilkins PX8 may drop sound and how to fix it by tackling interference, low battery, outdated firmware, obstacles and Bluetooth settings for uninterrupted audio
1 week ago
Latest Posts

Fixing the Eufy RoboVac 15C Battery Drain Post Firmware Update
Fix the Eufy RoboVac 15C battery drain after firmware update with our quick guide: understand the changes, identify the cause, and follow step by step fixes to restore full runtime.
5 days ago

Solve Reolink Argus 3 Battery Drain When Using PIR Motion Sensor
Learn why the Argus 3 battery drains fast with the PIR sensor on and follow simple steps to fix it, extend runtime, and keep your camera ready without sacrificing motion detection.
5 days ago

Resolving Sound Distortion on Beats Studio3 Wireless Headphones
Learn how to pinpoint and fix common distortion in Beats Studio3 headphones from source issues to Bluetooth glitches so you can enjoy clear audio again.
6 days ago