Whirlpool WUD140 Dryer Won’t Release Clothes After Cycle
Overview
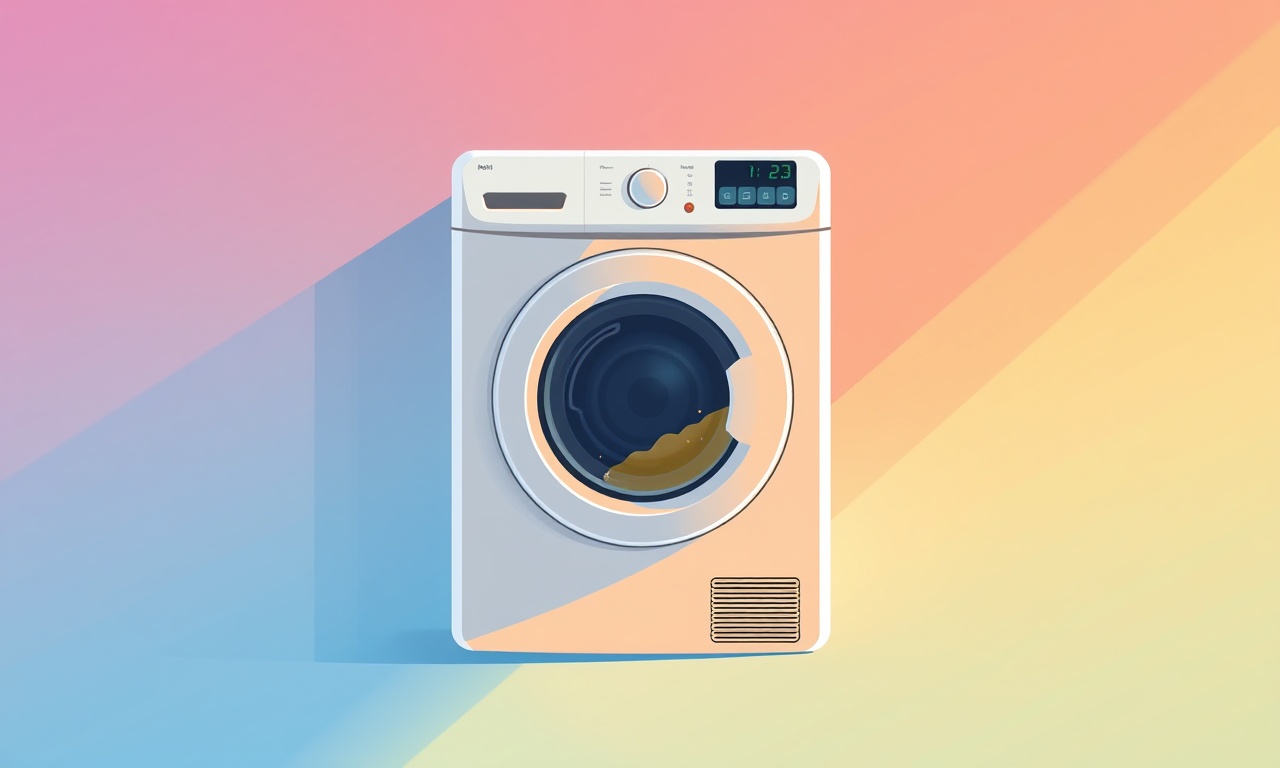
When a Whirlpool WUD140 dryer finishes its cycle and refuses to let you open the door, it can be frustrating. The machine may sit locked, the interior lights may stay on, and the indicator lights may flicker or remain steady. This issue can stem from a faulty door latch, a malfunctioning lock mechanism, an electrical problem, or a sensor that thinks the dryer is still running. The good news is that many of these problems can be diagnosed and repaired with simple troubleshooting steps. Below you will find a comprehensive guide that walks you through safety checks, diagnostic tests, and potential repairs to get your dryer back to normal operation.
Why the Door Won’t Release
The WUD140, like most front‑load dryers, uses a safety lock system that prevents the door from opening while the machine is running or while the drum is in motion. The lock engages automatically at the start of the cycle and disengages when the cycle completes and all safety conditions are satisfied. Several components are responsible for this behavior:
- Door latch assembly – The physical latch that secures the door.
- Locking solenoid – The electric component that engages or releases the latch.
- Door switch – The sensor that tells the control board whether the door is closed.
- Control board – The electronic brain that orchestrates the cycle and lock status.
- Motor and drum sensors – Sensors that detect drum rotation and signal when the cycle ends.
When any of these elements fail or provide incorrect signals, the dryer may refuse to release the door even after the cycle appears finished.
Safety First
Before you begin inspecting or touching any part of the dryer, ensure that it is disconnected from the power supply. Unplug the unit from the wall outlet or switch off the circuit breaker that supplies power to the dryer. This step protects you from electrical shock and prevents accidental start‑ups while you are working.
If your dryer is located in a humid or damp environment, wear gloves and a dust mask to avoid contact with any hidden moisture that could damage components.
Step‑by‑Step Troubleshooting
1. Verify the Cycle Has Actually Completed
At first glance, the dryer may look finished, but the indicator lights or timer might still be running. Wait a full minute after the cycle indicator turns off. Sometimes the dryer performs a final “spin‑off” or “cool‑down” routine that can delay the door release.
2. Check the Door Switch
The door switch informs the control board whether the door is properly closed. If the switch is misaligned or broken, the board may think the door is still closed and keep the lock engaged.
- Open the door manually (if possible) and inspect the rubber gasket for damage or misalignment.
- Locate the door switch (usually a small metal plate near the latch).
- Use a multimeter set to continuity mode to test the switch. With the switch closed, the meter should read zero resistance. If the reading is open or fluctuates, replace the switch.
3. Inspect the Door Latch and Solenoid
A stuck latch or a failed solenoid can physically hold the door in place.
- Latch – Remove any lint or debris that may jam the latch mechanism.
- Solenoid – Feel for resistance; if the latch fails to release when the solenoid is energized, the solenoid may need replacement.
To test the solenoid:
- Disconnect the dryer from power.
- Remove the latch assembly according to the service manual.
- Attach a 120‑volt test light to the solenoid terminals.
- Re‑apply power briefly. If the solenoid lights, it is functioning; if not, replace it.
4. Evaluate the Control Board
If both the latch and switch are good, the problem may lie with the control board’s logic.
- Inspect the board for burn marks, cracked solder joints, or liquid damage.
- Look for a reset button or jumper that may have been inadvertently engaged.
- If you suspect a faulty board, consult the model‑specific schematics or consider replacing the board with a certified part.
5. Verify Motor and Drum Sensors
The dryer will not release the door if the control board detects that the drum is still rotating. This can happen if:
- The drum sensor is dirty or misaligned.
- The motor or belt is seized, causing the drum to continue spinning at low speed.
- The motor controller is misreading the sensor signals.
To check:
- Use a flashlight to look at the drum sensor (usually a small light or LED near the drum).
- Rotate the drum by hand; it should move smoothly. If resistance is felt, clean or replace the belt.
- With the dryer unplugged, press the manual door release lever (if your model has one) to see if the lock releases immediately. If it does, the sensor may be the culprit.
6. Test the Door Release Lever (If Applicable)
Some Whirlpool dryers feature a manual door release lever that can be pulled to unlock the door regardless of the lock status. Locate the lever—often hidden under the front panel or behind a small panel on the side. Pull it firmly; if the door opens, the lever is working, and the lock mechanism may be the problem.
7. Reset the Dryer
After completing the checks above, reset the dryer:
- Re‑connect power.
- Turn off the dryer using the main power button.
- Wait at least 30 seconds.
- Turn the dryer back on and run a short cycle (dry a small load).
- Observe whether the door releases normally after completion.
Common Fixes and Replacement Parts
| Symptom | Likely Cause | Suggested Fix |
|---|---|---|
| Door stays locked after cycle | Door switch open or misaligned | Replace door switch |
| Latch won’t budge | Solenoid failure | Replace solenoid |
| Control board logic error | Faulty board or reset | Replace control board |
| Drum continues to spin | Motor sensor issue | Clean or replace sensor |
| Latch jammed with lint | Gasket or lint accumulation | Clean latch, replace gasket |
Tip: Keep a small vacuum handy to remove lint from the lint trap, door seals, and around the latch area. Lint buildup can create mechanical obstructions that hinder the latch from disengaging.
Preventative Maintenance Checklist
- Clean the Lint Trap after every load.
- Inspect Door Gasket for tears or mold; replace every 12 months.
- Check the Door Switch annually by turning on the dryer and monitoring the switch indicator.
- Lubricate the Drum Bearings every 6 months with a silicone spray approved for dryer use.
- Test the Door Release Lever every 3 months to confirm it still operates.
Following this routine can reduce the likelihood of encountering a door lock issue and extend the life of your dryer.
When Professional Help Is Needed
If after completing the troubleshooting steps above you still cannot release the door, or if you find signs of electrical damage such as scorched wiring or a burnt smell, contact a licensed appliance repair technician. Attempting to repair advanced electrical components without proper training can be dangerous.
If your dryer is still under warranty, reach out to Whirlpool customer support before opening any panels, as doing so may void the warranty. They can provide a repair technician or guide you through the warranty claim process.
Frequently Asked Questions
Does the WUD140 have a manual door release lever?
Yes, most models include a hidden lever accessible by removing a small panel near the front of the dryer. Refer to your service manual for exact location.
Can I replace the control board myself?
Replacing the control board requires soldering skills and specialized equipment. If you are comfortable with electronics, you can purchase a certified board and replace it following the schematic. Otherwise, enlist a professional.
Why does the dryer lock even when the door is open?
This indicates a broken door switch or a fault in the control board’s logic. The dryer may think the door is closed because the switch is not detecting the open position.
Is it safe to force the door open?
Forcing the door can damage the latch or door frame. Use the manual release lever or check for obstructions before applying force.
Final Thoughts
A Whirlpool WUD140 dryer that won’t release its door after the cycle ends can be traced to several common causes. By following the safety precautions, inspecting the door latch and switch, and checking the control board and sensors, you can often resolve the issue yourself. Regular maintenance and timely lint removal are essential preventive steps that keep the dryer functioning smoothly.
When all else fails, don’t hesitate to contact Whirlpool support or a qualified appliance repair professional. With careful troubleshooting, you can restore the safety lock to its intended function and keep your laundry routine on track.
Discussion (8)
Join the Discussion
Your comment has been submitted for moderation.
Random Posts

Addressing Apple iPhone 14 Pro Max Battery Drain During Gaming Sessions
Learn why iPhone 14 Pro Max batteries drain during gaming, how to diagnose the issue, and practical tweaks to keep you playing longer with less power loss.
5 months ago

Curing iPhone 14 Plus Charging Port Wear After Daily Fast Charge Cycles
Fast charging can loosen your iPhone 14 Plus port. Learn to spot slow charging and loose cables, then fix it with simple home tricks or long, term prevention.
6 months ago
Xiaomi Mi SmartGlasses 3 Eye Tracking Error Fix
Fix the eye, tracking issue on Mi SmartGlasses 3 with this step, by, step guide to diagnose, clear errors, and restore functionality without repair.
1 year ago

Overcoming Sony X900H Color Saturation Drift During HDR Playback
Discover how to spot and fix color saturation drift on your Sony X900H during HDR playback, tune settings, correct HDR metadata, and keep your scenes vivid and natural.
4 months ago

Remediating Signal Dropout on Bowers & Wilkins PX8 Noise Cancelling Headphones
Discover why the Bowers & Wilkins PX8 may drop sound and how to fix it by tackling interference, low battery, outdated firmware, obstacles and Bluetooth settings for uninterrupted audio
1 week ago
Latest Posts

Fixing the Eufy RoboVac 15C Battery Drain Post Firmware Update
Fix the Eufy RoboVac 15C battery drain after firmware update with our quick guide: understand the changes, identify the cause, and follow step by step fixes to restore full runtime.
5 days ago

Solve Reolink Argus 3 Battery Drain When Using PIR Motion Sensor
Learn why the Argus 3 battery drains fast with the PIR sensor on and follow simple steps to fix it, extend runtime, and keep your camera ready without sacrificing motion detection.
5 days ago

Resolving Sound Distortion on Beats Studio3 Wireless Headphones
Learn how to pinpoint and fix common distortion in Beats Studio3 headphones from source issues to Bluetooth glitches so you can enjoy clear audio again.
6 days ago