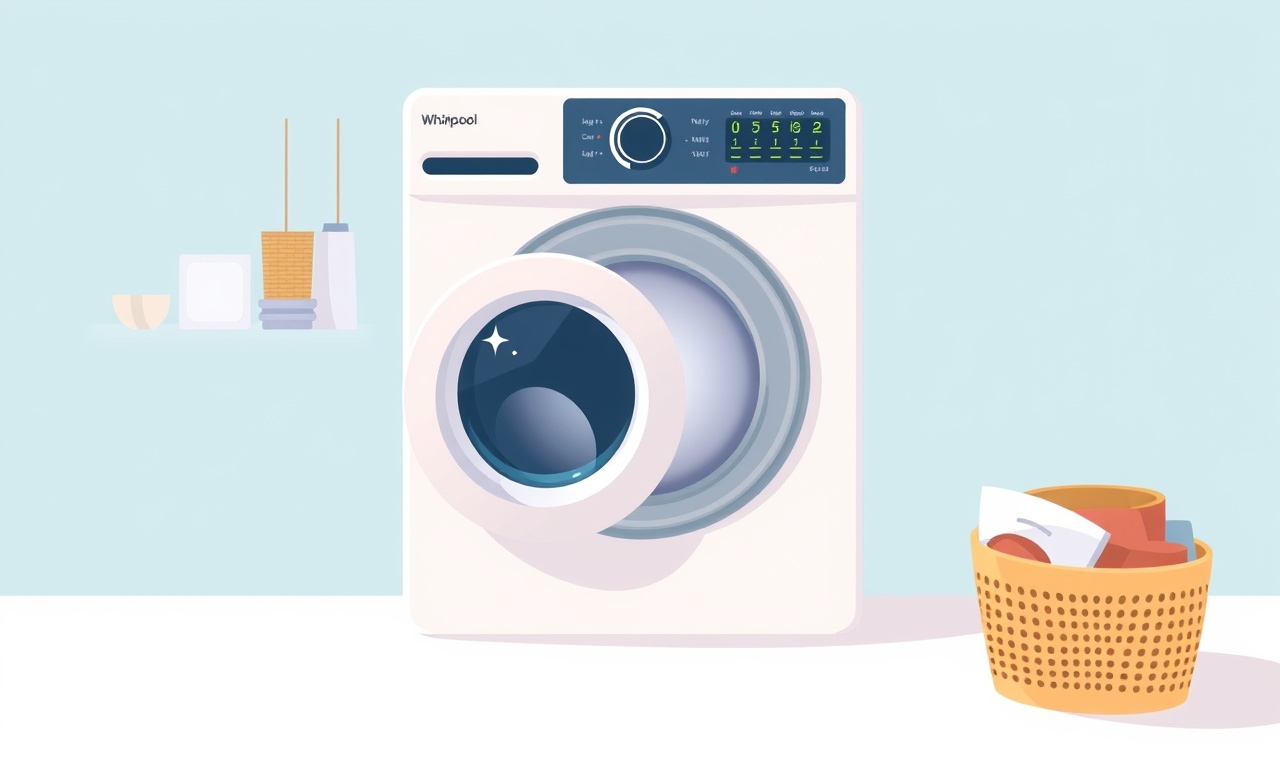
Whirlpool WUD210 Dryer Drum Not Spinning After Full Load
When a Whirlpool WUD210 dryer stops turning the drum after a full load, the experience can be frustrating. The drum may spin normally during the first cycle or two, but suddenly come to a halt. This stoppage can be caused by electrical issues, mechanical wear, or even a simple sensor fault. Below is a comprehensive guide that walks you through identifying the root cause, performing safe troubleshooting, and, if needed, replacing components to restore your dryer’s operation.
Understanding the Problem
A dryer drum that stops after a full load usually indicates that the motor has been interrupted or the drive system has failed. The most common scenarios are:
- Motor or pulley failure
- Broken or slipped clutch
- Faulty start switch or thermal fuse
- Sensor or control board issues
- Excessive load or lint blockage
Knowing which category applies helps you narrow down the next steps.
Safety First
Before you open any panels or touch the wiring, make sure the dryer is completely disconnected from power. Flip the circuit breaker or unplug the unit from the outlet. Inspect the outlet for proper grounding and check for any visible damage to the cord.
Key safety points
- Do not touch any exposed metal parts while the dryer is connected to power.
- If you are uncertain about a step, consult a licensed technician.
- Keep a fire extinguisher nearby when working with appliances that use heat.
Common Causes of Drum Stoppage
Mechanical Wear and Tear
The WUD210 uses a belt‑driven motor to spin the drum. Over time, the belt can stretch or slip, especially if the load is heavy. The pulley system also contains bearings that can become stiff or seize.
Motor and Start Circuit Problems
The motor’s start switch, capacitor, or the thermal fuse can trip after a full load. These components act as safety devices; if they detect abnormal heat or current, they cut power to prevent damage.
Sensor or Control Board Faults
Modern dryers include sensors that monitor temperature, load weight, and drum speed. A sensor misreading can cause the control board to shut down the motor prematurely.
Lint or Debris Blockage
Lint can accumulate in the lint filter, blower wheel, or in the drum’s internal rollers, creating friction that stops the drum from turning.
Step‑by‑Step Troubleshooting
Below is a structured approach to diagnosing the issue. Work through the steps in order; skip only if you’re certain a component has already been ruled out.
1. Check the Lint Filter and Door Seal
- Remove the lint filter and inspect it for excess lint.
- Clean the filter and reseat it.
- Examine the door seal for tears or debris that might impede the drum’s motion.
2. Inspect the Lint Trap
- Locate the lint trap at the back of the dryer.
- Remove any lint buildup that might block the airflow and increase heat.
3. Verify Power Supply
- Use a multimeter or a voltage tester to confirm 240 V is present at the dryer’s outlet.
- If voltage is missing, check the circuit breaker and outlet wiring.
4. Test the Thermal Fuse
- Locate the thermal fuse on the motor housing.
- Disconnect the wires, then use a multimeter to test for continuity.
- A blown fuse should be replaced immediately; it is inexpensive and critical for safety.
5. Examine the Motor and Start Switch
- With the dryer unplugged, remove the front panel to access the motor.
- Check the motor for visible signs of damage or burn marks.
- Test the start switch with a continuity test.
- If either component fails the test, replace it.
6. Check the Belt and Pulley
- Inspect the belt for cracks or stretching.
- Look for a slipping belt by manually turning the drum; resistance should be smooth.
- If the belt is worn, replace it with a new one that matches the manufacturer’s specifications.
7. Test the Drum’s Mechanical Rotation
- Manually rotate the drum.
- If it turns easily, the issue is likely electrical.
- If resistance or stalling is felt, inspect the drum bearings or rollers.
8. Inspect the Control Board
- Look for burnt or scorched areas on the control board.
- Verify that all connectors are secure.
- A damaged board may require professional replacement.
9. Verify the Motor’s Capacitor
- The motor uses a capacitor for start-up torque.
- Remove the capacitor and test its capacitance with a multimeter set to the capacitor mode.
- Replace if the reading is out of spec.
10. Check for Overload Situations
- A full load can overload the motor if the dryer is under‑rated for the load size.
- Consider reducing the load size or using a load sensor to confirm weight readings.
When to Call a Professional
If after following the steps above you cannot resolve the drum stoppage, it is prudent to seek professional help. Here are some red flags that warrant a technician’s visit:
- Persistent electrical faults despite replacement of parts.
- Repeated failures of the thermal fuse or start switch.
- Damage to the control board that cannot be repaired with a simple reset.
- Unknown wiring issues or potential fire hazards.
A certified appliance technician can safely access hard‑to‑reach components, interpret diagnostic codes, and perform precise repairs.
Preventive Maintenance Tips
Regular upkeep reduces the likelihood of the dryer stopping after a full load.
- Clean the lint filter after each use.
- Inspect the door seal quarterly for cracks or loose stitching.
- Vacuum the blower wheel and vent hose every few months to keep airflow efficient.
- Test the dryer’s cycle every month with a small load to ensure it spins correctly.
- Schedule a professional service call once a year to catch subtle issues early.
Frequently Asked Questions
Q: Why does the drum stop only after a full load?
A: The motor may overheat or the belt may slip when the load is at its heaviest. Overloading can trigger safety fuses or thermal cutoffs.
Q: Can I replace the motor myself?
A: Replacing a motor involves dealing with high voltage components. If you are comfortable with electrical work and follow safety protocols, you may do it. Otherwise, hire a professional.
Q: My dryer is new, but the drum stops. Is this normal?
A: New dryers can have manufacturing defects. Contact Whirlpool support for warranty assistance and possible replacement.
Q: Does a clogged vent cause the drum to stop?
A: A clogged vent can cause overheating, which may activate the thermal fuse or cause the motor to stall. It’s essential to keep vents clear.
Final Thoughts
A Whirlpool WUD210 dryer that refuses to spin the drum after a full load is usually a sign of either mechanical wear or an electrical safety cut. By systematically inspecting the lint filter, power supply, thermal fuse, motor components, and control board, most homeowners can identify the root cause. When the problem persists, professional help is the safest choice. Regular maintenance not only extends the dryer’s life but also prevents costly repairs. With the right knowledge and a careful approach, you can keep your dryer spinning smoothly and safely.
Discussion (7)
Join the Discussion
Your comment has been submitted for moderation.
Random Posts

Analyzing iPhone 13 Pro Max Apple Pay Transaction Declines After Software Update
After the latest iOS update, iPhone 13 Pro Max users see more Apple Pay declines. This guide explains the technical cause, how to diagnose the issue, and steps to fix payment reliability.
2 months ago

Dyson AM15 Mist Not Spreading What Causes It And How To Repair
Find out why your Dyson AM15 Mist isn’t misting, learn the common causes, and follow our step, by, step guide to restore full misting performance quickly.
2 months ago

Adjusting the Neato Botvac D6 for Unexpected Cleaning Pause
Learn why your Neato Botvac D6 pauses, diagnose the issue, and tweak settings for smooth, uninterrupted cleaning.
11 months ago

Quelling LG OLED G1 Picture Loop at Startup
Stop the LG OLED G1 picture loop that stutters at startup, follow these clear steps to diagnose software glitches, adjust settings, and restore a smooth launch every time.
4 months ago

Resolving Room Acoustics Calibration on Samsung HW Q990T
Calibrate your Samsung HW, Q990T to your room's acoustics and unlock true cinema-quality sound, every dialogue and subtle score becomes crystal clear.
1 month ago
Latest Posts

Fixing the Eufy RoboVac 15C Battery Drain Post Firmware Update
Fix the Eufy RoboVac 15C battery drain after firmware update with our quick guide: understand the changes, identify the cause, and follow step by step fixes to restore full runtime.
5 days ago

Solve Reolink Argus 3 Battery Drain When Using PIR Motion Sensor
Learn why the Argus 3 battery drains fast with the PIR sensor on and follow simple steps to fix it, extend runtime, and keep your camera ready without sacrificing motion detection.
5 days ago

Resolving Sound Distortion on Beats Studio3 Wireless Headphones
Learn how to pinpoint and fix common distortion in Beats Studio3 headphones from source issues to Bluetooth glitches so you can enjoy clear audio again.
6 days ago