Wolf WCO1000 Oven Light Circuit Failure - Inspection and Fix
Introduction
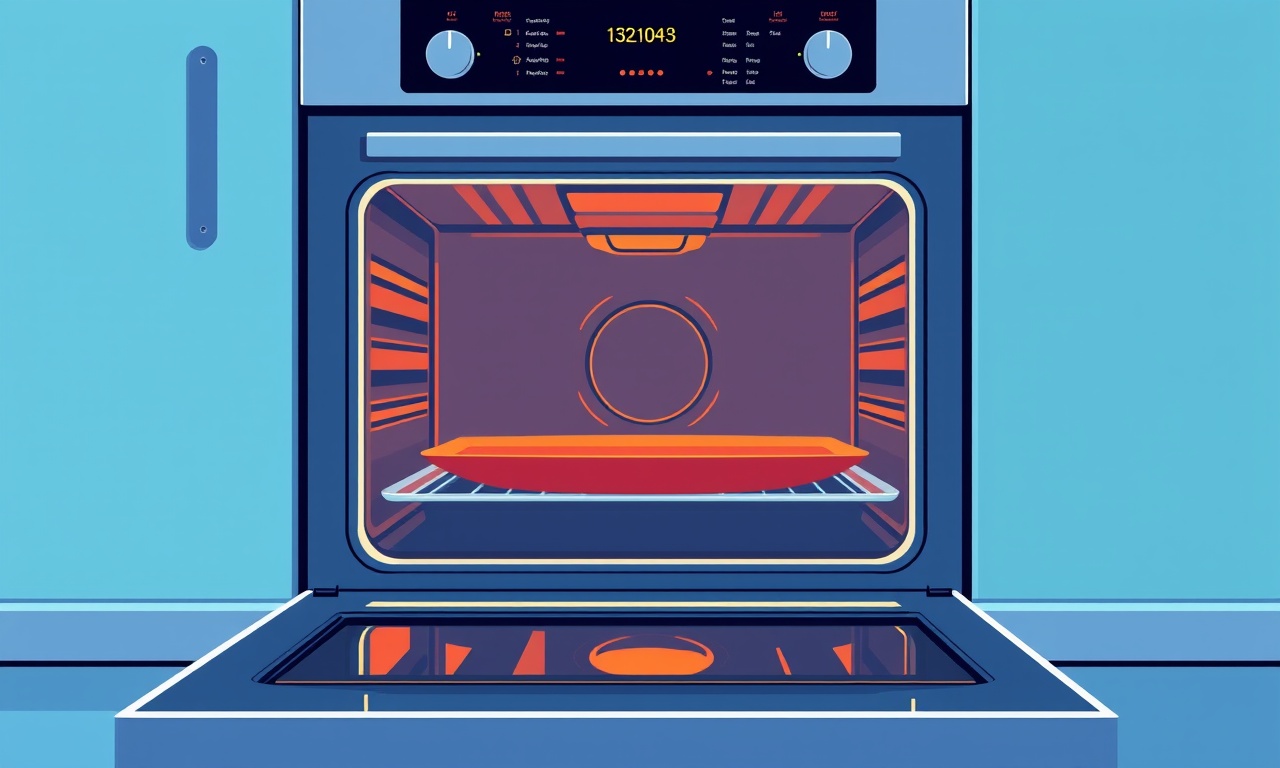
The Wolf WCO1000 is a high‑performance oven that many home chefs rely on for precise cooking. One of the most common complaints owners encounter is a dim or completely dark oven cavity, which usually points to a failure in the oven light circuit. While the issue can be frustrating, it is often fixable with a systematic inspection and a few basic tools. This guide walks you through the entire process—from recognizing the signs of a faulty light circuit to performing a safe repair and restoring full illumination.
Understanding the Oven Light Circuit
In the Wolf WCO1000, the oven light circuit consists of three primary components: the light bulb, the socket (or base), and the control switch that is activated when the oven door opens. Electrical power flows from the main oven wiring, through a fuse or thermal protector, into the switch, then to the socket where the bulb resides. If any link in this chain is compromised, the light will fail to turn on.
- Bulb – A high‑temperature halogen or incandescent bulb rated for oven use. It is designed to operate at temperatures up to 260 °C.
- Socket – A heat‑resistant ceramic or metal holder that secures the bulb and provides the electrical contacts.
- Door Switch – A microswitch that closes the circuit when the door is pulled open, completing the path to the bulb.
All three elements must be intact and correctly aligned for the light to function. Understanding how they interact helps narrow down the cause when the light stops working.
Symptoms of a Faulty Light Circuit
Before opening the oven, verify whether the problem is truly a circuit failure. Common symptoms include:
- The oven interior remains dark even when the door is fully opened.
- A faint glow or intermittent flicker suggests a loose connection rather than a dead bulb.
- The oven display and other functions work normally, indicating that the main power supply is intact.
- A clicking sound when the door is opened could signal a stuck door switch.
If the oven still produces heat and other controls respond correctly, the issue is likely isolated to the light circuit.
Safety First
Working with an appliance that is connected to mains electricity requires strict safety precautions.
- Unplug the oven – Disconnect the power cord from the wall outlet or turn off the dedicated circuit breaker. Verify that the oven is dead by trying to turn it on without power.
- Allow the oven to cool – Even after the oven has been turned off, interior surfaces can stay hot for up to an hour. Give the unit ample cooling time before touching any components.
- Use insulated tools – When handling wiring or terminals, insulated screwdrivers and pliers reduce the risk of accidental shock.
- Wear protective gloves – Heat‑resistant gloves protect your hands from residual heat and prevent cuts from sharp edges.
Following these steps ensures you work in a safe environment and avoid injury.
Tools and Materials Needed
Gather the following items before beginning the inspection:
- Phillips and flat‑head screwdrivers (medium size)
- Multimeter with continuity and voltage settings
- Replacement oven‑rated bulb (same wattage and type as original)
- Small needle‑nose pliers
- Soft cloth or microfiber towel
- Electrical tape (optional)
- Service manual for the Wolf WCO1000 (useful for reference diagrams)
Having everything at hand reduces interruptions and helps you maintain focus throughout the repair.
Diagnosing the Problem
A systematic diagnosis prevents unnecessary part replacement. Start with the easiest checks and move toward more involved inspections.
- Visual inspection of the bulb – Look through the oven door opening to see if the bulb filament is broken or the glass is darkened.
- Check the socket – Examine the socket for corrosion, burnt marks, or loose contacts.
- Test the door switch – Using a multimeter, verify that the switch closes when the door is opened.
If any of these components appear defective, replace or repair them accordingly. If everything looks normal, proceed to deeper testing.
Step‑by‑Step Inspection
Removing the Oven Door
- Open the oven door fully and locate the two hinge screws on the inside of the door frame.
- Use a Phillips screwdriver to loosen and remove the screws while supporting the door with your other hand.
- Carefully lift the door off the hinges and set it on a padded surface to avoid scratching the enamel.
Accessing the Light Bulb
- On the interior ceiling of the oven, you will see the light bulb socket covered by a thin metal or ceramic shield.
- Unscrew the shield by turning it counter‑clockwise. Some models have a retaining clip; gently release it with a flat‑head screwdriver if needed.
- Pull the bulb straight out of the socket. If it resists, wiggle it gently; never force it, as this can damage the socket contacts.
Inspecting the Socket
- Examine the socket’s metal contacts for signs of oxidation or deformation.
- Use a soft cloth to clean any debris. If corrosion is present, lightly sand the contacts with fine‑grade sandpaper, then wipe clean.
- Check that the socket’s internal spring (if present) is intact and provides adequate pressure on the bulb base.
Testing the Door Switch
- Locate the door switch, typically mounted near the top of the oven cavity, just above the bulb socket.
- Disconnect the two wires leading to the switch. Note their placement for reconnection.
- Set the multimeter to continuity mode. Place one probe on each terminal of the switch.
- Open the oven door manually (you can use a wooden block) and observe the multimeter reading. A continuity beep should occur, indicating the switch is closing correctly.
- If no continuity is detected when the door is open, the switch is faulty and must be replaced.
Verifying Power to the Socket
- Reconnect the oven to power temporarily for this test only. Ensure the door is open so the light circuit is engaged.
- Set the multimeter to AC voltage mode. Carefully insert the probes into the socket’s contacts (one probe on each side) without touching the metal shell.
- A reading of approximately 120 V (or 230 V depending on your region) confirms that power reaches the socket.
- If voltage is absent, trace the wiring back to the switch and main control board, checking for loose or broken wires.
Common Causes of Light Circuit Failure
After completing the inspection, you may have identified one or more of the following typical problems:
- Burned out bulb – The most frequent cause. Halogen bulbs have a finite lifespan and can fail suddenly.
- Corroded socket contacts – Exposure to heat and moisture accelerates oxidation, leading to poor electrical connection.
- Faulty door switch – Mechanical wear or debris can prevent the switch from closing.
- Broken wiring – Repeated opening and closing of the door can fatigue wire connections, especially at the hinge area.
- Control board malfunction – In rare cases, the board that sends power to the light circuit can develop a fault.
Understanding these causes helps you decide whether a simple part swap or a more extensive repair is required.
Repair Options
Replacing the Light Bulb
If the bulb is the sole issue, replacement is straightforward:
- Purchase a bulb that matches the original specifications (e.g., 250 W halogen, 120 V, oven‑rated).
- Insert the new bulb into the socket, ensuring the base aligns with the contacts.
- Replace the protective shield, re‑tighten the screws, and reinstall the oven door.
- Plug the oven back in and test the light by opening the door.
Cleaning or Replacing the Socket
When the socket shows corrosion or damage:
- For minor oxidation, clean the contacts with a cotton swab dipped in isopropyl alcohol, then dry thoroughly.
- If the socket is cracked or the spring is broken, order a replacement socket from an authorized Wolf parts dealer.
- Desolder the old socket from the wiring harness using a soldering iron and replace it with the new unit, ensuring correct polarity.
Replacing the Door Switch
A non‑functioning switch can be swapped without disassembling the entire oven:
- Purchase a genuine Wolf WCO1000 door switch.
- Remove the mounting screws or clips holding the old switch.
- Connect the wires to the new switch exactly as they were on the original (note the orientation).
- Secure the switch in place and test for continuity before reassembling the oven.
Addressing Wiring Issues
If you discover frayed or broken wires:
- Cut away the damaged section using wire cutters.
- Strip the insulation from the exposed ends (about ½ inch).
- Twist the corresponding wires together and solder the joint for a reliable connection.
- Cover the splice with heat‑shrink tubing or electrical tape to protect against heat and moisture.
Replacing the Control Board
Control board replacement is a last‑resort measure:
- Verify that power reaches the board by measuring voltage at its input terminals.
- If the board receives power but the light circuit remains dead, the board may be at fault.
- Obtain the exact part number from Wolf’s service documentation.
- Disconnect all wiring harnesses, remove mounting screws, and replace the board.
- Reassemble and test the oven light. If the problem persists, consult a professional technician.
Reassembling the Oven
After the repair, follow these steps to put the oven back together safely:
- Reattach the protective shield over the bulb socket, ensuring any retaining clips engage fully.
- Position the oven door on its hinges, align the hinge pins, and insert the screws you removed earlier.
- Tighten the hinge screws just enough to hold the door firmly but allow smooth opening and closing.
- Wipe any fingerprints or residue from the interior with a soft cloth.
- Plug the oven back into the wall outlet or restore the circuit breaker.
- Open the door to confirm that the light illuminates brightly.
Preventive Maintenance
Regular care can extend the life of the oven light circuit:
- Clean the interior – Remove food splatters and grease that can accumulate on the bulb and socket. Use a mild detergent and a non‑abrasive cloth.
- Check the bulb annually – Even if the light works, replace the bulb every 12‑18 months to avoid sudden failure.
- Inspect the door switch – Occasionally test the switch with a multimeter to ensure it still closes properly.
- Avoid slamming the door – Gentle operation reduces mechanical stress on the switch and wiring.
Implementing these habits minimizes the risk of future outages.
When to Call a Professional
While many light circuit issues are DIY‑friendly, certain situations warrant expert assistance:
- The control board appears damaged or shows signs of overheating.
- You encounter exposed wiring that runs through the oven’s insulation, requiring specialized repair.
- The oven is still under warranty and any unauthorized work could void coverage.
- You feel uncomfortable working with electrical components or lack the necessary tools.
A certified appliance technician can diagnose complex faults safely and ensure the oven remains compliant with safety standards.
Conclusion
A non‑functioning light in the Wolf WCO1000 oven is rarely a catastrophic problem. By following a careful inspection, testing each component of the light circuit, and applying the appropriate fix—whether a simple bulb swap, socket cleaning, or switch replacement—you can restore full illumination and keep your oven performing at its best. Prioritize safety, keep a well‑organized toolbox, and adhere to the preventive maintenance tips to avoid repeated failures. With a methodical approach, the oven light circuit becomes a manageable part of home appliance upkeep.
Discussion (7)
Join the Discussion
Your comment has been submitted for moderation.
Random Posts

Analyzing iPhone 13 Pro Max Apple Pay Transaction Declines After Software Update
After the latest iOS update, iPhone 13 Pro Max users see more Apple Pay declines. This guide explains the technical cause, how to diagnose the issue, and steps to fix payment reliability.
2 months ago

Dyson AM15 Mist Not Spreading What Causes It And How To Repair
Find out why your Dyson AM15 Mist isn’t misting, learn the common causes, and follow our step, by, step guide to restore full misting performance quickly.
2 months ago

Adjusting the Neato Botvac D6 for Unexpected Cleaning Pause
Learn why your Neato Botvac D6 pauses, diagnose the issue, and tweak settings for smooth, uninterrupted cleaning.
11 months ago

Quelling LG OLED G1 Picture Loop at Startup
Stop the LG OLED G1 picture loop that stutters at startup, follow these clear steps to diagnose software glitches, adjust settings, and restore a smooth launch every time.
4 months ago

Resolving Room Acoustics Calibration on Samsung HW Q990T
Calibrate your Samsung HW, Q990T to your room's acoustics and unlock true cinema-quality sound, every dialogue and subtle score becomes crystal clear.
1 month ago
Latest Posts

Fixing the Eufy RoboVac 15C Battery Drain Post Firmware Update
Fix the Eufy RoboVac 15C battery drain after firmware update with our quick guide: understand the changes, identify the cause, and follow step by step fixes to restore full runtime.
5 days ago

Solve Reolink Argus 3 Battery Drain When Using PIR Motion Sensor
Learn why the Argus 3 battery drains fast with the PIR sensor on and follow simple steps to fix it, extend runtime, and keep your camera ready without sacrificing motion detection.
5 days ago

Resolving Sound Distortion on Beats Studio3 Wireless Headphones
Learn how to pinpoint and fix common distortion in Beats Studio3 headphones from source issues to Bluetooth glitches so you can enjoy clear audio again.
6 days ago