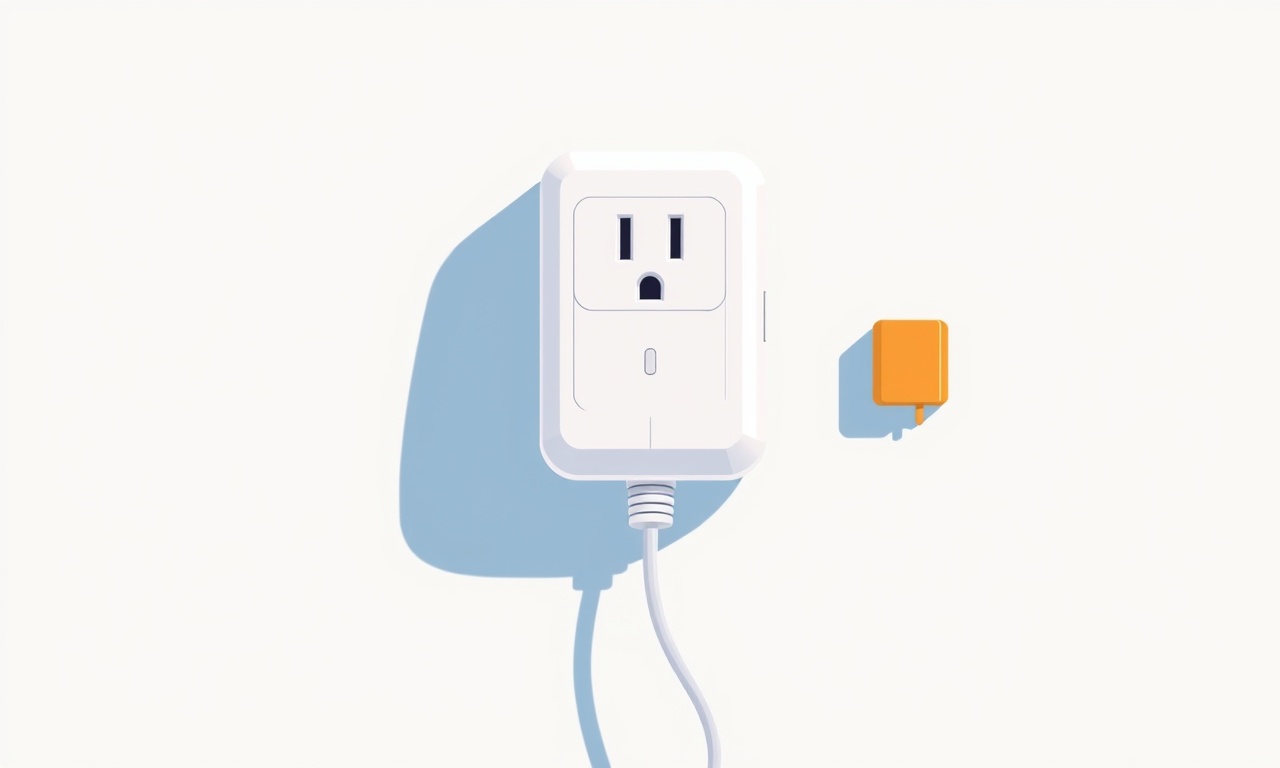
Amazon Smart Plug Repair Guide for Unresponsive Power Switching
Introduction to the Issue
If your Amazon smart plug is no longer responding to power switches—whether the button on the plug itself, the Amazon Alexa app, or a voice command—then you’re dealing with a device that has lost communication or a firmware glitch. The good news is that most of these problems can be resolved through a series of systematic checks and resets. This guide walks you through every step, from simple power cycling to a full factory reset and firmware update, ensuring you can restore functionality without replacing the plug.
Safety First
Before you begin, keep these safety guidelines in mind:
- Unplug the device. Even when troubleshooting, always remove the plug from the outlet.
- Avoid moisture. Smart plugs are not designed for wet environments; keep them dry.
- Check for overheating. If the plug feels hot, wait until it cools to the touch.
- Use a non‑metallic tool. When pressing the reset button, use a plastic or wooden tool to prevent short circuits.
Step 1: Verify Power Supply
The most common cause of an unresponsive plug is a power issue.
- Confirm the outlet is live. Test another device—like a lamp or a phone charger—to see if the outlet supplies power.
- Inspect the plug’s connection. Ensure the plug is fully inserted into the outlet; a loose connection can cause intermittent failures.
- Replace the power cord if it shows fraying or damage. A faulty cord can stop the plug from receiving power entirely.
Step 2: Confirm Firmware Status
A firmware bug can also lead to loss of response. To check the firmware:
- Open the Alexa app.
- Go to Devices → Smart plugs → select your plug.
- Scroll to the bottom for Software version.
- If an update is available, tap Update and wait until the progress bar clears.
If your device is already on the latest version, proceed to the next step. Firmware updates can fix many connectivity problems, so it’s worth checking early.
Step 3: Re‑Pair the Device with Alexa
Sometimes the plug loses its association with your Alexa ecosystem.
- Remove the plug from the Alexa app: long‑press the plug icon and choose Delete.
- Reset the plug (see Step 5 for details).
- In the Alexa app, tap Add Device → Plug and follow the on‑screen instructions to re‑pair.
Re‑pairing forces a fresh connection, clearing any stale pairing data that may have caused the unresponsive behavior.
Step 4: Test the Physical Switch
The built‑in button on the plug can be tested to see if the problem lies with the hardware interface.
- Press the button gently. If the LED indicator on the plug flashes, it means the button is working internally.
- If there is no LED response, the button or its circuitry may be damaged. In this case, the plug will likely need replacement.
Step 5: Perform a Hard Reset
A hard reset restores the plug to its factory settings, clearing any misconfigurations.
- Locate the reset button on the plug’s side.
- Insert a paperclip or a small non‑metallic pin.
- Hold the button for about 15 seconds until the LED blinks amber and then turns green.
- Release the button and allow the plug to reboot.
After the reset, the plug will forget all Wi‑Fi credentials and Alexa bindings. It will now appear as a new device when you go through the setup process.
Step 6: Re‑Set Up the Wi‑Fi Connection
During the reset process, the plug will begin searching for Wi‑Fi networks.
- Open the Alexa app, choose Add Device, then Plug.
- Select the correct Wi‑Fi network.
- Enter the password.
- Wait for the confirmation LED to stabilize green.
If the plug fails to connect, ensure your router is broadcasting a 2.4 GHz signal (many smart plugs do not support 5 GHz). Some routers have separate “guest” networks; use the primary network instead.
Step 7: Check for Interference
Interference from other electronics can disrupt the plug’s Wi‑Fi connection.
- Move the plug a few feet away from large appliances like microwaves, refrigerators, or cordless phones.
- Avoid placing the plug inside metal cabinets or behind thick walls.
- If your router uses a dual‑band feature, consider setting up a dedicated 2.4 GHz network just for IoT devices.
Step 8: Verify Power Management Settings
On certain smart plugs, “sleep mode” settings can delay responsiveness.
- In the Alexa app, go to the plug’s settings.
- Look for options such as Power Saving or Sleep Timer.
- Disable any power‑saving modes to ensure the plug stays active.
If you don’t see such options, the plug likely doesn’t support them, so skip this step.
Step 9: Test with a Third‑Party Smart Home Hub
To rule out Alexa or network issues, try controlling the plug with a different hub.
- Install the Amazon Smart Plug app (available on iOS and Android).
- Follow the in‑app setup to add the plug.
- Try turning the plug on/off using the app.
If the third‑party app works while Alexa doesn’t, the problem is likely with your Alexa configuration or the Amazon Echo device itself.
Step 10: Inspect the Internal Wiring (Advanced)
If the plug continues to be unresponsive, it may be a hardware fault.
- Remove the plastic casing. Use a Phillips head screwdriver to unscrew the back plate.
- Check the internal power cord for visible breaks or frayed insulation.
- Look for any loose connections around the power module and reset button.
- If you find any loose wires, gently reconnect them with a soldering iron or use a small connector.
Note: Opening the device voids the warranty. Proceed only if you’re comfortable with electronics repair.
Step 11: Contact Amazon Support
If all software steps fail and the hardware appears intact, reach out to Amazon support.
- Prepare the device’s serial number (found on the base or in the Alexa app).
- Explain the steps you’ve taken and provide screenshots of the app’s status.
- Amazon’s support team can run diagnostics and may offer a replacement under warranty if the device is still eligible.
Step 12: Evaluate Replacement Options
If the plug is beyond repair or if the warranty has expired, consider the following alternatives:
| Option | Pros | Cons |
|---|---|---|
| Buy a new Amazon Smart Plug | Seamless integration with Alexa | Cost |
| Opt for a third‑party smart plug | Often cheaper | Might need a different hub |
| Use a smart outlet with a manual switch | Combines smart control and manual override | Slightly more bulky |
Final Checklist
Before you declare the plug “fixed” or “replaced,” run through this quick verification list:
- The plug’s LED flashes green during normal operation.
- The Alexa app shows the plug as “Online.”
- Voice commands like “Alexa, turn on the lamp” are acknowledged.
- The plug responds promptly to the physical button.
- No error messages appear in the app regarding Wi‑Fi or firmware.
If all items check out, you’ve successfully restored your Amazon smart plug. If any point remains unresolved, you may need to return to a previous step or consider a new unit.
Summary
An unresponsive Amazon smart plug can be frustrating, but most issues are solvable with a methodical approach. Start with basic power checks, verify firmware, reset and re‑pair, and inspect for interference or hardware faults. Only when these steps fail should you seek professional support or replace the device. By following this guide, you’ll spend less time troubleshooting and more time enjoying the convenience of a fully functional smart plug.
Discussion (7)
Join the Discussion
Your comment has been submitted for moderation.
Random Posts

Rebooting Google Nest Hub (3rd Gen) to Resolve App Sync Glitches
Stuck with delayed notifications, unresponsive tiles, or stale smart, home data? A simple reboot of your Nest Hub 3rd Gen clears cache, resets processes, and restores smooth app sync.
3 months ago

Fixing Bluetooth Signal Drops on Apple AirPods Pro
Tired of AirPods Pro disconnecting during walks or workouts? Learn why Bluetooth drops happen, how to spot them, and quick fixes - no coding required - to keep audio flowing.
11 months ago

Fixing the Duplexer Failure on a Brother MFC‑J805DW
Learn how to diagnose and replace a faulty duplexer on your Brother MFC, J805DW, restoring double, sided printing with step, by, step instructions for tech, savvy users.
10 months ago

Solving Apple iPhone 13 Pro Camera Rolling Shutter With External Lens
Stop the slanted look from rolling shutter when adding external lenses to your iPhone 13 Pro by tweaking camera settings, choosing the right lens, and using proper stabilization.
9 months ago

Restoring Bandwidth on Amazon Eero Mesh 6 Pro After a Firmware Update
After an Eero Mesh 6 Pro firmware update, bandwidth often drops. This guide explains why the change occurs and walks you through quick steps to restore full speed and a stable connection for work and play.
8 months ago
Latest Posts

Fixing the Eufy RoboVac 15C Battery Drain Post Firmware Update
Fix the Eufy RoboVac 15C battery drain after firmware update with our quick guide: understand the changes, identify the cause, and follow step by step fixes to restore full runtime.
5 days ago

Solve Reolink Argus 3 Battery Drain When Using PIR Motion Sensor
Learn why the Argus 3 battery drains fast with the PIR sensor on and follow simple steps to fix it, extend runtime, and keep your camera ready without sacrificing motion detection.
5 days ago

Resolving Sound Distortion on Beats Studio3 Wireless Headphones
Learn how to pinpoint and fix common distortion in Beats Studio3 headphones from source issues to Bluetooth glitches so you can enjoy clear audio again.
6 days ago