Correcting a Leakage in the Drain Hose on Panasonic NA-FA50W
The Panasonic NA‑FA50W is a reliable washing machine that many households rely on for everyday laundry. A frequent complaint from owners, however, is water leaking from the drain hose. This leak can damage floors, create slip hazards, and cause unnecessary water waste. Knowing how to locate, diagnose, and correct the leak is essential for keeping your machine running efficiently and extending its life.
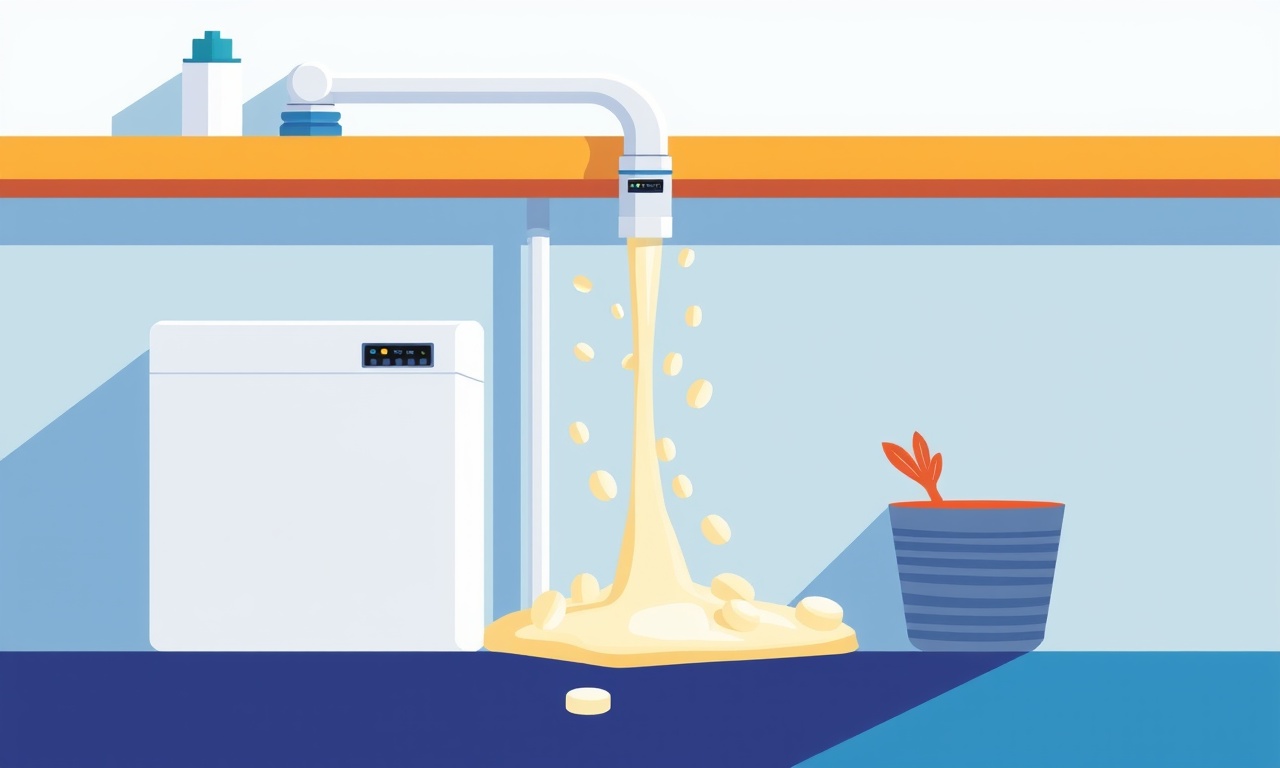
Understanding the Drain System
The drain system of the NA‑FA50W is designed to remove excess water after each wash cycle. The machine uses a flexible drain hose that connects the internal drain pump to an external outlet. The hose is secured by a clamp and usually sits at the back of the unit. A well‑seated hose prevents water from escaping during agitation or spin.
Common Causes of Drain Hose Leaks
There are several ways that a drain hose can develop a leak:
- Worn or cracked hose – Over time, the rubber or plastic material can degrade, develop micro‑cracks, or split entirely.
- Loose clamp – The clamp that holds the hose may loosen or fail, allowing the hose to slip.
- Incorrect hose routing – Bending the hose sharply or pulling it taut can create stress points that crack.
- High water pressure – An overly aggressive spin cycle or a pump malfunction can increase pressure, forcing water through weak spots.
- Foreign objects – Debris such as coins, buttons, or small items can jam the hose, leading to a rupture.
Tools and Safety Precautions
Before you begin, gather the following tools and take these safety measures:
- Safety goggles and gloves to protect against splashes.
- A towel or wet‑dry vacuum for quick water removal.
- A new drain hose or a repair kit that includes a hose section, clamps, and sealing tape.
- A pair of pliers for tightening the clamp.
- A towel to dry the area after inspection.
Always disconnect the machine from the power outlet and shut off the water supply at the faucet or valve before starting any work. This prevents electrical hazards and water damage.
Identifying the Leak
- Visual inspection – Turn off the machine and water, then remove the back panel. Look for moisture around the drain hose connection, any visible cracks, or gaps where water could escape.
- Listen for dripping – With the machine still powered off, listen for any dripping sound from the drain outlet. If you hear water, the hose or clamp is likely compromised.
- Check the clamp – The metal or plastic clamp should be snug. If it appears loose or if the hose is moving, tighten it with pliers.
If you find a damaged section or a compromised clamp, proceed to the removal phase.
Removing the Drain Hose
- Open the back panel of the washer to access the internal components.
- Carefully detach the hose from the outlet by loosening the clamp. Use pliers if the clamp is stubborn, but avoid over‑tightening, which can damage the hose further.
- Inspect the hose for cuts, bulges, or hardening. If you spot any irregularities, replace the hose.
- Take note of how the hose was routed to ensure correct reinstallation.
Preparing a Replacement or Repair
- If the hose is intact but the clamp is failing, consider replacing the clamp with a new one of the same size.
- For a damaged hose, purchase a replacement that matches the original’s diameter and length. The Panasonic NA‑FA50W typically uses a 1‑inch hose; verify your model’s specifications before buying.
- If you prefer a quick fix, a flexible repair kit with a sealed section and a new clamp can bridge the leak. Follow the manufacturer’s instructions to ensure proper sealing.
Reinstalling the Drain Hose
- Route the hose back into position exactly as it was originally. Avoid sharp bends or kinks.
- Secure the hose to the outlet using the new clamp. Tighten the clamp until the hose is snug but not over‑tightened.
- Use sealing tape around the hose insertion point if recommended by the manufacturer. This adds an extra layer of protection against leaks.
- Double‑check the clamp’s tension and the hose’s alignment before closing the back panel.
Testing for Leaks
- Reconnect the power to the washer, but keep the water supply off.
- Open a small water valve at the back of the machine to run a test cycle at low water level. Observe the hose for any dripping or seepage.
- Run a full wash cycle while watching the hose area closely. If no leaks appear, the repair is successful.
- Listen for unusual sounds such as whistling or hissing, which might indicate a new leak point.
If water still appears, pause the cycle, turn off power, and re‑examine the hose and clamp. It may be necessary to replace the hose entirely if the material is compromised beyond repair.
Preventing Future Leaks
- Regular inspections – Check the hose and clamp every few months, especially after a few hundred cycles.
- Proper storage – If you plan to store the washer for an extended period, disconnect the water supply and drain the hose to prevent residual water from causing corrosion.
- Avoid overfilling – Do not exceed the recommended load size; heavy loads can put extra strain on the pump and hose.
- Maintain water pressure – Keep household water pressure within normal limits; high pressure can stress the hose.
- Use quality parts – Whenever replacing components, use OEM or reputable aftermarket parts designed for Panasonic models.
Troubleshooting Persistent Leaks
If the leak continues after following the steps above, consider the following possibilities:
- Pump failure – A malfunctioning pump can create back‑pressure, forcing water through weak points. Inspect the pump for clogs or damage.
- Outlet blockage – The drain outlet may be partially blocked, causing pressure build‑up. Remove any debris carefully.
- Hose misalignment – Even a small misalignment can cause friction and eventual failure. Re‑route the hose with a gentle curve.
- Electrical issue – Faulty wiring at the drain connector could cause leakage. This requires a qualified technician.
In cases where the issue persists, contact Panasonic support or a certified appliance repair professional.
Conclusion
A leaking drain hose on the Panasonic NA‑FA50W can be a nuisance, but it is often a straightforward problem to resolve. By following a systematic approach—identifying the leak, removing the hose, inspecting for damage, installing a new hose or clamp, and testing the repair—you can restore the machine to leak‑free operation. Regular maintenance and attention to hose routing and clamp tightness will help prevent future leaks and keep your washing machine running smoothly for years to come.
Discussion (9)
Join the Discussion
Your comment has been submitted for moderation.
Random Posts

Addressing Apple iPhone 14 Pro Max Battery Drain During Gaming Sessions
Learn why iPhone 14 Pro Max batteries drain during gaming, how to diagnose the issue, and practical tweaks to keep you playing longer with less power loss.
5 months ago

Curing iPhone 14 Plus Charging Port Wear After Daily Fast Charge Cycles
Fast charging can loosen your iPhone 14 Plus port. Learn to spot slow charging and loose cables, then fix it with simple home tricks or long, term prevention.
6 months ago
Xiaomi Mi SmartGlasses 3 Eye Tracking Error Fix
Fix the eye, tracking issue on Mi SmartGlasses 3 with this step, by, step guide to diagnose, clear errors, and restore functionality without repair.
1 year ago

Overcoming Sony X900H Color Saturation Drift During HDR Playback
Discover how to spot and fix color saturation drift on your Sony X900H during HDR playback, tune settings, correct HDR metadata, and keep your scenes vivid and natural.
4 months ago

Remediating Signal Dropout on Bowers & Wilkins PX8 Noise Cancelling Headphones
Discover why the Bowers & Wilkins PX8 may drop sound and how to fix it by tackling interference, low battery, outdated firmware, obstacles and Bluetooth settings for uninterrupted audio
1 week ago
Latest Posts

Fixing the Eufy RoboVac 15C Battery Drain Post Firmware Update
Fix the Eufy RoboVac 15C battery drain after firmware update with our quick guide: understand the changes, identify the cause, and follow step by step fixes to restore full runtime.
5 days ago

Solve Reolink Argus 3 Battery Drain When Using PIR Motion Sensor
Learn why the Argus 3 battery drains fast with the PIR sensor on and follow simple steps to fix it, extend runtime, and keep your camera ready without sacrificing motion detection.
5 days ago

Resolving Sound Distortion on Beats Studio3 Wireless Headphones
Learn how to pinpoint and fix common distortion in Beats Studio3 headphones from source issues to Bluetooth glitches so you can enjoy clear audio again.
6 days ago