Eliminating Samsung Odyssey+ Headset Strap Slack After Use
Understanding the Samsung Odyssey+ Strap Design
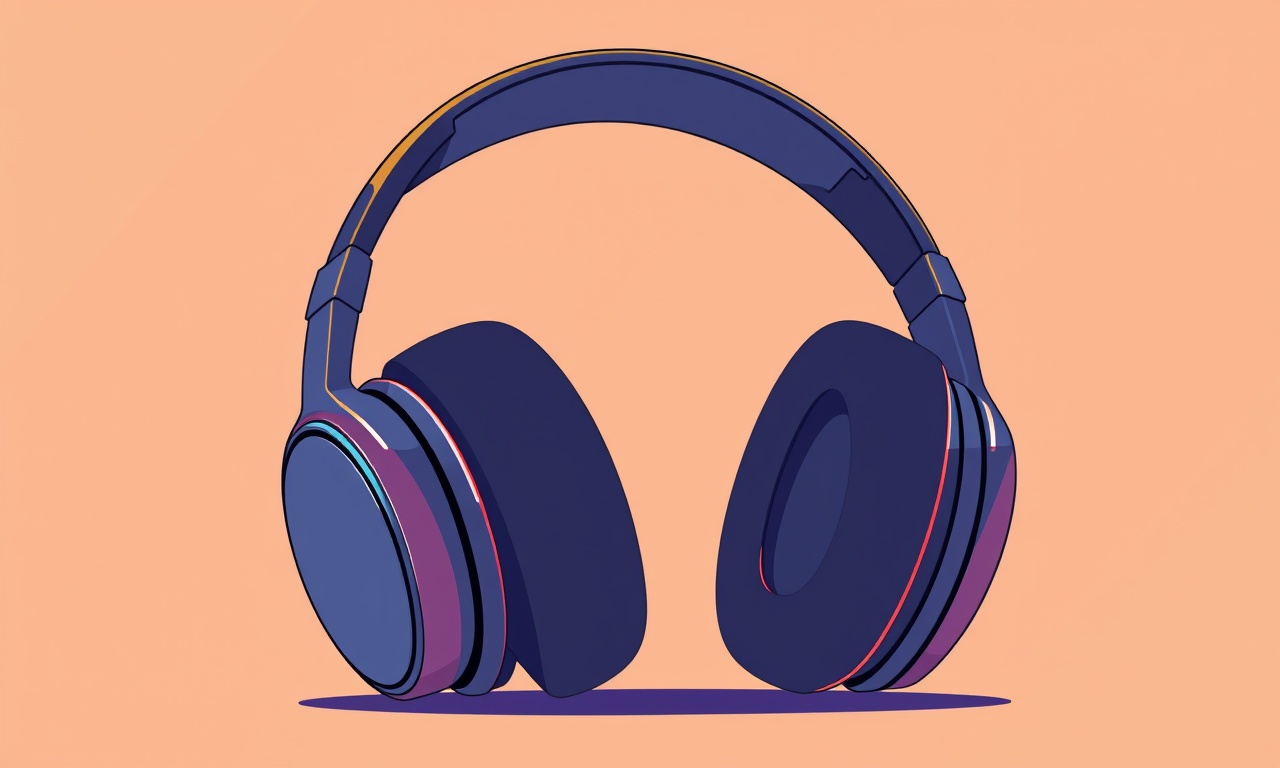
The Samsung Odyssey+ is a Windows Mixed Reality headset that relies on a soft‑foam face cushion, a balanced weight distribution system, and a set of adjustable straps. The main strap is a single, wide piece of elastic material that loops around the back of the head and connects to two side hooks. These hooks slide into slots on the headset frame, allowing the user to tighten or loosen the strap by pulling the elastic band forward or backward.
Because the strap is elastic, it naturally returns to a neutral length after each use. Over time, repeated stretching, improper storage, and variations in head shape can cause the strap to develop noticeable slack. When the slack is significant, the headset may shift during gameplay, reducing immersion and potentially causing discomfort.
Common Causes of Strap Slack
- Repeated stretching – Each time you pull the strap to tighten it, the elastic fibers experience a small amount of permanent elongation. After many cycles, the band can become longer than the original specification.
- Heat exposure – Leaving the headset in a hot car or near a heating vent can soften the elastic material, accelerating the loss of tension.
- Improper storage – Tossing the headset into a bag without supporting the strap can create bends and folds that weaken the elastic over time.
- Weight imbalance – Adding heavy accessories such as external battery packs or large headphones can place extra load on the strap, causing it to stretch more quickly.
Understanding these factors helps you choose the right preventative measures and corrective actions.
Preventative Maintenance Before You Play
A disciplined routine can dramatically reduce the likelihood of slack building up. Follow these guidelines each time you finish a VR session.
- Remove the headset gently – Instead of pulling the headset forward off the strap, release the side hooks first. This removes the tension from the elastic and prevents sudden stretching.
- Clean the strap surface – Wipe the elastic with a dry microfiber cloth to remove sweat and oil. Moisture can degrade the elastic fibers if left to sit.
- Store in a neutral position – Place the headset on a flat surface with the strap lying loosely but not twisted. Avoid hanging the headset from its strap or draping it over a sharp edge.
Tools and Materials You May Need
- A clean, lint‑free cloth
- Small flat‑head screwdriver (optional, for accessing interior adjustment screws)
- Elastic band replacement kit or a high‑quality silicone strap (available from third‑party vendors)
- Zip‑lock bag or dedicated VR headset case for storage
Having these items on hand ensures you can act quickly when slack appears.
Step‑by‑Step Guide to Eliminate Slack
Assess the Current Tension
- Hold the headset in front of you with the straps relaxed.
- Gently pull the side hooks outward; note how far the elastic stretches before it feels firm.
- Compare the distance to the original specification (approximately 120 mm between hooks when fully tightened on an average adult head).
If the stretch exceeds the original distance by more than 10 mm, it is time to tighten or replace the strap.
Tightening Using the Built‑In Adjustment Mechanism
The Odyssey+ features a small sliding latch on each side of the frame. This latch locks the strap in place after you pull the elastic forward.
- Locate the latch near the bottom edge of each side hook.
- With the headset still on the cloth, slide the latch outward slightly to release tension.
- Pull the elastic forward until the headset sits snugly on a test head (or a mannequin head if you have one).
- Slide the latch back into the locked position, ensuring it clicks securely.
Check the fit by wearing the headset for a minute; if it moves, repeat the adjustment until the strap feels firm but not overly restrictive.
Reinforcing the Elastic with a Supplemental Band
If the built‑in mechanism alone does not restore adequate tension, you can add a supplemental silicone band around the existing strap.
- Measure a length of silicone strap that is slightly shorter than the current slack length.
- Wrap the silicone band around the elastic, aligning it with the side hooks.
- Use a small piece of double‑sided tape or a tiny zip tie to secure the ends together.
This extra layer distributes the load more evenly and reduces further stretching of the original elastic.
Replacing the Original Elastic (Advanced)
When the strap has lost most of its elasticity, a full replacement is the most reliable solution.
- Detach the side hooks from the headset frame. They are usually secured by a set of small screws; use the flat‑head screwdriver to remove them.
- Gently slide the old elastic out of its channels. Take note of the routing path; a photo can be helpful.
- Insert the new elastic, ensuring it follows the same path and that the ends align with the slots on the side hooks.
- Reattach the side hooks and tighten the screws securely.
After replacement, repeat the tightening steps to set the optimal tension.
Storage Solutions That Preserve Strap Integrity
Proper storage is as important as the adjustment process itself.
- Use a dedicated VR headset case – These cases feature padded compartments that keep the strap flat and protected.
- Avoid tight bags – A cramped backpack can compress the elastic, causing micro‑folds that eventually weaken it.
- Keep away from sunlight – UV rays can break down the polymer chains in the elastic, leading to premature slack.
If you travel often, a zip‑lock bag with a silica gel packet can help control humidity, which also affects elastic longevity.
Routine Check‑Up Schedule
- After every 5‑hour gaming block – Perform a quick visual inspection of the strap for any signs of stretching or discoloration.
- Monthly – Conduct the full tension assessment and adjust the latch if needed.
- Every six months – Consider swapping the elastic for a fresh strap if you notice a gradual loss of firmness despite adjustments.
Following this schedule ensures that you catch small issues before they become major problems.
Troubleshooting FAQ
Q: The headset still feels loose even after tightening the latch.
A: Verify that the latch is fully engaged. Some users miss the final click, leaving the strap partially released. If the latch is locked and the fit remains loose, add a supplemental silicone band or replace the elastic.
Q: The elastic snaps when I try to tighten it.
A: This indicates that the original elastic has degraded beyond repair. Replace the strap entirely. Use a high‑quality silicone or neoprene band designed for VR headsets.
Q: The side hooks are stripped and won’t hold the strap.
A: Use a tiny amount of thread‑locker on the screw threads when re‑installing the hooks. If the hooks themselves are damaged, contact Samsung support or purchase a compatible aftermarket bracket.
Q: My headset smells after a session.
A: Sweat can accumulate in the foam cushion and the strap. Remove the cushion, wash it according to the manufacturer’s instructions, and let both the cushion and strap air dry completely before the next use.
Safety Considerations
- Never force the elastic – Applying excessive pulling force can cause the strap to snap, potentially injuring the user.
- Avoid using adhesive tapes that leave residue – Some adhesives can damage the foam cushion or the headset paint.
- Check for sharp edges – When removing screws or replacing components, ensure no metal burrs are left on the frame that could cut the strap.
By respecting the material limits, you preserve both the headset and your safety.
Summary of Best Practices
- Remove the headset by releasing side hooks first.
- Clean and dry the strap after each use.
- Store the headset in a neutral, protected environment.
- Use the built‑in latch to fine‑tune tension before adding supplemental bands.
- Replace the elastic when it shows permanent deformation or signs of wear.
- Follow a regular inspection schedule to catch issues early.
Implementing these habits will keep the Samsung Odyssey+ strap tight, comfortable, and ready for immersive experiences.
With a disciplined approach to maintenance, you can enjoy the full potential of your VR headset without the distraction of a loose strap. The steps outlined above are designed to be straightforward, requiring only common tools and a little patience. By treating the strap as a critical component rather than an afterthought, you extend the life of your device and maintain the high‑quality visual experience that the Odyssey+ is known for.
Enjoy your virtual worlds with confidence, knowing that your headset stays securely in place from start to finish.
Discussion (7)
Join the Discussion
Your comment has been submitted for moderation.
Random Posts

Reassessing the Audio Jack Dropout on LG Velvet 2
Explore why the LG Velvet 2's 3.5mm jack glitches, what triggers audio dropouts, user fixes, and LG's stance: essential insight for current and future Android phones.
1 year ago

Philips HP700 Fan Stalls Quietly Even At Low Speed Why This Happens And What To Do
Discover why your Philips HP700 quietly stalls at low speed, spot early signs, and fix the issue to keep steady airflow.
2 weeks ago

How to Stop Sharp LC-40M from Producing Audio Sync Issues While Gaming
Fix your Sharp LC-40M so game audio stays in sync. Learn quick settings tweaks, cable checks, and audio-output fixes that keep sound matching action for a flawless gaming experience.
6 months ago

Solve Arlo Pro 4 Wireless Connection Problems
Discover quick fixes for offline Arlo Pro 4 cameras. Check power, Wi, Fi, firmware, reset steps, and more get your live feed back up fast.
4 months ago

Panasonic D45 Dryer Timer Skips Final Drying Cycle
Discover why your Panasonic D45 dryer skips its final cycle, learn the symptoms, root causes, and easy fixes to keep clothes dry, save energy, and avoid extra runs.
5 months ago
Latest Posts

Fixing the Eufy RoboVac 15C Battery Drain Post Firmware Update
Fix the Eufy RoboVac 15C battery drain after firmware update with our quick guide: understand the changes, identify the cause, and follow step by step fixes to restore full runtime.
5 days ago

Solve Reolink Argus 3 Battery Drain When Using PIR Motion Sensor
Learn why the Argus 3 battery drains fast with the PIR sensor on and follow simple steps to fix it, extend runtime, and keep your camera ready without sacrificing motion detection.
5 days ago

Resolving Sound Distortion on Beats Studio3 Wireless Headphones
Learn how to pinpoint and fix common distortion in Beats Studio3 headphones from source issues to Bluetooth glitches so you can enjoy clear audio again.
6 days ago