Fixing a Door Seal Leak on a Panasonic NN-DS30W Dishwasher
Introduction
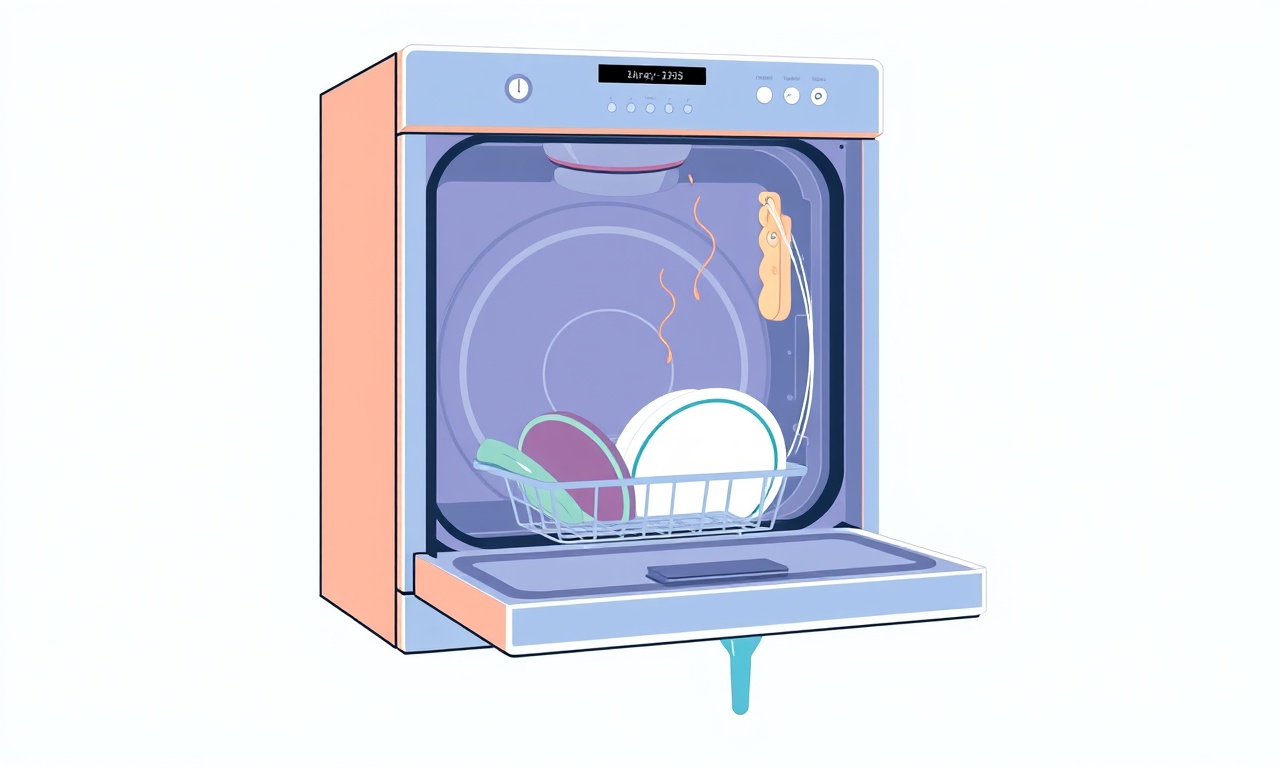
When a dishwasher starts leaking around the door, it can quickly become a source of frustration. For owners of the Panasonic NN‑DS30W, a common culprit is a worn or mis‑aligned door seal. A simple, methodical repair can restore performance, protect your kitchen floor, and save you the cost of a new appliance. This guide walks you through every step—from identifying the leak to re‑installing the seal—using tools you already have in most households.
What Causes a Door‑Seal Leak?
Before diving into repairs, it helps to understand why the seal fails in the first place. The door seal, also known as the gasket, is made of flexible rubber that keeps water inside during wash cycles. Over time, several factors can weaken it:
- Age and wear: Continuous compression and exposure to detergent chemicals gradually soften the rubber.
- High‑temperature cycles: Excessive heat can cause the seal to shrink or develop cracks.
- Improper loading: Placing heavy pots directly on the seal or forcing the door closed too hard can deform it.
- Physical damage: Dropped utensils, accidental pulls, or debris caught in the seal can tear the material.
- Mis‑alignment: If the dishwasher door is not properly aligned with the frame, the seal is stressed unevenly, leading to leaks.
Identifying the root cause will help you choose the right repair method and prevent future issues.
Before You Start
Safety First
- Unplug the dishwasher or switch off the circuit breaker to avoid electric shock.
- Let the machine cool if it was recently running, as hot water or steam can cause burns.
- Wear gloves if you have sensitive skin; some seal materials are irritating.
Gather the Tools
- Replacement gasket: For the NN‑DS30W, the part number is 1012‑C5.00.
- Flat‑head screwdriver (or a plastic pry tool) for removing screws and the old gasket.
- Cloth or paper towels to wipe the area dry.
- Mild detergent or vinegar for cleaning the seal surface.
- Plastic bag or small container to keep the new gasket in a moist environment until installation.
- Rubber gloves for handling the new gasket and cleaning.
Step‑by‑Step Repair
1. Remove the Old Seal
- Open the door fully.
- Locate the four mounting screws that hold the seal to the door frame.
- Using the screwdriver, loosen each screw enough to slide the seal away from the frame.
- Once all screws are removed, gently pull the old gasket away.
- Inspect the seal for cracks, gaps, or tears. If the seal is only slightly worn, you might consider a seal‑reinforcement kit, but a full replacement is recommended for a proper fix.
2. Clean the Seal Surface
- Dry the door frame and gasket track with a clean cloth.
- Mix a small amount of mild dish soap with warm water.
- Dampen a sponge or cloth in the solution and wipe the inside of the seal track, removing any grime, old detergent residue, or mineral buildup.
- Rinse with clean water and dry thoroughly.
- Optionally, apply a small amount of white vinegar to dissolve hard water deposits; then dry again.
Clean surfaces ensure the new gasket will seal tightly and extend its life.
3. Prepare the Replacement Gasket
- Remove the new gasket from its packaging.
- Place it in a plastic bag or container with a damp towel to keep it from drying out before installation.
- Warm it slightly (if the gasket feels stiff) by running it under warm water for a few seconds. This helps it conform better to the door shape.
4. Install the New Seal
- Slide the new gasket into the seal track, aligning the notch or groove with the door frame.
- Work from one side to the other, ensuring the gasket is seated snugly and has no twists.
- Once the entire gasket is in place, screw the four mounting screws back onto the door frame. Tighten them evenly; avoid over‑tightening, which can crack the rubber.
5. Test the Door Seal
- Plug in the dishwasher and set it to a short wash cycle (e.g., a “quick rinse”).
- Observe the door during the cycle, paying attention to the seal area.
- If no water appears on the floor and the gasket remains intact, the repair is successful.
- If leakage persists, double‑check the alignment, ensuring the door closes fully and evenly. You may need to adjust the hinges slightly.
6. Final Touches
- After a successful test, wipe any remaining soap residue from the seal with a damp cloth.
- Inspect the gasket after a few days of normal use; it should maintain a tight seal.
Troubleshooting Common Issues
| Symptom | Possible Cause | Quick Fix |
|---|---|---|
| Leakage only after the rinse cycle | Gasket worn in the middle | Replace gasket |
| Door does not close fully | Hinges misaligned | Adjust hinge screws |
| Persistent leaks on both sides | Seal too loose | Re‑install, ensuring even pressure |
| Cracks near the seal edge | Excessive heat | Reduce high‑temp cycles, use a lower‑temperature wash |
If the leak continues despite a new gasket, consider inspecting the door latch mechanism and internal spray arm for obstructions. Occasionally, a clogged drain pump can cause pressure buildup that forces water past the seal.
Maintenance Tips to Extend Seal Life
- Avoid harsh detergents: Use a mild, dishwasher‑safe detergent to reduce chemical wear.
- Check loading: Place bulky items on the bottom rack and avoid blocking the door latch.
- Regular cleaning: Run a vinegar cycle every month to remove mineral buildup.
- Inspect annually: Check the gasket for signs of cracking or softening.
- Use a door sweep: A small rubber strip can help keep the seal flat and reduce pressure on the gasket.
Implementing these habits keeps the seal healthy and reduces the likelihood of future leaks.
Frequently Asked Questions
Q: Can I use a cheap, generic gasket?
A: It’s best to use the OEM gasket (part number 1012‑C5.00) designed specifically for the NN‑DS30W. Generic gaskets may not fit precisely, leading to leaks.
Q: My dishwasher door is warped. How do I fix that?
A: Light warping can often be corrected by adjusting the hinge screws. For severe warping, professional service may be required.
Q: How often should I replace the seal?
A: Typically every 3–5 years, depending on usage. If you notice softening or cracks, replace it immediately.
Q: Is it safe to use a plastic bag for the gasket before installation?
A: Yes, but ensure the bag is clean and dry; you only need a damp cloth inside, not water. Excess moisture can degrade the gasket.
Q: Will the repair work on other Panasonic models?
A: The process is similar, but part numbers and exact gasket dimensions differ. Always confirm compatibility before purchasing.
Final Thoughts
A leaking door seal can feel like a small nuisance, but it can quickly become a costly problem if left unattended. By following the steps above, you can confidently replace the gasket on your Panasonic NN‑DS30W, restoring its performance and saving time and money. Regular maintenance, mindful loading, and the use of quality parts ensure your dishwasher remains a reliable, leak‑free appliance for years to come.
Discussion (7)
Join the Discussion
Your comment has been submitted for moderation.
Random Posts

Solving a Persistent Stain Release Issue on Whirlpool WFW5620HW
Tired of spots on your clothes? Discover how to diagnose and fix the stubborn stain release problem on your Whirlpool WFW5620HW with our step-by-step guide.
9 months ago

De'Longhi DL150 Steam Iron Water Recirculation Failure Solution
Trouble with your DeLonghi DL150 steam iron? Learn why water recirculation fails, diagnose the issue, and follow our simple step by step solution to restore steady steam and wrinkle free clothes.
3 months ago

Resolving Lenovo Mirage Solo Bluetooth Pairing Issues
Fix Lenovo Mirage Solo Bluetooth glitches fast with this step by step guide. From simple checks to firmware hacks, reconnect your headset, controllers, and peripherals in minutes.
2 months ago
Lenovo SmartEyewear X Eye Tracking Error Troubleshoot
Get your Lenovo SmartEyewear X eye tracking back with our step-by-step guide. Diagnose glitches, reset settings, and restore smooth gaze navigation quickly.
3 months ago

Calibrating Noise‑Cancellation on Beats Studio Buds
Master Beats Studio Buds ANC: learn the science, step, by, step calibration, and troubleshooting to silence distractions and boost your listening experience.
10 months ago
Latest Posts

Fixing the Eufy RoboVac 15C Battery Drain Post Firmware Update
Fix the Eufy RoboVac 15C battery drain after firmware update with our quick guide: understand the changes, identify the cause, and follow step by step fixes to restore full runtime.
5 days ago

Solve Reolink Argus 3 Battery Drain When Using PIR Motion Sensor
Learn why the Argus 3 battery drains fast with the PIR sensor on and follow simple steps to fix it, extend runtime, and keep your camera ready without sacrificing motion detection.
5 days ago

Resolving Sound Distortion on Beats Studio3 Wireless Headphones
Learn how to pinpoint and fix common distortion in Beats Studio3 headphones from source issues to Bluetooth glitches so you can enjoy clear audio again.
6 days ago