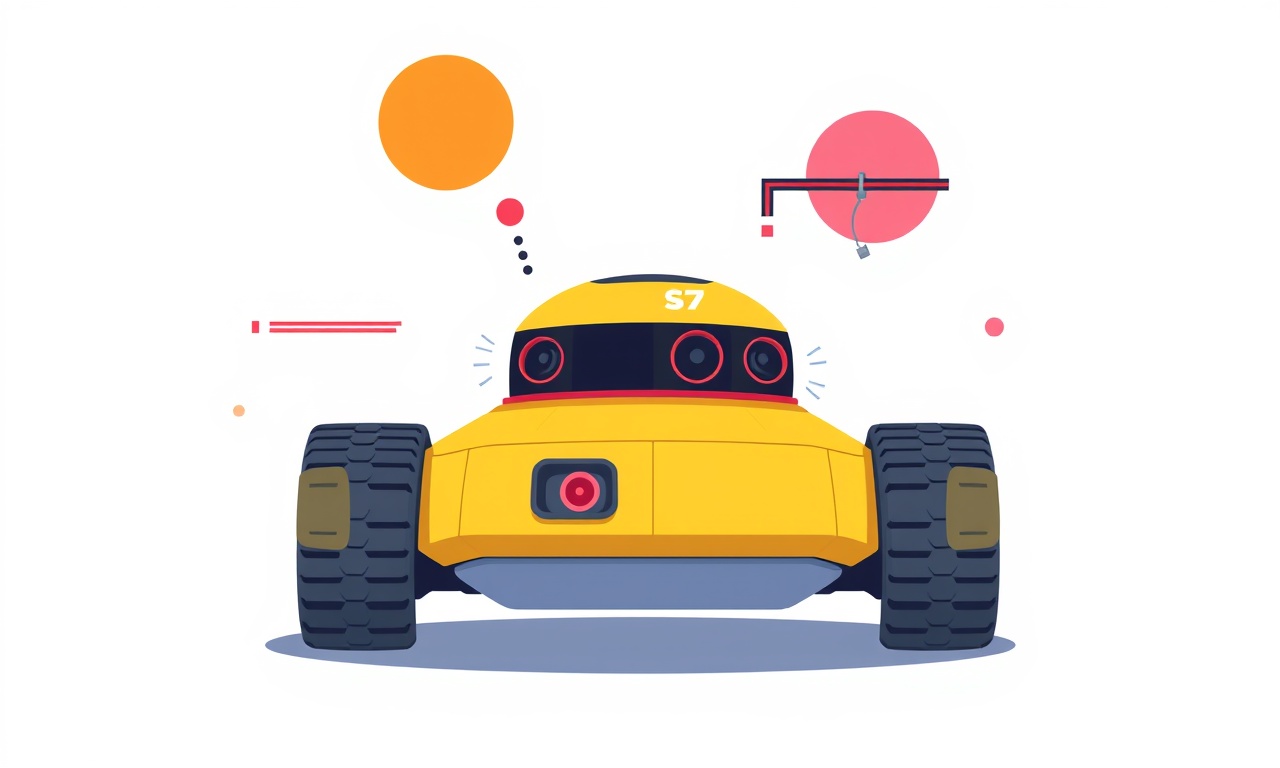
Fixing the Roborock S7 Navigation Error on Docking
Roborock S7 models can occasionally develop a navigation error that surfaces when the unit attempts to dock. When the robot stops moving and displays an error icon, the most common cause is a misalignment or obstruction that prevents the charging contacts from making proper contact. This guide walks you through every step you can take to troubleshoot and resolve the issue, from simple checks to more advanced diagnostics. By following these instructions you should be able to return your Roborock S7 to full operation without having to call for service.
Understanding the Navigation Error
When the S7 encounters a problem while returning to its docking station it displays a red exclamation mark on the main screen. This icon means the robot believes it cannot safely return to its dock or that it cannot connect to the charging contacts. The robot’s on‑board sensors detect the error and halt movement. The device will remain stuck until the problem is fixed or until a manual reset is performed.
The error appears as a brief flash or a persistent icon depending on whether the robot is actively moving toward the dock or already stopped near it. Regardless of the exact visual, the root cause usually involves one of the following factors:
- Misaligned docking station
- Obstructed charging contacts
- Dirty or damaged sensor lenses
- Firmware mismatch
- Environmental changes such as new furniture placement or lighting variations
A systematic approach is needed to isolate the issue, so that you can solve it efficiently.
Preparing for Troubleshooting
Before you start cleaning or adjusting anything, take a moment to gather the tools and supplies you will need. The following items will make the process smoother:
| Item | Purpose |
|---|---|
| Soft, dry microfiber cloth | Gently wipe surfaces |
| Isopropyl alcohol (70%) | Clean contact surfaces |
| Small brush or compressed air can | Remove dust from ports |
| Smartphone with the Roborock app | Check firmware and logs |
| A flashlight | Inspect dim or hard‑to‑reach areas |
Having these supplies on hand will allow you to move quickly from one step to the next without interruption.
Step 1 – Inspect the Docking Station
1.1 Check the Position
The most common cause of the navigation error is that the docking station has moved slightly. This can happen if you move furniture, vacuum the area, or simply walk over it. Ensure that the dock sits on a flat, level surface and that it has not shifted.
- Examine the dock’s base for any visible tilting.
- Verify that the dock is firmly seated on the floor and not on a carpet or rug that may slide.
- If the dock is on a raised surface, confirm that the surface is stable and that the dock is not leaning.
If the dock is not level, adjust it until it is perfectly horizontal. A small tilt can prevent the charging contacts from aligning with the robot’s metal pads.
1.2 Clean the Charging Contacts
Dust, hair, or debris can accumulate on the charging contacts and prevent a proper connection.
- Power off the dock by unplugging it from the wall outlet.
- Use a dry microfiber cloth to wipe the metal contacts on the dock.
- If necessary, dampen the cloth with a small amount of isopropyl alcohol and wipe again, ensuring the cloth is not wet.
- Dry the contacts completely before re‑connecting the dock.
Repeat the same process for the robot’s charging contacts, which are located on the underside of the unit. A clean, dry surface ensures the robot can detect the dock and establish a charging connection.
1.3 Confirm the Dock’s Orientation
The S7 docking station has a specific orientation. The robot is designed to enter the dock from the front side. If you have placed the dock upside down or mirrored it, the robot will be unable to enter correctly.
- Verify that the dock’s front face is pointed in the direction of the robot’s approach path.
- If the dock appears reversed, rotate it until the front side aligns with the robot’s path.
Step 2 – Clean the Robot’s Sensor Lenses
The robot uses a combination of cameras and infrared sensors to navigate and detect obstacles. Over time these lenses can become dirty.
- Turn the robot off by pressing the power button and hold it for ten seconds.
- Using a soft, dry cloth, gently wipe the front camera lens and the rear infrared sensor.
- Avoid using any liquids directly on the sensors. If you must clean, dampen the cloth lightly with water or alcohol and wipe.
- Allow the sensors to dry completely before restarting the robot.
A clean sensor array reduces false positives that could be interpreted as navigation errors.
Step 3 – Re‑align the Robot with the Dock
Sometimes the robot simply loses its sense of direction. Manually guiding it back to the dock can reset its navigation logic.
- Move the robot close to the dock without touching it. Place it within a few centimeters of the docking station.
- Press and hold the “Return to Dock” button on the robot’s control panel for about ten seconds until the navigation lights turn blue.
- Release the button and watch the robot move toward the dock.
- If the robot fails to approach, turn the dock’s power off and on again to reset the docking system.
- After the dock powers back up, press the button again to see if the robot successfully docks.
If the robot still refuses to dock, proceed to the next troubleshooting steps.
Step 4 – Verify the Firmware Version
A mismatch between the robot’s firmware and the app can lead to communication errors. Make sure both are updated.
- Open the Roborock app on your smartphone.
- Go to the device settings section and locate the firmware version for the robot and the docking station.
- If an update is available for either device, follow the prompts to install it.
- After the update completes, restart both the robot and the dock.
- Test the docking function again.
Firmware updates often contain bug fixes related to navigation and charging logic.
Step 5 – Perform a Soft Reset
A soft reset can clear temporary errors without deleting your settings.
- Power off the robot by pressing and holding the power button for ten seconds.
- Unplug the docking station from the outlet for about 30 seconds.
- Plug the docking station back in and turn the robot on by pressing the power button for two seconds.
- The robot will start up with a fresh memory state. Test the docking function again.
If the robot still shows a navigation error after a soft reset, a hard reset may be required.
Step 6 – Execute a Hard Reset
A hard reset restores the robot to factory settings. Use this only if all other steps fail.
- Power off the robot as described above.
- Press and hold the “Stop/Return” button on the robot for 15 seconds. You will see the navigation lights flash.
- Release the button and the robot will reset to factory defaults.
- Reconfigure your cleaning schedule and preferences in the Roborock app.
- Test the docking procedure.
A hard reset should resolve deep‑seated configuration errors that a soft reset cannot.
Step 7 – Check for Environmental Factors
Roborock S7 navigation can be sensitive to certain environmental changes.
- Flooring – Large changes in floor texture (e.g., new carpets or rugs) can confuse the robot’s sensors. If you recently installed new flooring, remove the robot from the area for a day and then return it to test.
- Lighting – Bright or flickering lights can interfere with camera sensors. Try running the robot in a dimmer area to see if the navigation error persists.
- Furniture – Ensure that large pieces of furniture do not block the robot’s approach path to the dock. Clear any clutter from the docking corridor.
Adjusting these factors often eliminates phantom navigation errors.
Step 8 – Inspect the Charging Pad for Physical Damage
Sometimes the charging contacts or the metal pad on the robot can become damaged.
- Look for any scratches or dents on the charging contacts of the dock.
- Inspect the metal pad on the robot’s underside for cracks or missing sections.
- If you find any damage, contact the manufacturer for a replacement part.
A damaged pad can prevent proper power transfer, triggering the navigation error.
Step 9 – Test with a Secondary Dock
If you have another docking station (e.g., a spare unit or a different brand that fits your model), try using it to see if the error is specific to the dock.
- Place the robot near the secondary dock.
- Initiate the docking procedure.
- If the robot docks successfully, the original dock is likely defective.
- If the error persists, the issue is with the robot itself.
This test isolates the problem source quickly.
Step 10 – Review Cleaning Logs in the App
The Roborock app records detailed logs of each cleaning session, including error codes.
- Open the app and navigate to the “History” tab.
- Locate a session that ended with a navigation error.
- Tap on the session to view the detailed report.
- Look for any error code or message that matches the navigation error.
- Use the code in your search to find specific fixes or FAQs.
Often the logs will contain a specific error ID that leads directly to a solution.
Step 11 – Contact Customer Support
If all previous steps fail, it is time to reach out to Roborock support. Provide them with the following information to expedite the troubleshooting process:
- Model number and firmware version.
- A short description of the steps you have already taken.
- Screenshots of the navigation error icon and the log entry from the app.
- The time and date of the most recent error occurrence.
Roborock offers remote diagnostics for many issues, which can pinpoint problems that are difficult to detect locally. If a hardware defect is found, you may be eligible for a repair or replacement under warranty.
Preventative Maintenance Tips
Maintaining the S7 in a clean, unobstructed environment will reduce the likelihood of future navigation errors.
- Weekly cleaning of charging contacts – Use a dry cloth once a week to keep the dock and robot free of dust.
- Monthly sensor cleaning – Clean the front camera and rear infrared sensor with a microfiber cloth.
- Avoid high‑traffic paths – Keep the docking corridor free of pets, cables, or small objects.
- Regular firmware checks – Enable automatic updates or check manually every month.
Implementing these habits will keep your Roborock S7 running smoothly and prevent the frustration of repeated navigation errors.
Summary
Fixing the Roborock S7 navigation error on docking involves a methodical series of checks:
- Inspect and level the dock.
- Clean charging contacts and sensor lenses.
- Re‑align the robot with the dock.
- Verify firmware and perform updates.
- Reset the robot softly or hard if needed.
- Adjust environmental factors that may interfere.
- Inspect for physical damage.
- Test with a secondary dock.
- Review logs for error codes.
- Contact support if the problem persists.
By following these steps in order, most users will restore normal docking function without needing professional repair. Keep the robot and dock clean, maintain an obstacle‑free path, and keep firmware up to date, and your Roborock S7 will navigate your home reliably for years to come.
Discussion (10)
Join the Discussion
Your comment has been submitted for moderation.
Random Posts

Analyzing iPhone 13 Pro Max Apple Pay Transaction Declines After Software Update
After the latest iOS update, iPhone 13 Pro Max users see more Apple Pay declines. This guide explains the technical cause, how to diagnose the issue, and steps to fix payment reliability.
2 months ago

Dyson AM15 Mist Not Spreading What Causes It And How To Repair
Find out why your Dyson AM15 Mist isn’t misting, learn the common causes, and follow our step, by, step guide to restore full misting performance quickly.
2 months ago

Adjusting the Neato Botvac D6 for Unexpected Cleaning Pause
Learn why your Neato Botvac D6 pauses, diagnose the issue, and tweak settings for smooth, uninterrupted cleaning.
11 months ago

Quelling LG OLED G1 Picture Loop at Startup
Stop the LG OLED G1 picture loop that stutters at startup, follow these clear steps to diagnose software glitches, adjust settings, and restore a smooth launch every time.
4 months ago

Resolving Room Acoustics Calibration on Samsung HW Q990T
Calibrate your Samsung HW, Q990T to your room's acoustics and unlock true cinema-quality sound, every dialogue and subtle score becomes crystal clear.
1 month ago
Latest Posts

Fixing the Eufy RoboVac 15C Battery Drain Post Firmware Update
Fix the Eufy RoboVac 15C battery drain after firmware update with our quick guide: understand the changes, identify the cause, and follow step by step fixes to restore full runtime.
5 days ago

Solve Reolink Argus 3 Battery Drain When Using PIR Motion Sensor
Learn why the Argus 3 battery drains fast with the PIR sensor on and follow simple steps to fix it, extend runtime, and keep your camera ready without sacrificing motion detection.
5 days ago

Resolving Sound Distortion on Beats Studio3 Wireless Headphones
Learn how to pinpoint and fix common distortion in Beats Studio3 headphones from source issues to Bluetooth glitches so you can enjoy clear audio again.
6 days ago