Kenmore KWD45 Dryer Control Panel Freezes After Settings Change
Understanding the Problem
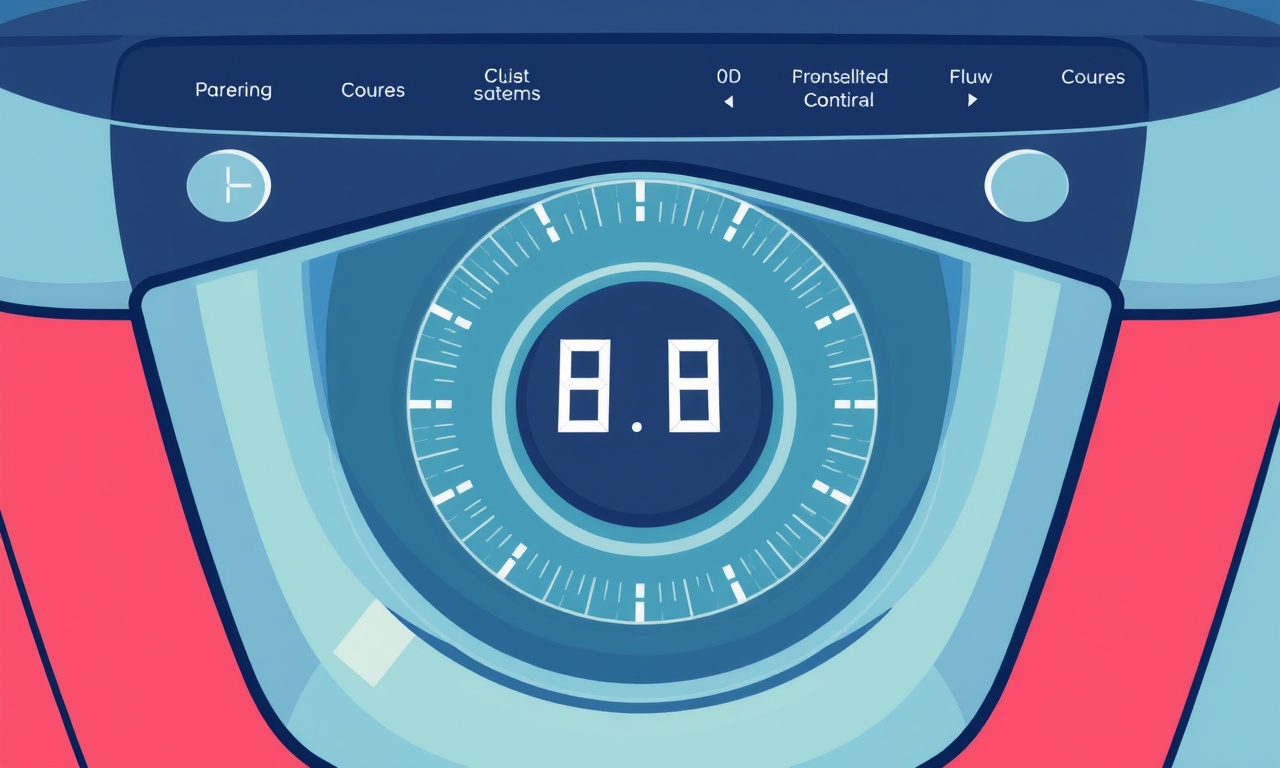
A Kenmore KWD45 dryer is a reliable appliance that many households depend on for everyday laundry. One frustrating issue that can occur is the control panel freezing after a user changes a setting. The panel stops responding, the display becomes blank or stuck on a single value, and the dryer will not complete its cycle. This can be both inconvenient and potentially hazardous if the dryer continues to run with a stuck setting. Knowing how to diagnose, fix, and prevent this issue will save time and money and keep your dryer functioning safely.
Why the Control Panel Freezes
The control panel on the KWD45 is essentially a small computer that interprets user inputs and sends commands to the dryer’s motor, heaters, and safety circuits. When it freezes, the communication between the panel and the rest of the dryer is broken. Several common causes include:
- Software glitch – The panel’s firmware can become corrupted or stuck, especially after a power outage or a sudden change in settings.
- Electrical noise or interference – Voltage spikes, overloaded circuits, or nearby devices can upset the control board’s delicate electronics.
- Mechanical wear – Over time, the buttons and knobs can wear down, causing erratic inputs that the board cannot process.
- Humidity or condensation – Moisture can seep into the panel’s electronics and create short circuits.
- Faulty components – A burned-out capacitor, a damaged IC, or a broken solder joint can prevent the board from booting correctly.
Recognizing these potential triggers helps narrow down the root cause.
Safety First
Before you touch any part of the dryer, follow these precautions:
- Unplug the dryer – Disconnect the appliance from the electrical outlet or switch off the circuit breaker.
- Wait a few minutes – This allows residual voltage to dissipate.
- Use insulated tools – Avoid metal tools that could short circuits.
- Work in a dry environment – Keep your hands and work area free of moisture.
Failure to follow these steps can lead to electric shock or fire.
Step‑by‑Step Troubleshooting Guide
Below is a systematic approach to diagnosing and resolving a frozen control panel on a Kenmore KWD45. Each section begins with a quick check, followed by deeper diagnostics if needed.
1. Basic Reset
Many electronic glitches can be cleared simply by rebooting the system.
- Unplug the dryer for at least 60 seconds.
- Plug it back in and wait for the display to initialize.
- Select a simple setting such as “Normal” and observe whether the panel functions.
If the panel works after the reset, the issue was likely a temporary software hiccup. However, if the panel remains frozen, proceed to the next step.
2. Inspect the Control Panel Buttons
Sometimes a button may be stuck or damaged, sending a constant signal.
- Press each button (Start, Stop, Cycle, Temp, Time, etc.) to ensure they move freely.
- Check for debris – Use a soft brush or compressed air to clean around the buttons.
- Look for visible damage – Cracks or burnt spots may indicate a mechanical failure.
A stuck button can force the panel into a locked state. If any button feels jammed, consider replacing the control panel (see “Replacement” below).
3. Examine the Control Board
The main control board is located behind the front panel. To inspect it:
- Remove the front panel – Unscrew the mounting screws and gently pry the panel away.
- Locate the board – It is a rectangular metal box with a series of pins, connectors, and a small display screen.
- Check for visual signs of damage – Look for burnt solder joints, bulging capacitors, or scorch marks.
- Listen for odd sounds – A clicking or buzzing noise may indicate a failing component.
If you notice any obvious damage, the board will almost certainly need to be replaced. If everything looks intact, move to the next diagnostic step.
4. Verify Power to the Control Board
The control board requires a stable 240 V input. Verify this:
- Use a multimeter set to AC voltage.
- Test the 240 V supply at the dryer’s main junction box.
- Check for voltage drop during operation by measuring at the control board’s power connector.
If the voltage is unstable or low, the issue may lie with your home’s electrical supply or the dryer’s wiring. In such cases, consult a licensed electrician.
5. Inspect the Wiring Harness
Loose or frayed wires can disrupt the panel’s signals.
- Check the connections between the control board and the rest of the dryer: door lock, timer, motor, heater, and safety switches.
- Look for corroded terminals – Clean with a contact cleaner and a small wire brush.
- Secure any loose wires – Use zip ties or clamps to keep them in place.
After tightening and cleaning, plug the dryer back in and test the panel again.
6. Test the Door Lock Sensor
A stuck door lock can prevent the dryer from cycling correctly.
- Manually unlock the door and see if the panel responds.
- Check the sensor’s LED indicator (usually found on the control board or near the lock). It should flash or stay lit when the door is locked.
- Clean the sensor – Dust or grime can impede operation.
If the sensor is faulty, replace it before reassembling.
7. Examine the Control Board Firmware
Some Kenmore models allow firmware updates via a USB port or a diagnostic mode. If your KWD45 supports this:
- Consult the service manual for firmware update instructions.
- Download the latest firmware from the manufacturer’s website.
- Follow the update procedure carefully to avoid bricking the board.
Firmware issues are rare but can cause freezes after a settings change.
8. Consider a Control Board Replacement
If all previous steps fail, the control board is likely defective. Replacement involves:
- Sourcing the correct part – The KWD45 uses the Kenmore Control Board Model KWD45-CB1. Order it from a reputable appliance parts retailer or directly from Sears.
- Disassembling the front panel – Remove the screws and detach the panel carefully.
- Disconnecting the old board – Unplug all cables and remove mounting screws.
- Installing the new board – Secure it in place, re‑connect all cables, and replace the front panel.
After assembly, test the dryer with the simplest settings. If the panel operates normally, the replacement was successful.
Common Parts You Might Need
| Component | Function | Where to Find |
|---|---|---|
| Control Board | Manages settings and motor control | Sears parts, Amazon, appliance repair shops |
| Door Lock Sensor | Detects whether the door is closed | Sears parts, eBay |
| Capacitors | Store charge for board operation | Electronics suppliers |
| Reset Switch | Allows manual reset of the board | Sears parts |
| Wiring Harness | Connects the board to other components | Sears parts |
Keep spare parts on hand for future repairs. Having a spare control board can save you a trip to the store if the panel freezes again.
Preventive Measures
Preventing a control panel freeze is often easier than fixing it. Consider these long‑term strategies:
- Avoid overloading the dryer – High loads and heavy fabrics can strain the motor and heating elements, indirectly affecting the control board.
- Keep the dryer in a dry, well‑ventilated space – Moisture can damage electronics.
- Inspect and clean the vent regularly – A clogged vent raises internal temperatures, potentially damaging the board.
- Check the power supply – Ensure the dryer is plugged into a properly rated outlet, and avoid using extension cords.
- Schedule annual maintenance – A professional service can inspect the board, update firmware, and catch issues early.
When to Call a Professional
Even with a solid troubleshooting plan, some problems are beyond DIY repair. Seek professional help if:
- You encounter a complex electrical fault that you cannot safely diagnose.
- The control board requires specialized tools for replacement, such as a soldering iron or diagnostic software.
- The dryer is under warranty – Opening the dryer may void the warranty.
- You notice any signs of fire hazard – Smoke, burning smell, or exposed wiring.
A qualified technician can handle the repair quickly and will provide documentation for warranty purposes.
Frequently Asked Questions
What happens if the dryer runs with a frozen control panel?
If the panel is frozen and the dryer continues to run, it may cause overheating, excessive wear on components, or a fire hazard. Always stop the cycle and unplug the dryer if the panel stops responding.
Can I replace the control panel myself?
If you are comfortable working with electrical appliances and have basic tools, you can replace the control board following the steps above. However, ensure you have the correct part number and proper safety precautions. If uncertain, contact a professional.
Will a power surge cause the control panel to freeze?
Yes, voltage spikes from lightning or power surges can damage the control board. Installing a surge protector on the dryer’s circuit can mitigate this risk.
How long does a new control board last?
A new control board typically lasts many years if the dryer is properly maintained. The actual lifespan depends on usage patterns, power stability, and environmental conditions.
Can I use a universal control panel?
It is possible to use a compatible control board from a different model, but compatibility is not guaranteed. It is safest to use the exact replacement part specified for the KWD45.
Final Thoughts
A frozen control panel on a Kenmore KWD45 dryer is a frustrating but solvable issue. By systematically checking for software glitches, mechanical faults, electrical problems, and component failures, you can identify the root cause. The steps outlined above provide a clear path from a quick reset to a full control board replacement. Always prioritize safety, and don’t hesitate to call a professional when necessary. With the right tools and knowledge, you can keep your dryer running smoothly for years to come.
Discussion (5)
Join the Discussion
Your comment has been submitted for moderation.
Random Posts

Rebooting Google Nest Hub (3rd Gen) to Resolve App Sync Glitches
Stuck with delayed notifications, unresponsive tiles, or stale smart, home data? A simple reboot of your Nest Hub 3rd Gen clears cache, resets processes, and restores smooth app sync.
3 months ago

Fixing Bluetooth Signal Drops on Apple AirPods Pro
Tired of AirPods Pro disconnecting during walks or workouts? Learn why Bluetooth drops happen, how to spot them, and quick fixes - no coding required - to keep audio flowing.
11 months ago

Fixing the Duplexer Failure on a Brother MFC‑J805DW
Learn how to diagnose and replace a faulty duplexer on your Brother MFC, J805DW, restoring double, sided printing with step, by, step instructions for tech, savvy users.
10 months ago

Solving Apple iPhone 13 Pro Camera Rolling Shutter With External Lens
Stop the slanted look from rolling shutter when adding external lenses to your iPhone 13 Pro by tweaking camera settings, choosing the right lens, and using proper stabilization.
9 months ago

Restoring Bandwidth on Amazon Eero Mesh 6 Pro After a Firmware Update
After an Eero Mesh 6 Pro firmware update, bandwidth often drops. This guide explains why the change occurs and walks you through quick steps to restore full speed and a stable connection for work and play.
8 months ago
Latest Posts

Fixing the Eufy RoboVac 15C Battery Drain Post Firmware Update
Fix the Eufy RoboVac 15C battery drain after firmware update with our quick guide: understand the changes, identify the cause, and follow step by step fixes to restore full runtime.
5 days ago

Solve Reolink Argus 3 Battery Drain When Using PIR Motion Sensor
Learn why the Argus 3 battery drains fast with the PIR sensor on and follow simple steps to fix it, extend runtime, and keep your camera ready without sacrificing motion detection.
5 days ago

Resolving Sound Distortion on Beats Studio3 Wireless Headphones
Learn how to pinpoint and fix common distortion in Beats Studio3 headphones from source issues to Bluetooth glitches so you can enjoy clear audio again.
6 days ago