KitchenAid KCO275SS Oven Temperature Stalls - Complete Restoration Process
Understanding the Temperature Stall Issue
When a KitchenAid KCO275SS oven fails to rise above a certain temperature, the most common symptom is a “temperature stall.” The oven may heat up to a point—often around 150 °F (65 °C) or 200 °F (93 °C)—and then refuse to climb any higher despite the timer still running. This condition can be caused by a variety of components, including the temperature sensor, the control board, the heating element, or a simple wiring fault. Identifying the root cause is the first step toward a reliable fix.
Safety First
Before you begin any disassembly, disconnect the appliance from the power source. Unplug the oven or switch off the dedicated circuit breaker. Use a voltage tester to confirm that no voltage is present at the power cord. Working on a high‑voltage appliance without proper precautions can lead to serious injury or damage.
Tools and Materials You’ll Need
- Flat‑head and Phillips screwdrivers
- Nut drivers (commonly ¼‑inch)
- Multimeter capable of measuring resistance (ohms) and continuity
- Digital oven thermometer or an infrared thermometer
- Replacement temperature sensor (thermistor) specific to the KCO275SS model
- Replacement heating element (if diagnostics reveal a fault)
- Heat‑resistant gloves
- Clean, lint‑free cloths
Having all tools on hand will keep the repair process smooth and prevent unnecessary stops.
Preliminary Diagnostics
-
Visual inspection – Open the oven door and look for any signs of burnt wiring, loose connections, or obvious debris on the heating element. A scorched appearance often points to an electrical failure.
-
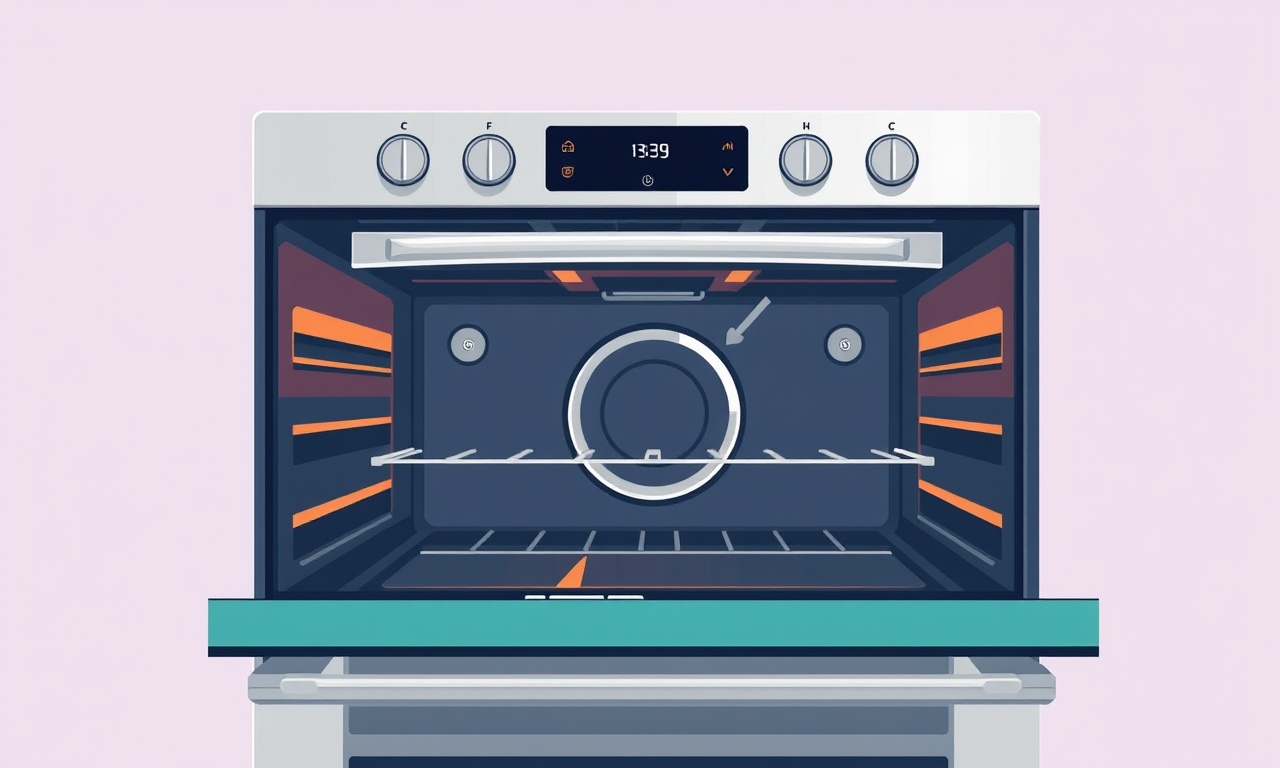
Check the sensor – The temperature sensor is a thin, metal rod located at the back wall of the oven cavity. Gently pull it out to inspect the wiring and connector.
-
Measure sensor resistance – Set the multimeter to the ohms (Ω) range. With the oven unplugged, place the probes on the two sensor leads. At room temperature (around 70 °F / 21 °C) a healthy sensor should read between 1 000 Ω and 1 200 Ω. A reading significantly higher or lower indicates a faulty sensor.
-
Test the heating element – Locate the element (usually a metal coil beneath the oven floor). Disconnect its terminals, then measure resistance across the element. A typical range for the KCO275SS element is 30 Ω to 40 Ω. Anything outside this range suggests a break in the coil.
-
Verify the control board – If the sensor and element both test within spec, the next suspect is the electronic control board. Look for any blown fuses or burnt components. Using the multimeter, check for continuity on the board’s voltage lines according to the service manual.
If any of these checks reveal a defective part, replace it before moving on to the full restoration steps.
Step‑by‑Step Restoration Process
Removing the Oven from Its Cabinet
- Open the oven door fully and unscrew the door hinges using a Philips screwdriver.
- Slide the oven forward gently, being careful not to strain the water or gas lines (if present).
- With the oven pulled out, locate the four mounting screws on the back panel. Remove them and set the oven on a sturdy workbench.
Accessing the Interior Components
- Remove the lower oven shelf and set it aside.
- Unscrew the screws that secure the rear panel of the oven cavity. The panel is typically held by a combination of Phillips screws and clips.
- Carefully peel the panel away to expose the wiring harness, sensor, and heating element.
Replacing the Temperature Sensor
- Disconnect the sensor connector by pressing the release tab and pulling the plug straight out.
- Remove the sensor mounting screw (usually a small Phillips head) and gently pull the sensor from its bracket.
- Install the new sensor by lining up the threads, tightening the screw just enough to hold it firmly without over‑torquing.
- Reconnect the sensor plug, ensuring the click of the release tab is heard.
Inspecting and Replacing the Heating Element
- The element is attached to a metal bracket with two terminal screws. Loosen these screws with a nut driver.
- Disconnect the element’s wires from the terminal block.
- Take the old element to a hardware store for comparison; match the length, coil design, and wattage rating (typically 3000 W for this model).
- Install the new element by aligning the mounting holes, securing it with the bracket screws, and reconnecting the wires.
Updating the Control Board (If Needed)
- Locate the control board on the rear wall of the oven. It is a rectangular PCB with a series of wire harnesses.
- Note the orientation of each harness connector; label them with masking tape if necessary.
- Release each connector by pressing the latch and pulling the plug straight out.
- Remove the board mounting screws and lift the board away from the chassis.
- Install the replacement board, re‑secure the screws, and reconnect each harness according to your labels.
Reassembling the Oven
- Replace the rear cavity panel, align the screw holes, and tighten all fasteners.
- Slide the oven back into its cabinet, making sure the wiring harnesses line up with the cut‑outs in the cabinet wall.
- Re‑install the mounting screws on the back panel.
- Reattach the door hinges, tighten the hinge screws, and verify that the door closes smoothly.
Final Power‑Up and Calibration
- Plug the oven back into the outlet or switch the circuit breaker back on.
- Set the oven to a low temperature (150 °F / 65 °C) and let it run for five minutes. Use a digital oven thermometer placed on the middle rack to verify the internal temperature matches the set point within ±5 °F.
- Increase the temperature to 350 °F (177 °C) and allow the oven to reach the set point. Record the reading. If the thermometer shows a discrepancy greater than 10 °F, enter the calibration mode per the user manual: press and hold the “Bake” button while turning the temperature knob to the “Cal” position, then adjust the offset using the arrow keys.
Testing the Full Cooking Cycle
Run a simple cooking test to ensure the oven maintains temperature throughout a typical bake cycle.
- Place a pre‑measured loaf of bread dough on the middle rack.
- Set the oven to 375 °F (191 °C) and bake for the recommended time (usually 30 minutes).
- Monitor the oven temperature with the digital thermometer at 5‑minute intervals.
- If the temperature remains stable within a ±5 °F band, the restoration is successful.
Preventive Maintenance Tips
- Clean the interior regularly – Spills that harden on the heating element can cause uneven heating or premature element failure. Use a soft, damp cloth and avoid abrasive cleaners.
- Inspect the gasket – The door seal should be free of cracks and debris. A compromised seal can let heat escape, leading the thermostat to work harder and eventually stall.
- Check wiring connections annually – Loose connectors can cause intermittent faults that mimic sensor problems. A quick visual check can catch issues early.
- Calibrate after major repairs – Any time a sensor or control board is replaced, run a calibration cycle to align the oven’s internal logic with the actual temperature.
When to Call a Professional
While many temperature stall issues can be resolved with the steps above, there are scenarios where a licensed technician is the safest option:
- The control board shows signs of extensive damage such as burnt traces or blown fuses that are not user‑replaceable.
- The oven exhibits intermittent power loss or tripping of the circuit breaker, indicating a possible short circuit.
- You are uncomfortable working with high‑voltage components or lack the proper tools such as a calibrated multimeter.
In these cases, professional service ensures compliance with electrical codes and protects the appliance’s warranty.
Summary
A temperature stall in the KitchenAid KCO275SS oven is typically traced to a faulty temperature sensor, a damaged heating element, or a malfunctioning control board. By systematically troubleshooting each component, safely replacing defective parts, and performing thorough calibration, the oven can be restored to its original performance. Regular maintenance and vigilant inspection will help prevent future stalls and keep the oven baking reliably for years to come.
Discussion (4)
Join the Discussion
Your comment has been submitted for moderation.
Random Posts

Solving a Persistent Stain Release Issue on Whirlpool WFW5620HW
Tired of spots on your clothes? Discover how to diagnose and fix the stubborn stain release problem on your Whirlpool WFW5620HW with our step-by-step guide.
9 months ago

De'Longhi DL150 Steam Iron Water Recirculation Failure Solution
Trouble with your DeLonghi DL150 steam iron? Learn why water recirculation fails, diagnose the issue, and follow our simple step by step solution to restore steady steam and wrinkle free clothes.
3 months ago

Resolving Lenovo Mirage Solo Bluetooth Pairing Issues
Fix Lenovo Mirage Solo Bluetooth glitches fast with this step by step guide. From simple checks to firmware hacks, reconnect your headset, controllers, and peripherals in minutes.
2 months ago
Lenovo SmartEyewear X Eye Tracking Error Troubleshoot
Get your Lenovo SmartEyewear X eye tracking back with our step-by-step guide. Diagnose glitches, reset settings, and restore smooth gaze navigation quickly.
3 months ago

Calibrating Noise‑Cancellation on Beats Studio Buds
Master Beats Studio Buds ANC: learn the science, step, by, step calibration, and troubleshooting to silence distractions and boost your listening experience.
10 months ago
Latest Posts

Fixing the Eufy RoboVac 15C Battery Drain Post Firmware Update
Fix the Eufy RoboVac 15C battery drain after firmware update with our quick guide: understand the changes, identify the cause, and follow step by step fixes to restore full runtime.
5 days ago

Solve Reolink Argus 3 Battery Drain When Using PIR Motion Sensor
Learn why the Argus 3 battery drains fast with the PIR sensor on and follow simple steps to fix it, extend runtime, and keep your camera ready without sacrificing motion detection.
5 days ago

Resolving Sound Distortion on Beats Studio3 Wireless Headphones
Learn how to pinpoint and fix common distortion in Beats Studio3 headphones from source issues to Bluetooth glitches so you can enjoy clear audio again.
6 days ago