LG LS1301 Addressing Erratic Compressor Cycles
Introduction
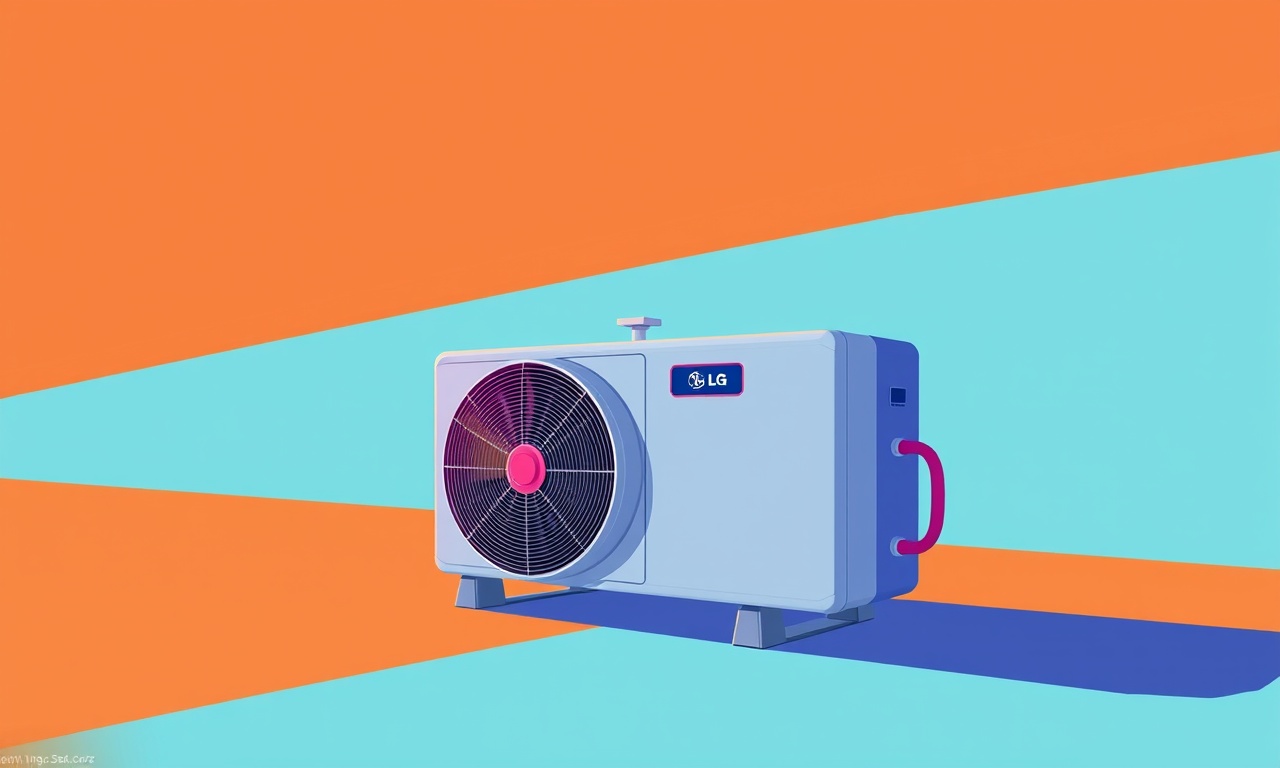
If you own an LG LS1301 air conditioner, you know how valuable a cool, comfortable indoor environment can be during the hot summer months. A reliable unit keeps the room at a steady temperature, while a malfunctioning one can lead to wasted energy, higher bills, and frustration. One of the most common performance issues reported by owners of this model is erratic compressor cycling—where the compressor turns on and off too frequently or irregularly. This article dives into the root causes, offers a detailed diagnostic checklist, and provides step‑by‑step guidance to help you address the problem effectively.
What Is Erratic Cycling?
The compressor is the heart of an air conditioner. It compresses refrigerant, circulates it through the system, and ultimately removes heat from your indoor air. Under normal operation, the compressor runs for a set amount of time, then shuts down when the thermostat reaches the desired temperature. The cycle repeats as the thermostat demands cooling.
Erratic cycling refers to any deviation from this expected pattern. The compressor may:
- Kick on and off every few seconds or minutes.
- Remain on for unusually long periods.
- Fail to start at all after a brief attempt.
- Show a sporadic pattern that changes from day to day.
Such behavior not only reduces cooling efficiency but can also shorten the compressor’s lifespan.
Common Causes of Erratic Cycling
1. Dirty or Clogged Air Filters
Dust, pollen, and other airborne particles accumulate on the air filter over time. When the filter becomes clogged, airflow to the evaporator coil is restricted. The thermostat may interpret the reduced airflow as a high indoor temperature, causing the compressor to cycle on and off in an attempt to reach the set point.
2. Refrigerant Leaks or Low Charge
The compressor operates optimally when the refrigerant charge is within manufacturer specifications. A leak or inadequate charge forces the compressor to work harder and may trigger protective shutdowns. The compressor may also cycle erratically to maintain pressure.
3. Faulty Temperature Sensors
The indoor temperature sensor feeds data to the control board. A defective sensor may send inaccurate readings, leading the compressor to cycle unnecessarily.
4. Defective Compressor Over‑pressure or Under‑pressure Switches
The compressor contains pressure switches that protect it from operating under unsafe conditions. If these switches are stuck or malfunctioning, they can interrupt the compressor’s operation intermittently.
5. Inadequate Insulation or Improper Installation
If the unit is installed in a poorly insulated area or without sufficient clearance, the system may struggle to maintain a stable temperature, prompting the compressor to cycle more often.
6. Electrical Issues
Loose or corroded connections, damaged wiring, or a faulty capacitor can cause intermittent power to the compressor, leading to erratic behavior.
7. Dirty or Frozen Evaporator Coil
When the evaporator coil is dirty, moisture can build up and freeze. The resulting ice acts as a thermal barrier, making the system think it is still hot inside. This can cause the compressor to shut down prematurely and cycle back on.
Diagnostic Checklist
Before diving into repairs, systematically check each potential culprit. Below is a comprehensive checklist:
| Check | How to Inspect | Expected Result |
|---|---|---|
| Air Filter | Remove filter; look for visible dust or debris | Clean or replace if more than 50% clogged |
| Re‑coil Cleaning | Inspect evaporator coil for dust or mold | Coil should be clean |
| Refrigerant Lines | Look for corrosion, leaks, or oil residue | No visible signs of leak |
| Temperature Sensor | Use a multimeter to test sensor resistance at room temperature | Resistance within spec (usually 10kΩ) |
| Pressure Switches | Observe compressor start and end on/off patterns; use a pressure gauge if needed | Switches trigger within normal pressure range |
| Electrical Connections | Check for loose or corroded terminals, damaged insulation | All connections secure and intact |
| Capacitor | Test capacitance with a multimeter or capacitor meter | Capacitance within spec (±10% of rating) |
| Compressor Status | Listen for abnormal noises; check for compressor running continuously | Compressor runs as needed, no unusual noises |
Document your findings. The results will guide the next steps.
Step‑by‑Step Troubleshooting
1. Replace or Clean the Air Filter
- Turn off the power at the breaker to ensure safety.
- Locate the filter compartment in the indoor unit.
- Pull out the filter and shake off loose debris.
- If the filter is reusable, wash it with mild detergent and let it dry completely.
- If it’s disposable, replace it with a new one that matches the model specifications.
- Reinstall the filter and restore power.
Why it matters: A clean filter allows proper airflow, helping the thermostat and compressor operate within normal parameters.
2. Inspect the Evaporator Coil
- Power down the unit again.
- Remove the front panel of the indoor unit.
- Visually inspect the coil for dust, mold, or ice buildup.
- If the coil is dirty, use a coil cleaning brush or a specialized coil cleaner to remove debris.
- If ice is present, wait until it melts completely before proceeding.
Why it matters: A clean coil maximizes heat exchange efficiency; ice formation signals airflow or refrigerant issues.
3. Check for Refrigerant Leaks
- Look for oil spots or corrosion around the compressor and line connectors.
- Use a leak detection kit (e.g., a UV dye or electronic leak detector) to identify any refrigerant escape.
- If a leak is found, do not attempt to fix it yourself.
- Schedule a certified HVAC technician to perform a leak repair and recharge the system to the manufacturer’s specification.
Why it matters: Low refrigerant pressure forces the compressor to overwork, causing erratic cycling.
4. Test the Temperature Sensor
- Remove the sensor from its mounting bracket.
- Use a calibrated digital multimeter set to resistance measurement.
- Place probes on the sensor terminals.
- Compare the resistance value to the manufacturer’s spec at room temperature.
- If the reading is off by more than the tolerance range, replace the sensor.
Why it matters: Accurate temperature readings are essential for correct compressor operation.
5. Inspect Pressure Switches and Capacitor
- Locate the low‑side and high‑side pressure switches near the compressor.
- Observe the switches as the unit cycles; they should activate when pressure thresholds are reached.
- Use a pressure gauge to confirm the compressor’s operating pressure falls within spec.
- Inspect the start and run capacitors for bulging, leaking, or electrolyte discharge.
- If capacitors are defective, replace them with the correct rating.
Why it matters: Pressure switches guard the compressor from unsafe operation; capacitors provide necessary electrical start-up.
6. Examine Electrical Connections
- Carefully inspect all terminal connections for loose screws, frayed wires, or corrosion.
- Tighten any loose screws and clean corroded contacts with a fine-grit sandpaper or wire brush.
- Replace any damaged wires with appropriate gauge and insulation.
Why it matters: Stable electrical connections ensure consistent power delivery to the compressor.
7. Evaluate Installation and Clearance
- Measure the distance between the outdoor condenser and the building’s exterior wall.
- Verify that there is at least 12 inches of clearance on all sides of the outdoor unit, as per the manufacturer’s guidelines.
- Confirm that the unit is level and not tilted.
Why it matters: Proper clearance allows heat to dissipate from the condenser; poor installation can overload the compressor.
8. Observe Compressor Behavior
After performing the above fixes, power the system back on and observe the compressor for 30 minutes:
- Normal cycling: Compressor runs for a few minutes, shuts off, and restarts as needed.
- Continuous running: Compressor stays on, indicating possible over‑cooling or pressure switch failure.
- No operation: Compressor does not start, suggesting electrical or refrigerant issues.
If erratic cycling persists, document the pattern and proceed to professional diagnostics.
Maintenance Tips to Prevent Future Issues
| Maintenance | Frequency | Purpose |
|---|---|---|
| Clean or replace air filter | Every 30 days in heavy use, or monthly in moderate use | Maintains airflow and reduces compressor load |
| Inspect coils | Twice yearly | Prevents dust buildup and ice formation |
| Check refrigerant charge | Annually or after any leak repair | Keeps pressure within spec |
| Test sensors and switches | Annually | Ensures accurate readings and safe operation |
| Inspect electrical connections | Annually | Avoids loose connections and arcing |
| Verify unit clearance | At installation and after landscaping changes | Maintains efficient heat dissipation |
Regular upkeep is the most effective way to keep the compressor running smoothly and extend the life of your LG LS1301.
When to Call a Professional
Even with thorough self‑maintenance, some issues require specialized tools or expertise. Contact a qualified HVAC technician when:
- You suspect a refrigerant leak: Handling refrigerants requires certification and proper recovery equipment.
- The compressor does not start after all checks: This may indicate internal failure or an electrical fault that needs professional diagnostics.
- You observe unusual noises (rumbling, clicking, or whine) from the compressor or fan.
- You notice persistent frost or ice on the coils despite cleaning and proper airflow.
- The system shows diagnostic error codes on the display panel that you cannot interpret.
Professional technicians can use advanced diagnostic tools, such as pressure transducers, electrical oscilloscopes, and refrigerant leak detectors, to pinpoint the issue accurately.
Preventive Measures for the Long Term
1. Install a Smart Thermostat
A smart thermostat can better regulate temperature and detect anomalies in compressor cycling patterns, alerting you to potential problems early.
2. Use a Humidity Control System
High humidity increases the cooling load and can exacerbate compressor cycling. A dehumidifier or integrated humidity control helps keep indoor moisture at optimal levels.
3. Upgrade to a Variable‑Speed Compressor
If your LS1301 model is compatible, upgrading to a variable‑speed compressor can reduce cycling by adjusting compressor speed to match cooling demand.
4. Ensure Adequate Ventilation
Proper airflow around the indoor and outdoor units reduces the likelihood of overheating and allows the compressor to operate efficiently.
5. Keep Surrounding Areas Clear
Avoid overfilling the space around the indoor unit with furniture or décor that could restrict airflow. Keep the outdoor unit free of debris, leaves, or vegetation that could impede heat rejection.
Conclusion
Erratic compressor cycling in an LG LS1301 air conditioner can stem from a range of causes—from simple filter blockage to complex refrigerant leaks. By systematically diagnosing each potential issue, you can often restore normal operation without professional intervention. Clean filters, tidy coils, accurate sensors, and secure electrical connections are foundational to reliable performance.
When the problem persists beyond basic troubleshooting, do not hesitate to enlist a licensed HVAC technician. Their expertise ensures safe handling of refrigerants, precise pressure measurements, and proper calibration of system components.
Regular maintenance and mindful operation not only keep your indoor climate comfortable but also safeguard your investment in the LG LS1301, ensuring it continues to provide efficient, reliable cooling for years to come.
Discussion (7)
Join the Discussion
Your comment has been submitted for moderation.
Random Posts

Rebooting Google Nest Hub (3rd Gen) to Resolve App Sync Glitches
Stuck with delayed notifications, unresponsive tiles, or stale smart, home data? A simple reboot of your Nest Hub 3rd Gen clears cache, resets processes, and restores smooth app sync.
3 months ago

Fixing Bluetooth Signal Drops on Apple AirPods Pro
Tired of AirPods Pro disconnecting during walks or workouts? Learn why Bluetooth drops happen, how to spot them, and quick fixes - no coding required - to keep audio flowing.
11 months ago

Fixing the Duplexer Failure on a Brother MFC‑J805DW
Learn how to diagnose and replace a faulty duplexer on your Brother MFC, J805DW, restoring double, sided printing with step, by, step instructions for tech, savvy users.
10 months ago

Solving Apple iPhone 13 Pro Camera Rolling Shutter With External Lens
Stop the slanted look from rolling shutter when adding external lenses to your iPhone 13 Pro by tweaking camera settings, choosing the right lens, and using proper stabilization.
9 months ago

Restoring Bandwidth on Amazon Eero Mesh 6 Pro After a Firmware Update
After an Eero Mesh 6 Pro firmware update, bandwidth often drops. This guide explains why the change occurs and walks you through quick steps to restore full speed and a stable connection for work and play.
8 months ago
Latest Posts

Fixing the Eufy RoboVac 15C Battery Drain Post Firmware Update
Fix the Eufy RoboVac 15C battery drain after firmware update with our quick guide: understand the changes, identify the cause, and follow step by step fixes to restore full runtime.
5 days ago

Solve Reolink Argus 3 Battery Drain When Using PIR Motion Sensor
Learn why the Argus 3 battery drains fast with the PIR sensor on and follow simple steps to fix it, extend runtime, and keep your camera ready without sacrificing motion detection.
5 days ago

Resolving Sound Distortion on Beats Studio3 Wireless Headphones
Learn how to pinpoint and fix common distortion in Beats Studio3 headphones from source issues to Bluetooth glitches so you can enjoy clear audio again.
6 days ago